SpriteKit and Inverse Kinematics with Swift
In this tutorial, learn how to use Sprite Kit’s inverse kinematics to make a ninja punch and kick dynamically! By Jorge Jordán.
Facing the Target
You may have noticed that your ninja isn’t quite as adept at handling target positions behind him.

That looks more like a dance move than a punch! Since this isn’t a dance simulator (although that sounds like a fun game idea!), let’s fix this by making the ninja always face the target position.
In touchesBegan(:with:), add the following code just before the line that calls punchAt(:):
lowerTorso.xScale =
  location.x < frame.midX ? abs(lowerTorso.xScale) * -1 : abs(lowerTorso.xScale)
If you detect the tap on the left half of the screen, you negate the scale of the ninja (rooted at the lower torso), which has the effect of flipping the entire ninja horizontally.
Build the project again and run it. Upon a tap, the ninja will now face the direction of the tap location.

Head Tracking
As a bonus, you can make the ninja behave more even realistically by using Sprite Kit's SKConstraints to make his head track the target.
SKConstraints allow you to ensure that certain relationships are true between nodes, before a scene is rendered.
For example, you can set up a constraint to make sure a node stays within a certain rectangle, to orient one node toward another, or to limit the z rotation of a node. You will combine a few constraints here to easily make the ninja's face look toward where he's punching.
Begin by adding the following properties to GameScene:
var head: SKNode!
let targetNode = SKNode()
Next, add the following code to the bottom of didMoveToView():
head = upperTorso.childNode(withName: "head")
This grabs a reference to the head node and stores it in head.
Now, add the following line to the end of the for loop in touchesBegan(:with:), just after the call to punchAt(:):
targetNode.position = location
targetNode now stores the location of the latest tap location.
Finally, you'll make use of SKConstraints to ensure that the head node is always oriented so that it “looks” at the target node. Add the following code at the end of didMove(to:):
// 1
let orientToNodeConstraint = SKConstraint.orient(to: targetNode, offset: SKRange(constantValue: 0.0))
// 2
let range = SKRange(lowerLimit: CGFloat(-50).degreesToRadians(),
                                        upperLimit: CGFloat(80).degreesToRadians())
// 3
let rotationConstraint = SKConstraint.zRotation(range)
// 4
rotationConstraint.enabled = false
orientToNodeConstraint.enabled = false
// 5
head.constraints = [orientToNodeConstraint, rotationConstraint]
Let's go through the code line by line:
- You create an
orientToNodeconstraint, passing intargetNodeas the node toward which to orient. - Here, you define an angle range from
-50degrees to80degrees, converted to radians. - You define a rotation constraint that limits the
zRotationproperty of the head node to the angle range defined in step 2. - You disable the two constraints by default, as there may not be any target node yet.
- Finally, you add the two constraints to the head node.
To get the constraints to work, you'll enable the constraints upon the first tap. Add the following property to GameScene:
var firstTouch = false
Next, add the following code to the beginning of touchesBegan(:with:):
if !firstTouch {
  for c in head.constraints! {
    let constraint = c
    constraint.enabled = true
  }
  firstTouch = true
}
On the very first tap event, the code above loops through the list of constraints defined for the head node and enables all of them. It then sets the firstTouch flag to true, which ensures that the code won’t be executed again on subsequent taps.
Build and run the project once more. Voila! Your ninja now maintains constant eye contact with his target position as he punches.
Hitting Moving Targets
At this point, your ninja is raring for “real” things to punch, so let's spawn some flying shurikens from either side of the screen for the ninja to hit.
Begin by adding the following function to the GameScene class:
func addShuriken() {
  // 1
  let shuriken = SKSpriteNode(imageNamed: "projectile")
  // 2
  let minY = lowerTorso.position.y - 60 + shuriken.size.height/2
  let maxY = lowerTorso.position.y  + 140 - shuriken.size.height/2
  let rangeY = maxY - minY
  let actualY = CGFloat(arc4random()).truncatingRemainder(dividingBy: rangeY) + minY
  // 3
  let left = arc4random() % 2
  let actualX = (left == 0) ? -shuriken.size.width/2 : size.width + shuriken.size.width/2
  // 4
  shuriken.position = CGPoint(x: actualX, y: actualY)
  shuriken.name = "shuriken"
  shuriken.zPosition = 1
  addChild(shuriken)
  // 5
  let minDuration = 4.0
  let maxDuration = 6.0
  let rangeDuration = maxDuration - minDuration
  let actualDuration = Double(arc4random()).truncatingRemainder(dividingBy: rangeDuration) + minDuration
  // 6
  let actionMove = SKAction.move(to: CGPoint(x: size.width/2, y: actualY), duration: actualDuration)
  let actionMoveDone = SKAction.removeFromParent()
  shuriken.run(SKAction.sequence([actionMove, actionMoveDone]))
  // 7
  let angle = left == 0 ? CGFloat(-90).degreesToRadians() : CGFloat(90).degreesToRadians()
  let rotate = SKAction.repeatForever(SKAction.rotate(byAngle: angle, duration: 0.2))
  shuriken.run(SKAction.repeatForever(rotate))
}
Let's briefly run through the code in this function:
- You create a brand new sprite node from the projectile.png image.
- You set the spawn height of the shuriken to a value between
60units below and130units above the lower torso. This ensures the shuriken will be within reach of the ninja. - You set the x-position of the shuriken to be either slightly left or slightly right of the screen.
- You then set the position of the shuriken based on the values determined in steps 2 and 3. You also assign the hard-coded name "shuriken" to the node before adding it as a child to the scene.
- You randomize the move duration of the shuriken to be between
4and6seconds to add some sense of variance to the game. - You define a sequence of two actions to run on the shuriken. The first action moves the shuriken toward the center of the screen based on the duration defined in step 5. The second action removes the shuriken once it reaches the center of the screen.
- Concurrently, you rotate the shuriken continuously in the direction of its motion for a more realistic effect.
You'll want to spawn shurikens periodically for the life of the game. Add the following properties to GameScene to keep track of the time between spawns:
var lastSpawnTimeInterval: TimeInterval = 0
var lastUpdateTimeInterval: TimeInterval = 0
Then add the following methods to GameScene, as well:
func updateWithTimeSinceLastUpdate(timeSinceLast: CFTimeInterval) {
  lastSpawnTimeInterval = timeSinceLast + lastSpawnTimeInterval
  if lastSpawnTimeInterval > 0.75 {
    lastSpawnTimeInterval = 0
    addShuriken()
  }
}

override func update(_ currentTime: CFTimeInterval) {
  var timeSinceLast = currentTime - lastUpdateTimeInterval
  lastUpdateTimeInterval = currentTime
  if timeSinceLast > 1.0 {
    timeSinceLast = 1.0 / 60.0
    lastUpdateTimeInterval = currentTime
  }
  updateWithTimeSinceLastUpdate(timeSinceLast: timeSinceLast)
}
updateWithTimeSinceLastUpdate adds the time since the last update to lastSpawnTimeInterval. Once it is greater than 0.75 seconds, you call addShuriken() to spawn a new shuriken and reset the time. You call this method inside update() each frame, with a bit of math to ensure the time between frames doesn't get out of hand.
This code is similar to the monster-spawning code in the Sprite Kit Swift Tutorial for Beginners on this site. You can refer to that tutorial if you’d like more details.
Build and run the project, and you’ll see shurikens fly in at your ninja from both sides of the screen!
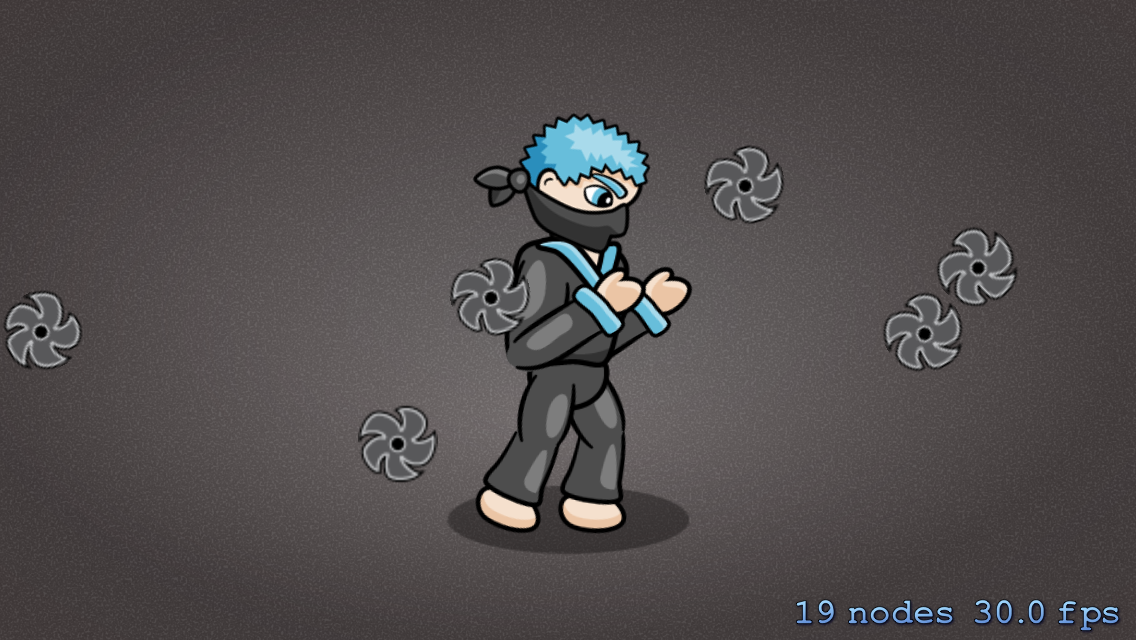
The shurikens look dangerous, but they simply run into the ninja as if he weren't even there. Not to worry; you'll fix this by adding some code to check for possible intersections between the end-effector and any flying shuriken.
Add the following function to the GameScene class:
func intersectionCheckAction(for effectorNode: SKNode) -> SKAction {
  let checkIntersection = SKAction.run {

    for object: AnyObject in self.children {
      // check for intersection against any sprites named "shuriken"
      if let node = object as? SKSpriteNode {
        if node.name == "shuriken" {
          // convert coordinates into common system based on root node
          let effectorInNode = self.convert(effectorNode.position, from:effectorNode.parent!)
          var shurikenFrame = node.frame
          shurikenFrame.origin = self.convert(shurikenFrame.origin, from: node.parent!)

          if shurikenFrame.contains(effectorInNode) {
            // play a hit sound
            self.run(SKAction.playSoundFileNamed("hit.mp3", waitForCompletion: false))

            // show a spark effect
            let spark = SKSpriteNode(imageNamed: "spark")
            spark.position = node.position
            spark.zPosition = 60
            self.addChild(spark)
            let fadeAndScaleAction = SKAction.group([
              SKAction.fadeOut(withDuration: 0.2),
              SKAction.scale(to: 0.1, duration: 0.2)])
            let cleanUpAction = SKAction.removeFromParent()
            spark.run(SKAction.sequence([fadeAndScaleAction, cleanUpAction]))

            // remove the shuriken
            node.removeFromParent()
          }
          else {
            // play a miss sound
            self.run(SKAction.playSoundFileNamed("miss.mp3", waitForCompletion: false))
          }
        }
      }
    }
  }
  return checkIntersection
}
intersectionCheckAction(for:) takes in an end-effector node and returns an action that runs a block; you'll see in the next section why you define the function in this manner. Within this block, you check to see if the end-effector intersects with any shurikens present in the scene.
In the event of an intersection, you play a "hit" sound, show a little spark effect and remove the shuriken sprite from the scene. Otherwise, you simply play a "miss" sound.
Next, replace the last line of punchAt(_:upperArmNode:lowerArmNode:fistNode:) with the two lines below:
let checkIntersection = intersectionCheckAction(for: fistNode)
fistNode.run(SKAction.sequence([punch, checkIntersection, restore]))
You’ve simply added an additional action right after the punch action, which runs a block to check for possible intersections of the fist node with the shurikens in the scene.
Since you perform the intersection test exactly at the moment when the reaching motion is complete, your ninja has to be rather precise when executing a punch, which should be the case for all ninjas anyway. :]
Build and run the project. Your ninja can now handle those shurikens like a boss!
The shurikens still don't hurt the ninja; you'll implement that in a later section.