TestFlight Essentials: Quickstart Guide for iOS Beta Testing
TestFlight Beta Testing is an Apple product that makes it easy to invite users to test your iOS, iPadOS, watchOS, and tvOS apps before you release them to the App Store. By Michael Katz.
Inviting by Link
Instead of adding external testers by email, you can create a public link that allows anyone to install the app. This is useful when you haven’t defined your testing group ahead of time, such as with a public beta test.
Under Public Link, click Enable Public Link.

App Store Connect double-checks that you’re sure you want to proceed. You’ll then get a TestFlight link you can share any way you’d like. This link works exactly the same way the invitation email does: The tester will have to open the link on the target device. The page will prompt the user to install the TestFlight app if they haven’t already, and then it will allow them to install your app through TestFlight.

In one sense, the link is more convenient than the invitation email. But be careful when sharing it! Testers invited through the link count against your 10,000-tester limit, but you can set your own limit to reduce the number of people who can get the app through the link in case you don’t want to give away 10,000 free copies of your app.
This concludes your look at the developer’s perspective of app testing. Now, you’ll see what it looks like from the tester’s perspective.
Testers’ Point of View
This section covers what’s required for your tester to access the available build. It’s wise to be familiar with this part of the process because questions will come up!
Accepting the Invitation
Both internal and external testers receive similar emails from TestFlight. This email will invite the user to view the app in TestFlight.

The link looks a little different in that it lays out the two steps: downloading TestFlight and app installation. Otherwise, the process is pretty much the same as when it’s done by email.

Installing TestFlight
Links from both invitations bring the user to TestFlight in the App Store:

The user will download the TestFlight app and launch it.
Redeeming Your App
When a new build is available, or when you add a new tester, the tester receives an invitation to test the build via TestFlight.
After opening the invitation and clicking View in TestFlight, TestFlight will launch and redeem the invitation using the Apple ID currently in use in the TestFlight app.
Then users will see an app preview page. This will show the app icon, build number and the testing information you provided. The screen will look something like this:
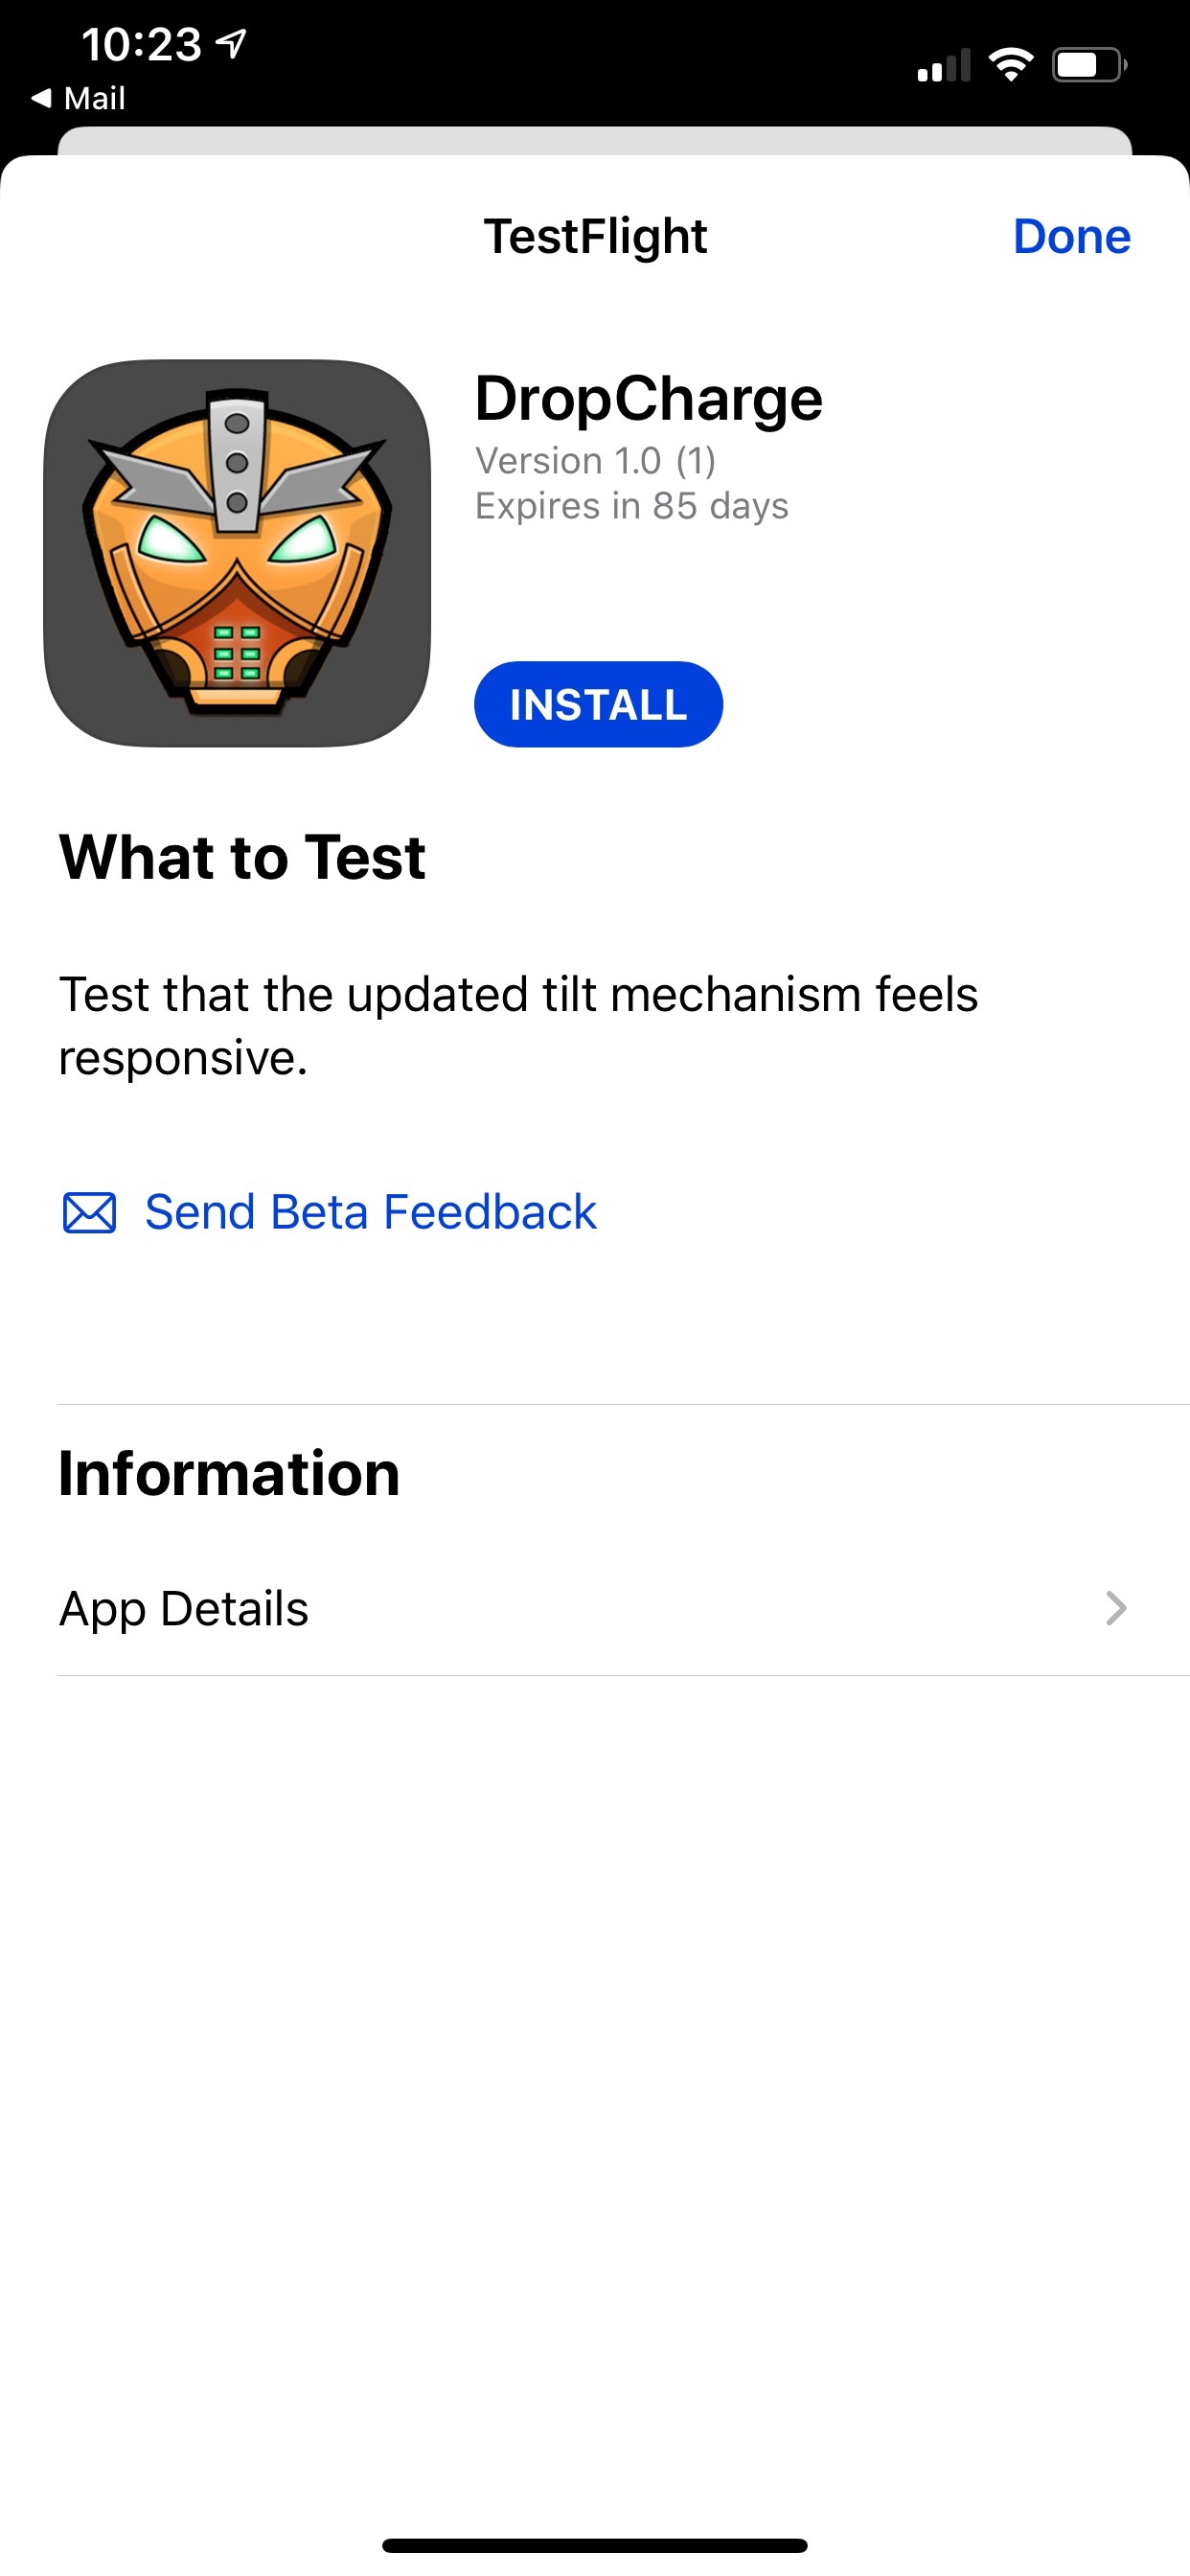
After tapping Install, the app will download and appear on the home screen. Now, users can treat it like any other app. It’ll have an orange dot near the name in SpringBoard to show it’s a TestFlight install.

Running the App
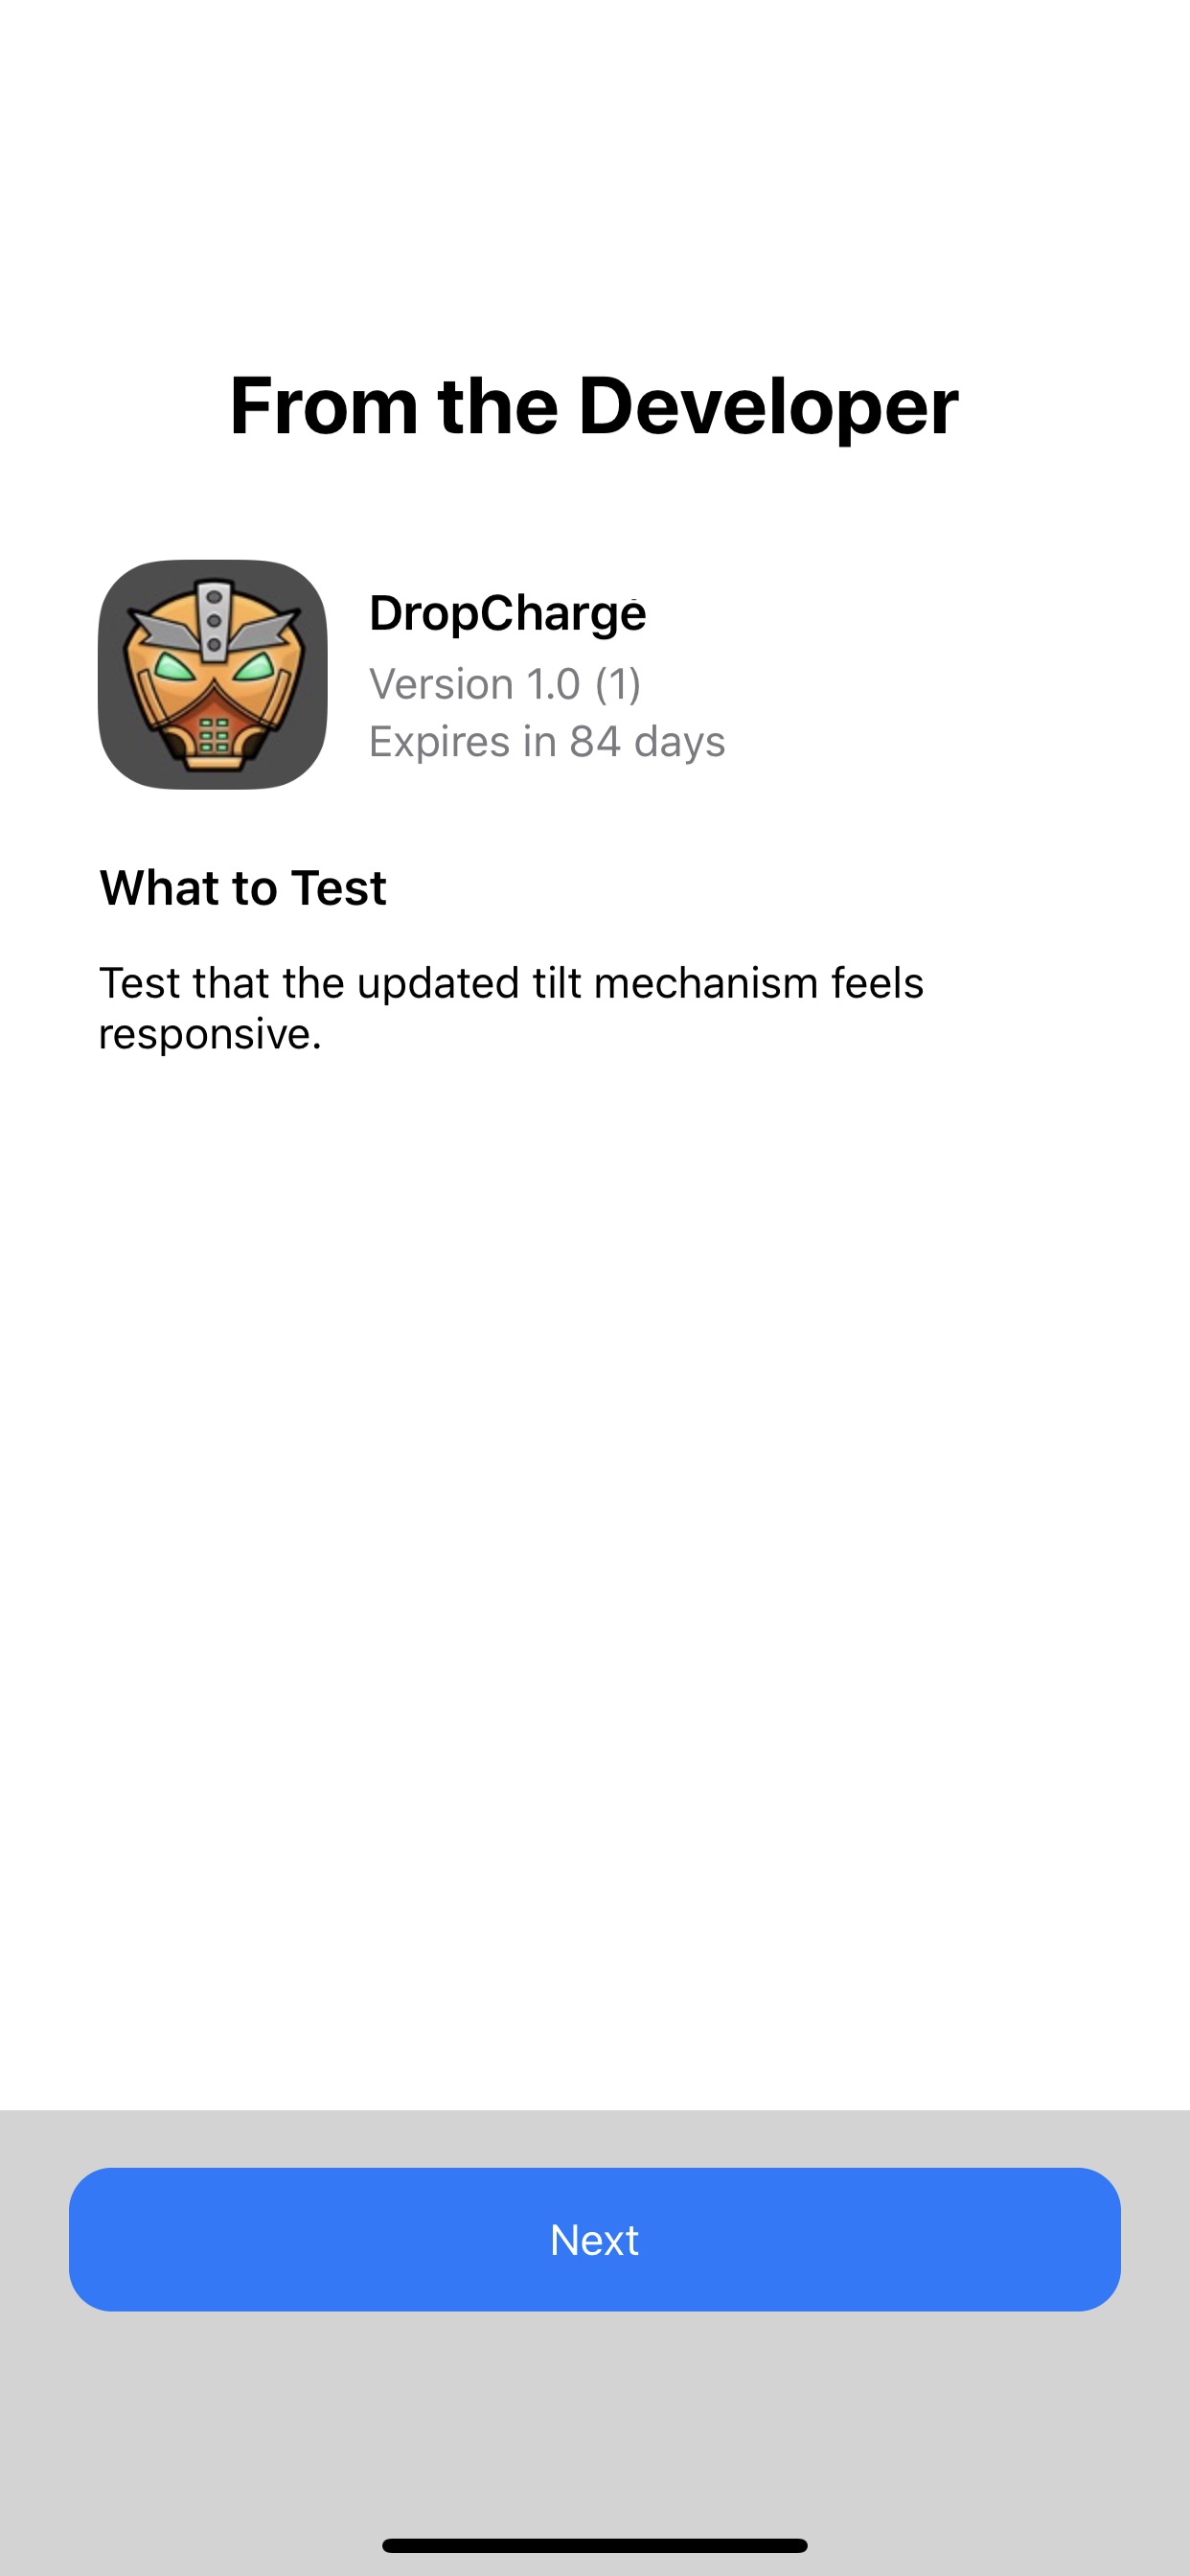
When testers first launch the app, they’ll see the same test information screen as before. There’s also a second screen with instructions on how to take a screenshot, along with a link for more information. This is a handy reminder to the tester of what to look for and how to provide feedback.
From now on, whenever a new version of this app is available, users will see a notification from TestFlight. All they need to do is update the app and run the latest version.
Giving and Receiving Feedback
TestFlight gives testers several ways to provide feedback to you, the developer.
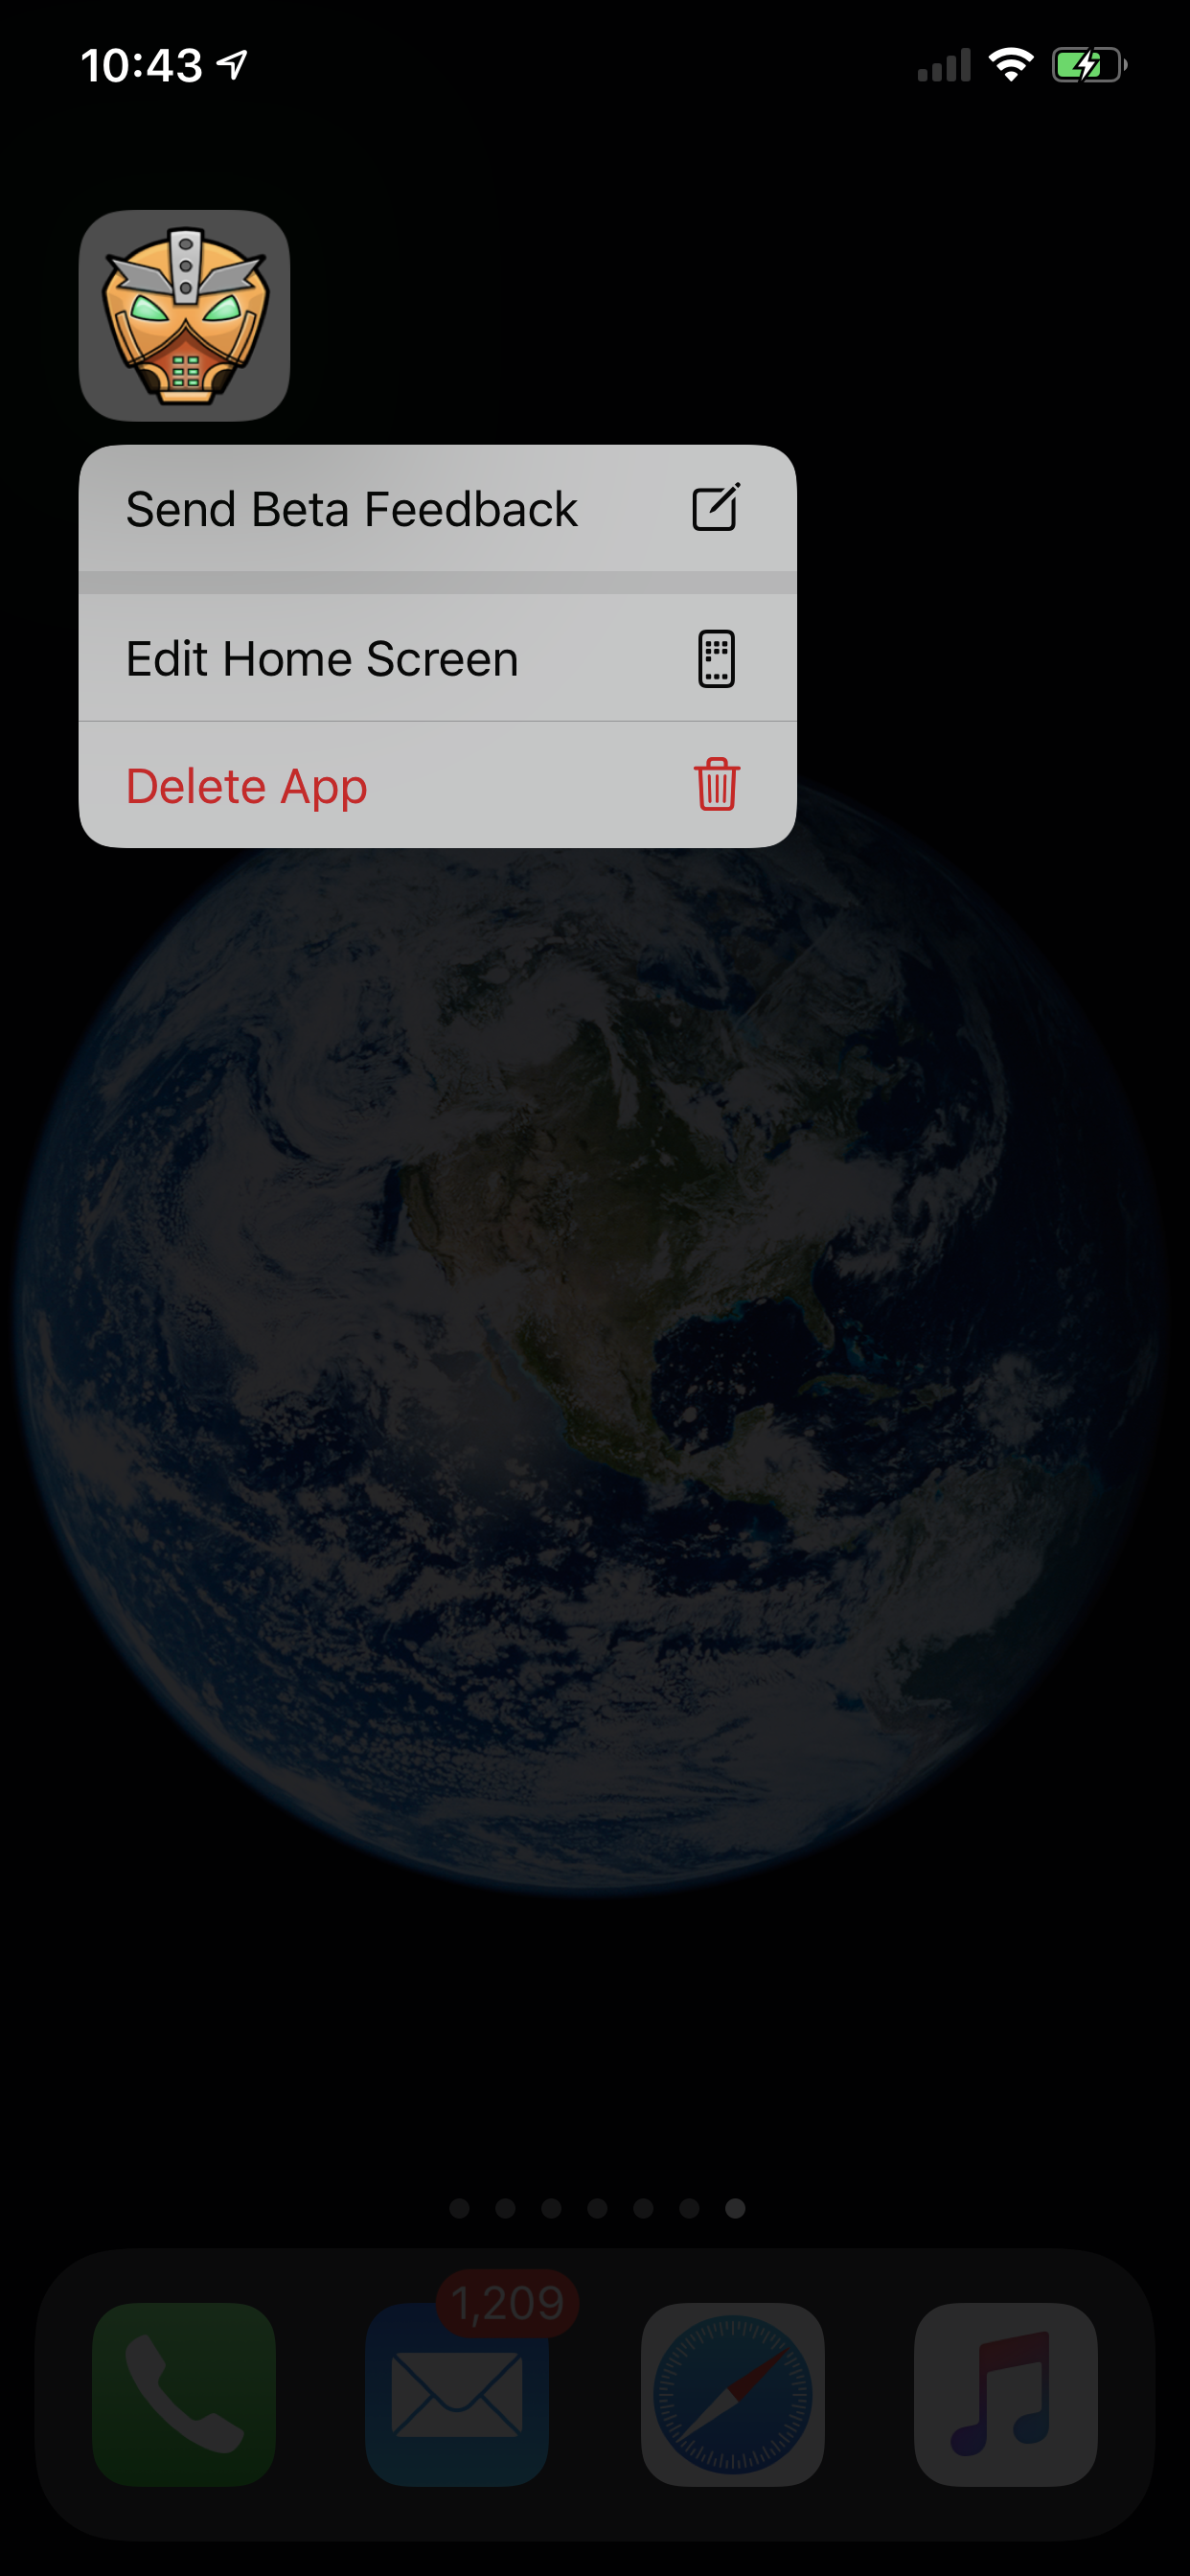
The first is through the screenshot mechanism. If the user takes a screenshot of the app, they’ll get a Share Beta Feedback… option. This appears either through the share action in the editing pane or right after they tap Done.

When users choose this option, they’ll get a chance to add a note — hopefully one including useful information and reproduction steps. :]

Users can also leave feedback through the TestFlight app. This brings up the same share sheet as the screenshot feedback. Through this method, users can attach any photo from their library or none at all.
Finally, the user can jump to this share mechanism in the TestFlight app with an app shortcut on the home screen.
Getting the Feedback
Once a tester submits feedback, it will appear in App Store Connect in the TestFlight tab. In the left navigation panel, there will be a Feedback section with a menu item for Screenshots. This is where all feedback sent through the TestFlight app goes, whether there’s an image attached or not.

Clicking an item will show the screenshot, the feedback the user entered, and information about the user and the user’s device. This includes the user’s email, how long they used the app, the operating system and device, and other metrics like their amount of battery and free disk space.

This will provide you with enough information to start debugging… or if not, a way to contact the user to get more information.
Crash Reports
In addition to sending feedback, TestFlight-installed apps get special privileges when it comes to crash reports. If the app crashes, an alert will pop up to give the user a chance to send that crash report to the developer.
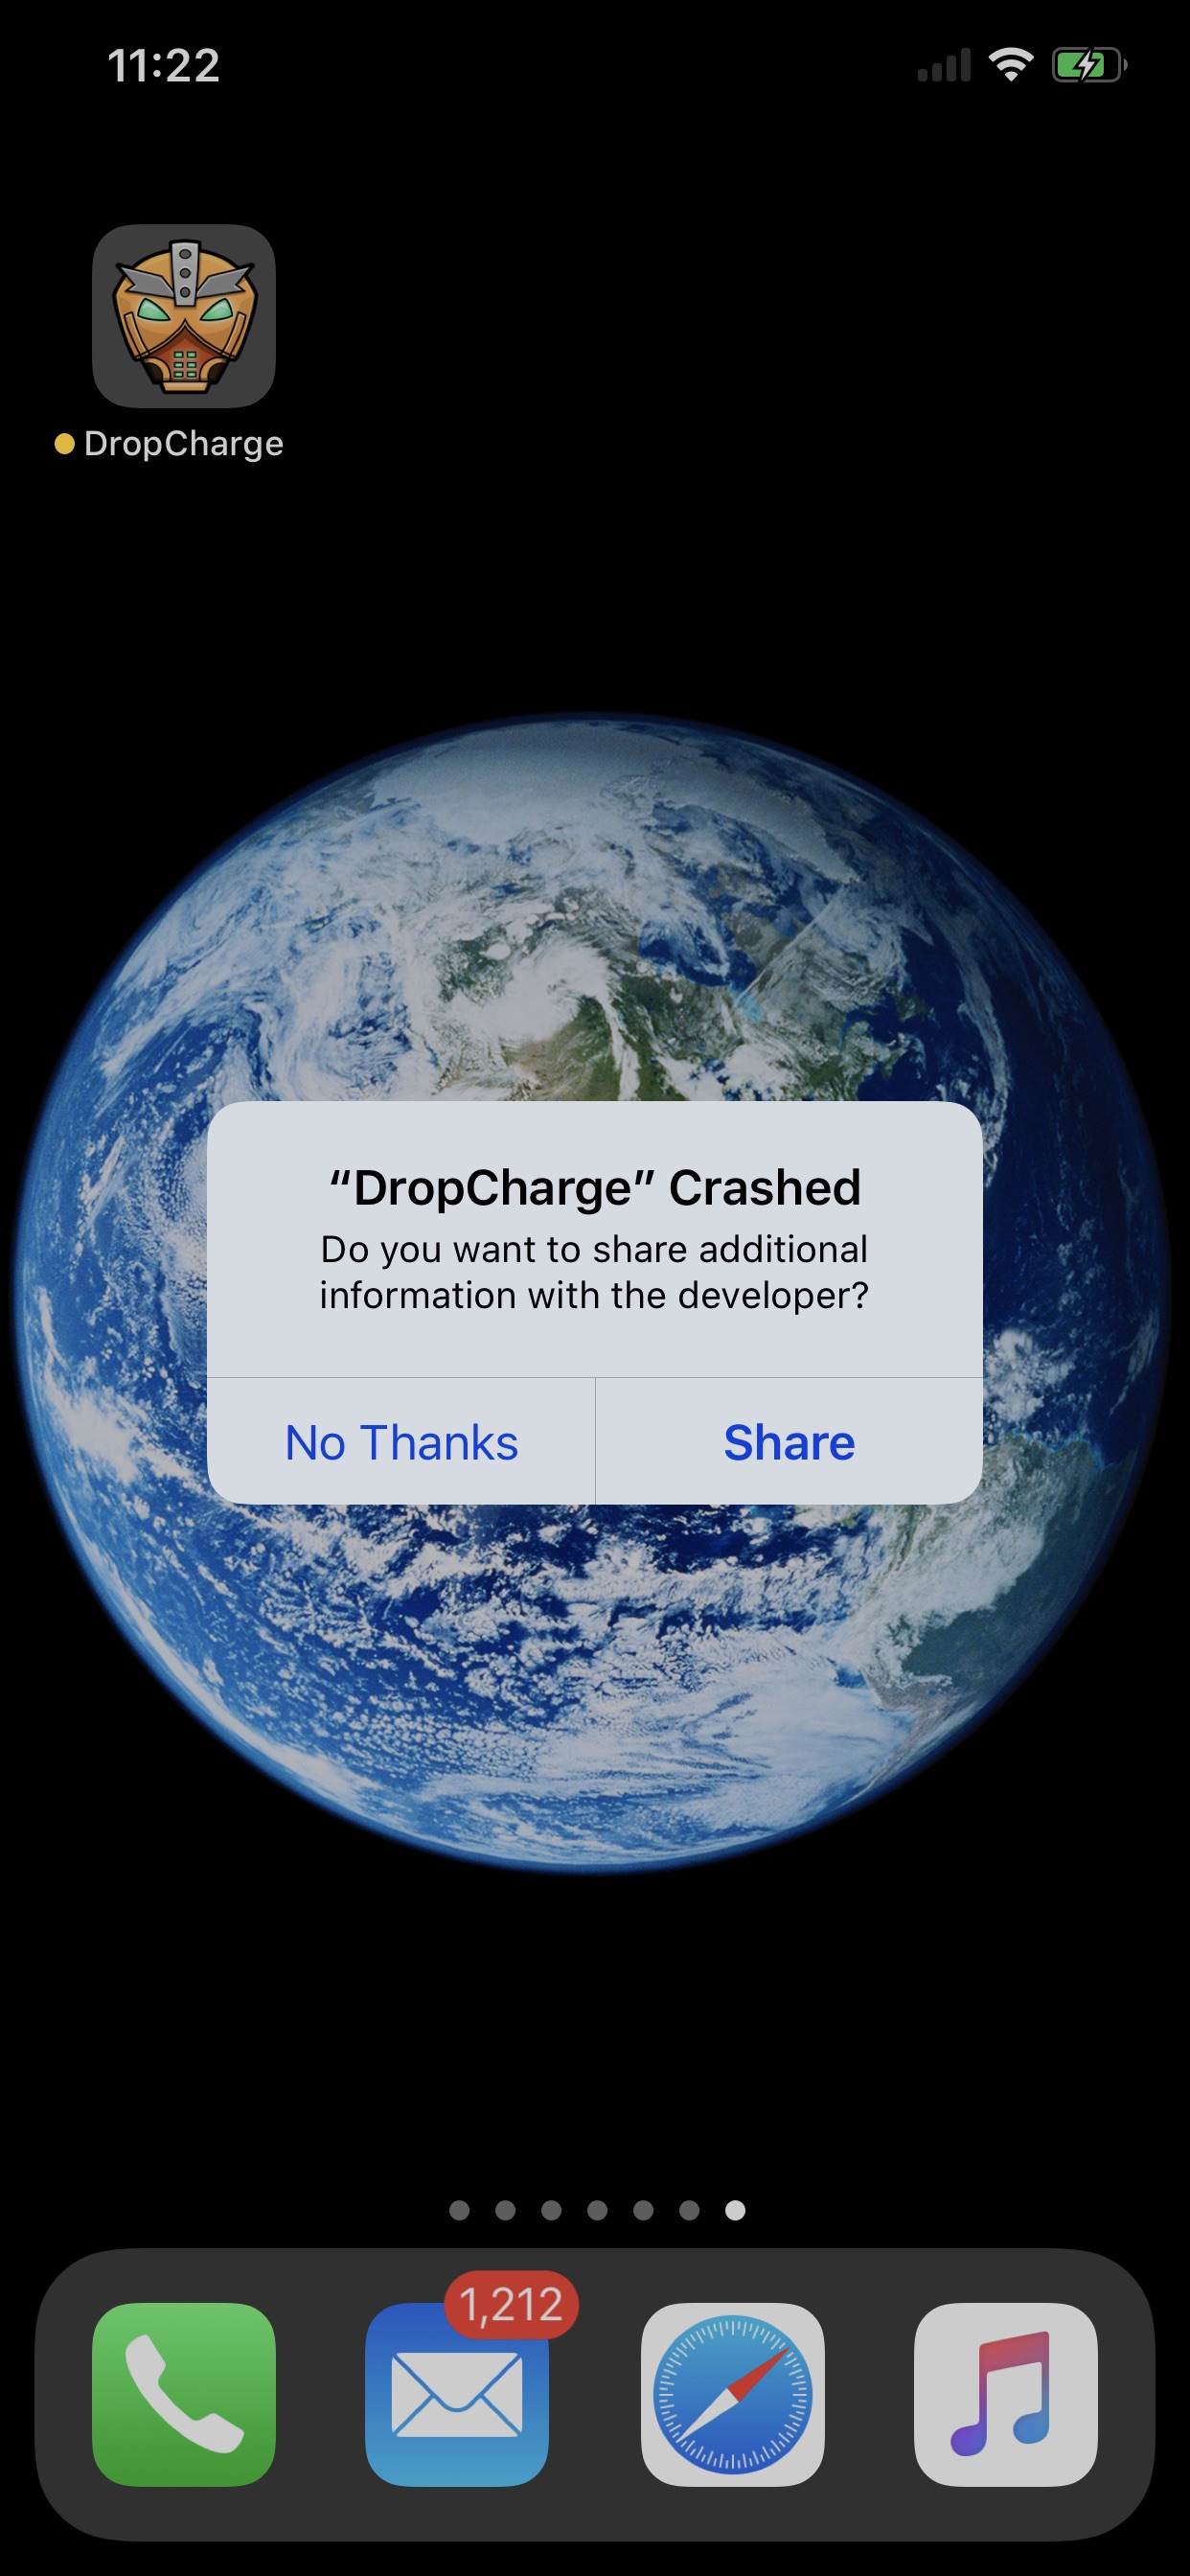
If the user taps Share, the crash report uploads to App Store Connect for you to review. These reports appear as feedback items under the eponymous Crashes menu.
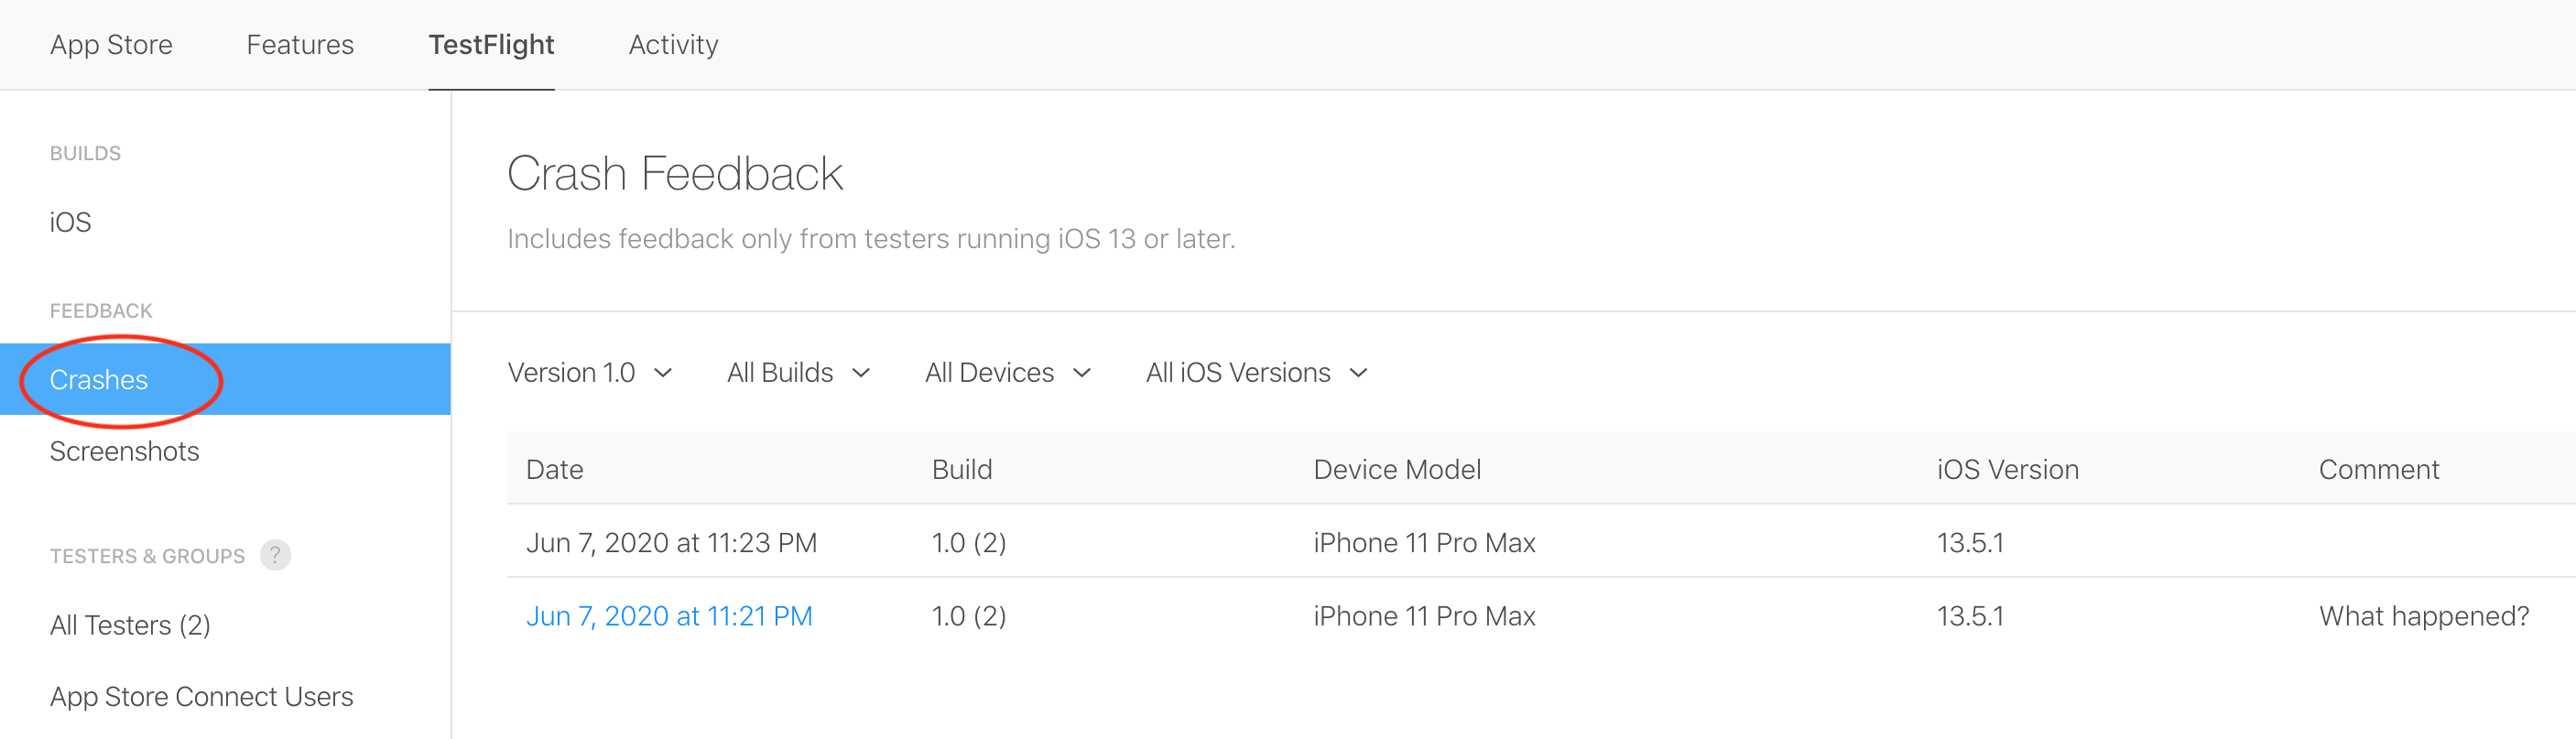
Crash reports contain the same information as other feedback, including information about the user and the device, along with anything they typed in the share sheet. If you click the Download button, it will download this information and a .crash file you can open in Xcode. This will help you figure out how to fix the issue.
