CALayer Tutorial for iOS: Getting Started
In this article, you’ll learn about CALayer and how it works. You’ll use CALayer for cool effects like shapes, gradients and particle systems. By Ron Kliffer.
Drawing a 3D Cube With CATransformLayer
CATransformLayer does not flatten its sublayer hierarchy like other layer classes. This makes it handy for drawing 3D structures. CATransformLayer is actually a container for its sublayers. Each sublayer can have its own transforms and opacity changes. However, it ignores changes to other rendered layer properties such as border width and color.
In this section you’ll build an interactive 3D cube. Start by opening CATransformLayerViewController.swift and adding the following code to buildCube():
// 1
transformLayer = CATransformLayer()

// 2
let redLayer = sideLayer(color: redColor)
redLayer.addSublayer(swipeMeTextLayer)
transformLayer.addSublayer(redLayer)

// 3
let orangeLayer = sideLayer(color: orangeColor)
var orangeTransform = CATransform3DMakeTranslation(
  sideLength / 2.0,
  0.0,
  sideLength / -2.0)
orangeTransform = CATransform3DRotate(
  orangeTransform,
  degreesToRadians(90.0),
  0.0,
  1.0,
  0.0)
orangeLayer.transform = orangeTransform
transformLayer.addSublayer(orangeLayer)
Here, you create the first two sides of your cube:
- First, you create a
CATransformerLayer. - Next, you add a
CALayerto represent the red side of the cube and add it totransformLayer. - Then you add the orange side of the cube. You position it by setting the
transformproperty, which accepts aCATransform3D.
Similarly, add the following code:
let yellowLayer = sideLayer(color: yellowColor)
yellowLayer.transform = CATransform3DMakeTranslation(0.0, 0.0, -sideLength)
transformLayer.addSublayer(yellowLayer)

let greenLayer = sideLayer(color: greenColor)
var greenTransform = CATransform3DMakeTranslation(
  sideLength / -2.0,
  0.0,
  sideLength / -2.0)
greenTransform = CATransform3DRotate(
  greenTransform,
  degreesToRadians(90.0),
  0.0,
  1.0,
  0.0)
greenLayer.transform = greenTransform
transformLayer.addSublayer(greenLayer)

let blueLayer = sideLayer(color: blueColor)
var blueTransform = CATransform3DMakeTranslation(
  0.0,
  sideLength / -2.0,
  sideLength / -2.0)
blueTransform = CATransform3DRotate(
  blueTransform,
  degreesToRadians(90.0),
  1.0,
  0.0,
  0.0)
blueLayer.transform = blueTransform
transformLayer.addSublayer(blueLayer)

let purpleLayer = sideLayer(color: purpleColor)
var purpleTransform = CATransform3DMakeTranslation(
  0.0,
  sideLength / 2.0,
  sideLength / -2.0)
purpleTransform = CATransform3DRotate(
  purpleTransform,
  degreesToRadians(90.0),
  1.0,
  0.0,
  0.0)
purpleLayer.transform = purpleTransform
transformLayer.addSublayer(purpleLayer)
Here, you create the remaining four sides of your cube.
Finally, set the layer’s z anchor point and add it to the screen by adding the following:
transformLayer.anchorPointZ = sideLength / -2.0
viewForTransformLayer.layer.addSublayer(transformLayer)
Here, you configure anchorPointZ to specify the anchor point on the z axis around which the geometric manipulations occur.
- 3DTransformFun project by Rich Turton.
- Enter The Matrix project by Mark Pospesel.
Now that you’ve created the cube, it’s time to set it in motion.
Rotating the Cube
To rotate the cube, you need to handle touch events. You can’t directly hit test a transform layer because it doesn’t have a 2D coordinate space to use to map a touchpoint. However, it’s possible to hit test individual sublayers.
The project code already includes the TrackBall utility from Bill Dudney, ported to Swift. This makes it easy to apply 3D transforms based on user gestures. You can check it out under // MARK: - Touch Handling.
Build and run. Select CATransformLayer from the menu and you’ll see a red square:
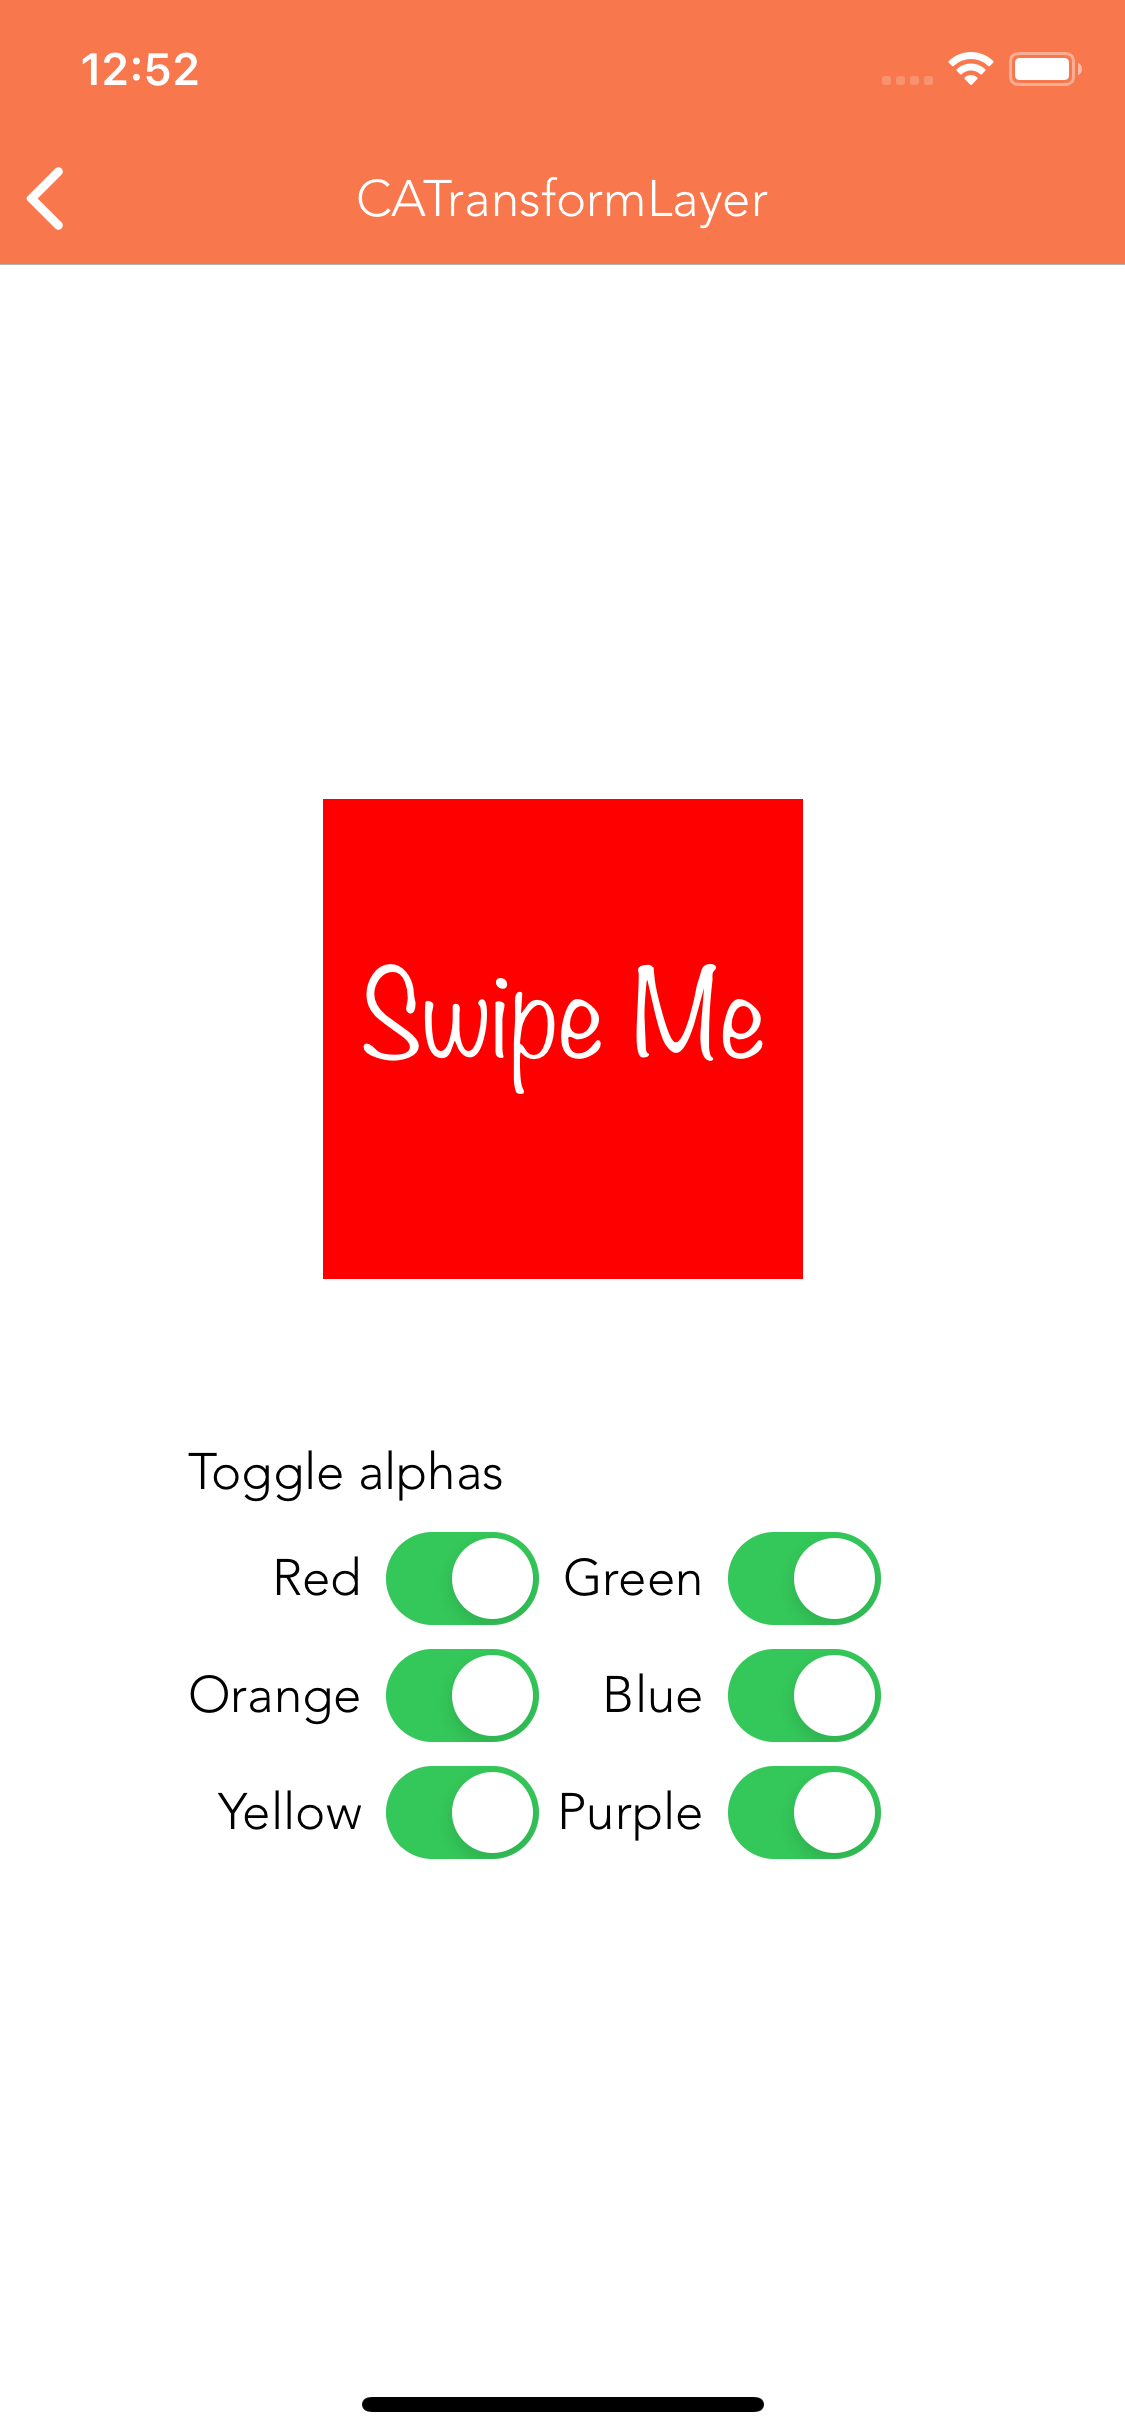
Swipe the cube and toggle the switches to see how they change the cube:

Making a Shooting Star With CAEmitterLayer
In computer graphics, Particle Systems are used to generate real-world phenomena such as fire, smoke, sparks, fireworks and explosions.
In Core Animation, CAEmitterLayer is available to render such systems and control animated particles that are instances of CAEmitterCell. Both CAEmitterLayer and CAEmitterCell have properties to change rendering rate, size, shape, color, velocity, lifetime and more.
Preparing the Emitter Layer
The Emitter Layer configures the position and shape of where particles are emitted.
Add the following to setUpEmitterLayer() in CAEmitterLayerViewController.swift:
// 1
resetEmitterCells()
emitterLayer.frame = viewForEmitterLayer.bounds
viewForEmitterLayer.layer.addSublayer(emitterLayer)

// 2
emitterLayer.seed = UInt32(Date().timeIntervalSince1970)

// 3
emitterLayer.emitterPosition = CGPoint(
  x: viewForEmitterLayer.bounds.midX * 1.5,
  y: viewForEmitterLayer.bounds.midY)

// 4
emitterLayer.renderMode = .additive
Here’s what you’ve done:
- First, you reset the layer and add it to the view.
- Then, you provide a seed for the layer’s random number generator. This, in turn, randomizes certain properties of the layer’s emitter cells, such as velocity. See the comments below, after the next code block, for more information.
- You set the emitter position.
- Finally, you define how particle cells render into the layer.
Setting up the Emitter Cell
Next, set up the emitter cell, which determines the specific behavior and appearance of the particles.
Add the following to setUpEmitterCell():
// 1
emitterCell.contents = UIImage(named: "smallStar")?.cgImage

// 2
emitterCell.velocity = 50.0
emitterCell.velocityRange = 500.0

// 3
emitterCell.color = UIColor.black.cgColor

// 4
emitterCell.redRange = 1.0
emitterCell.greenRange = 1.0
emitterCell.blueRange = 1.0
emitterCell.alphaRange = 0.0
emitterCell.redSpeed = 0.0
emitterCell.greenSpeed = 0.0
emitterCell.blueSpeed = 0.0
emitterCell.alphaSpeed = -0.5
emitterCell.scaleSpeed = 0.1

// 5
let zeroDegreesInRadians = degreesToRadians(0.0)
emitterCell.spin = degreesToRadians(130.0)
emitterCell.spinRange = zeroDegreesInRadians
emitterCell.emissionLatitude = zeroDegreesInRadians
emitterCell.emissionLongitude = zeroDegreesInRadians
emitterCell.emissionRange = degreesToRadians(360.0)

// 6
emitterCell.lifetime = 1.0
emitterCell.birthRate = 250.0

// 7
emitterCell.xAcceleration = -800
emitterCell.yAcceleration = 1000
Going through this step-by-step:
- You set up the emitter cell by setting its contents to an image. This image is available in the Layer Player project.
- Then you specify an initial velocity and maximum variance with
velocityRange. The emitter layer uses the aforementioned seed to create a random number generator. The random number generator randomizes values within the range by using the initial value plus and minus the range value. This randomization happens for any properties ending inRange. - You set the color to black. This allows the variance to vary from the default of white, which results in overly bright particles.
- Next, you set a series of color ranges using the same randomization as for
velocityRange. This time, the randomization specifies the range of variance to each color. Speed values dictate how quickly each color can change over the lifetime of the cell. - Here, you specify how to distribute the cells around a full circular cone. You do this by setting the emitter cell’s spinning velocity and emission range. The
emissionRangedefines the cone, specified in radians.emissionRangedetermines how to distribute emitter cells around the cone. - You set the cell’s lifetime to 1 second. This property’s default value is 0, so if you don’t explicitly set it, your cells never appear! The same goes for
birthRateper second. ThebirthRatedefault is 0, so this must be set to a positive number for cells to appear. - Finally, you set cell x and y acceleration. These values affect the visual angle at which the particles emit.
Build and run and select CAEmitterLayer. Here’s the outcome:
Back in Xcode, find prepare(for:sender:) and uncomment the code to hook up the controls table.
Now, build and run the app again and use the controls to adjust all the above-mentioned properties and several more:
