How To Use Git Source Control with Xcode 9
In this tutorial, you’ll learn how to use git source control with Xcode 9; whether committing or reverting, branching or merging, this tutorial has you covered. By Richard Critz.
Branching Out
Another feature of Git supported by Xcode is the ability to commit your changes to a specific branch.
But wait, what’s a branch?
A branch is way to keep a set of commits together. By working on different branches, you can keep features separated and reduce your risk of totally breaking your project.
Believe it or not, you’re already using a branch. When a repository is first created, Git also creates a branch named “master” within that repository. All of your work so far has been on the master branch.
The master branch should always keep the main copy of your project. You use other branches as a way to store work in progress that is not yet ready for release. You can also use them to store experiments that may never be released.
For example, let’s say you’re adding a new map feature into your app but it isn’t quite ready for production. To simulate this, create a new class derived from NSObject and name it MapForItinerary. At this point your project might look like this:

Notice the status “A” for the new file MapForItinerary.swift. This indicates this is a new file that has not yet been committed to the repository.
Select Source Control\Commit… from the menu.
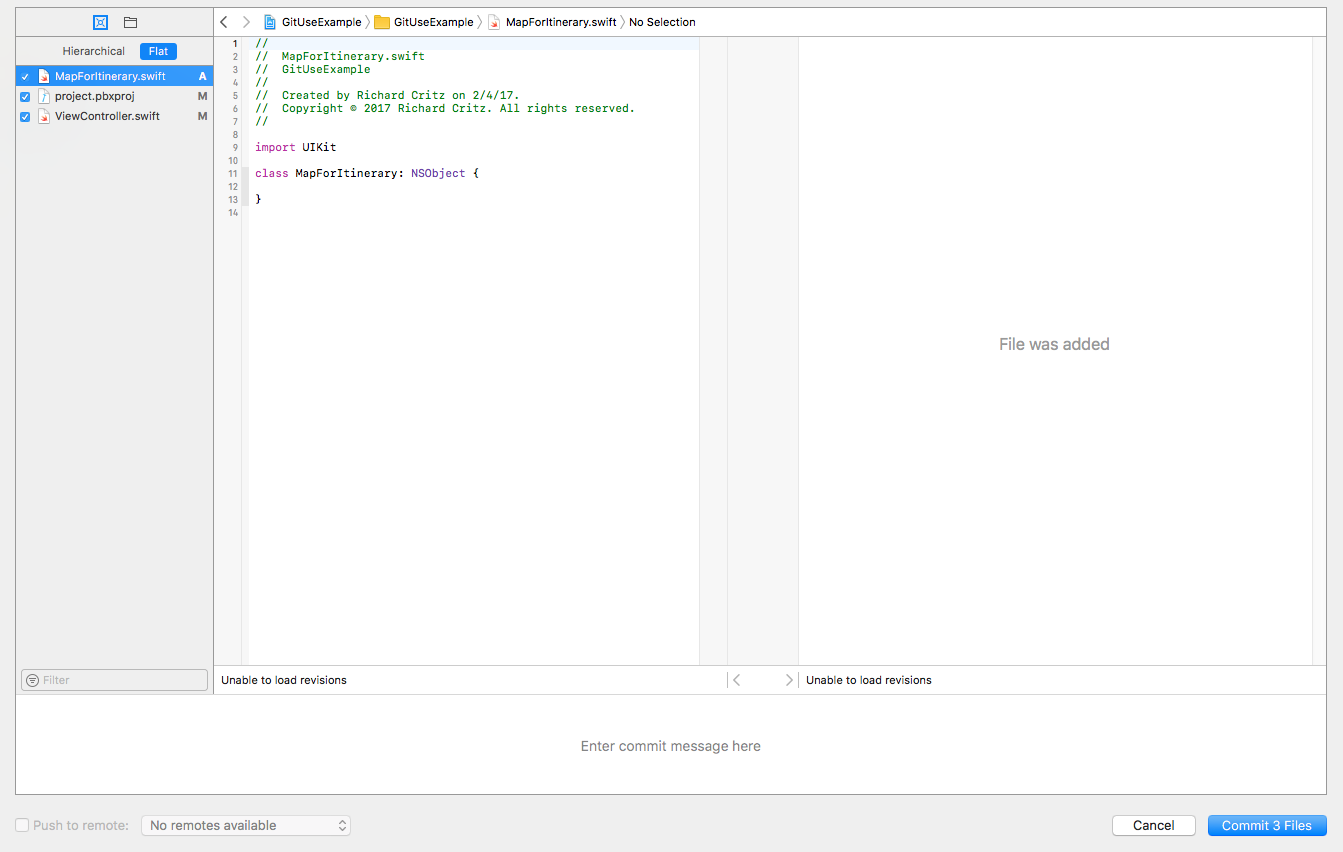
If you select the file with the A status, you will notice that Xcode doesn’t provide any earlier version to compare with. This is because the file hasn’t been committed to the repository yet so there is nothing to compare it with.
Adding the map feature to your app represents a big change in your code. This is a perfect situation to use a branch. This will help to isolate the risk in case there are problems with your new map code.
Instead of clicking the Commit 3 Files button, click Cancel instead. Switch to the Source Control navigator and click the gear icon in the lower left corner. Select Branch from “master”….

Xcode asks you to name your new branch.

Name the branch map_feature and click Create.
Xcode creates the new branch and switches to it. You can verify this by looking for the current label in the Branches section of the Source Control navigator.

Select Source Control\Commit…, enter a commit message, and click Commit 3 Files.

Notice that all of the status letters next to the files in the Project navigator have been cleared. This means you no longer have any uncommitted changes.

Backing Out
You’re working on the latest revision of your project, building the newest cool feature. You take a break for a snack and have a sudden inspiration for a better way to build it. At this point, you may want to recover the last revision from source control and start fresh.

Git makes it trivial to do just that! :]
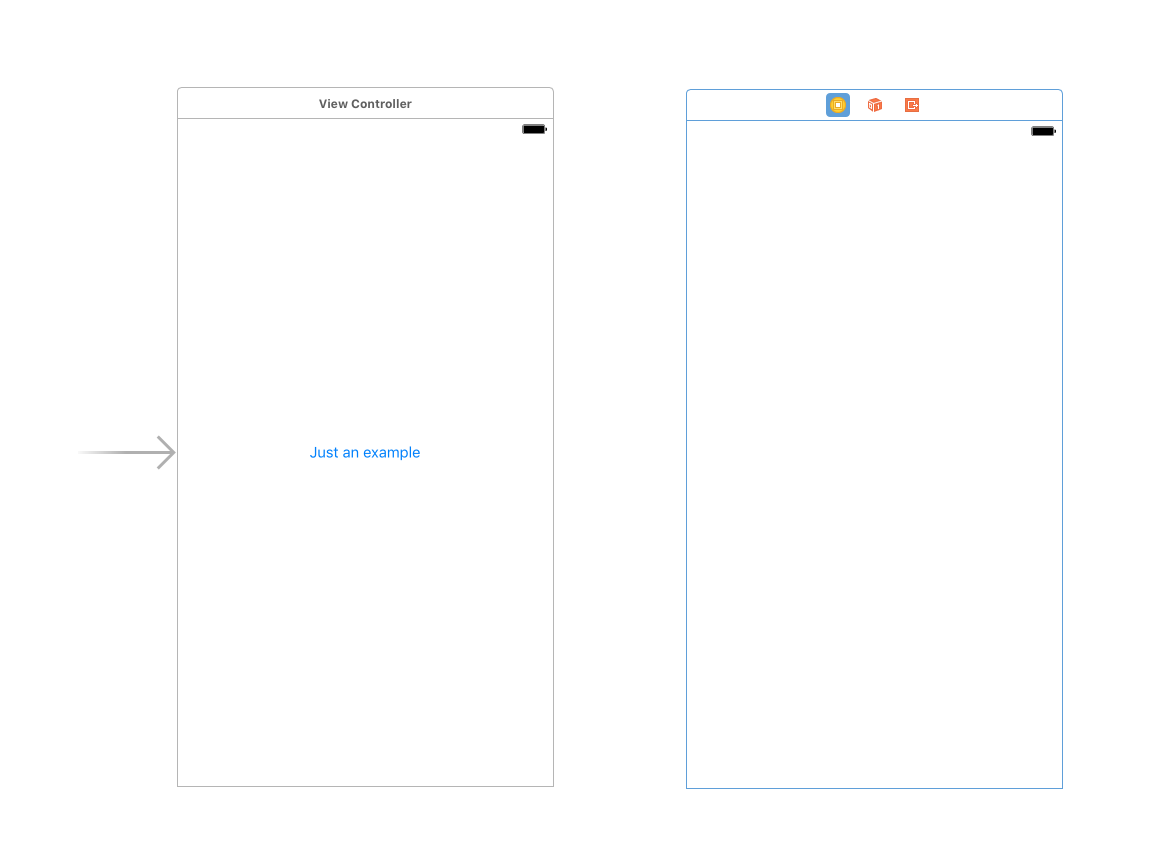
Open Main.storyboard and drag a new view controller onto the canvas from the Object library.
Open MapForItinerary.swift and add the method sayHello().
func sayHello() {
  print("Hello from MapForItinerary")
}
Notice that the status of the modified files has changed to “M”, meaning that the files are locally modified and are waiting to be committed.
At this point, you can selectively discard the changes you’ve made to the project. Select Main.storyboard in the Project navigator and then select Source Control\Discard Changes in “Main.storyboard”… from the menu.

Xcode will prompt you to confirm that you really wish to discard all changes in that file.
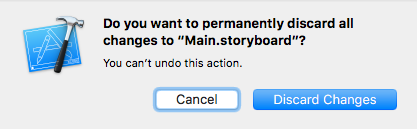
Click Discard Changes. You should see the view controller (and the yellow warning icon) you just added vanish! This can be extremely useful when you’ve added some changes but they aren’t working, and you want to get back to the last known good state.
In addition to discarding an entire file’s changes, you can also discard individual changes.
MapForItinerary.swift still has the “M” badge on it. Select Source Control\Commit… from the menu. Click the down arrow next to the change number and choose Discard Change:

Poof! Your change is gone. Since there is nothing left to commit, just click Cancel to close the commit window.
Now that you’ve tried out Discard Change, you might wonder what the difference is between that and the Don’t Commit option you chose earlier.
While it’s true that both of these options result in the change not being recorded in the repository, there is a big difference:
- Don’t Commit lets you skip the change so that it won’t be committed with other changes, but it will remain in the local source code.
- Discard Changes not only skips the change, but also deletes it from the local source code.
Time Travel
Discarding changes is a good way to revert back to working code and save you time. However, it can be a little limiting in some cases.
Git allows you to save multiple revisions for your project where each revision has specific changes. These are all stored into a repository managed for you by Git.
If you choose to discard changes made to a file, Git will restore the last committed version of the file and only the last. And that’s actually where the limitation lies.
Over time, your project repository will grow to contain multiple revisions reflecting the history of your development. Suppose you wish to revert to the first or second version of a particular file. There is no way to do that just by discarding changes. Don’t despair, however, as Xcode and Git make this easy to do.
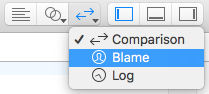
Select ViewController.swift in the Project navigator. Now select View\Version Editor\Show Comparison View from the menu. Alternatively, you can click the third button in the Editor section on the toolbar at the top right of the Xcode window.
![]()
The version editor is split into two panes as shown below:
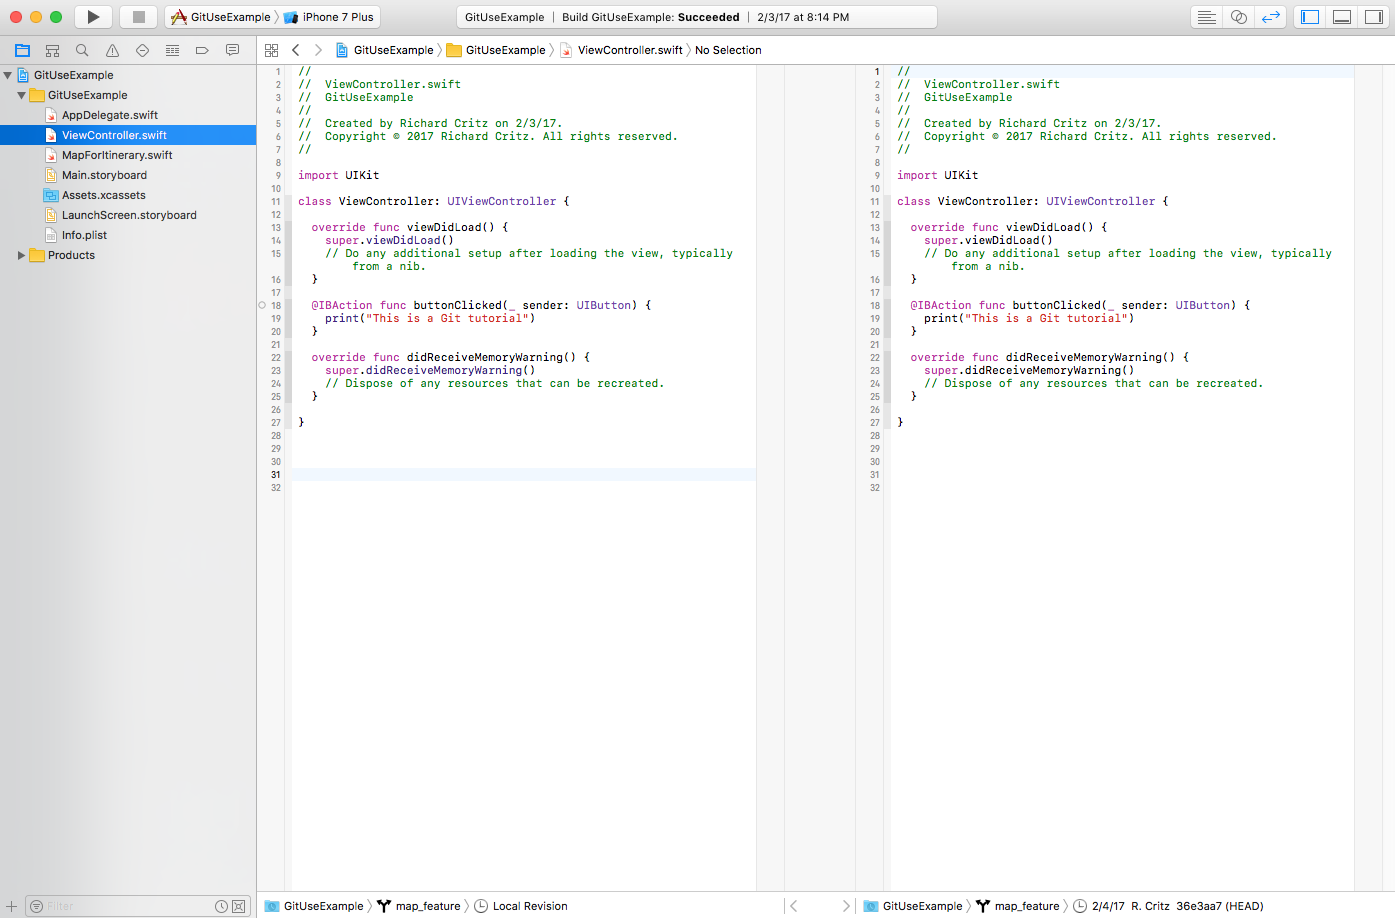
This allows you to compare two revisions of the selected file and works exactly like the comparison view in the Commit window. By default, your current source file is shown on the left and the most recent revision stored in the repository – Git calls this the HEAD – is shown on the right.
To display earlier versions from your repository, click on the clock icon at the bottom of the right pane (marked in red below) and select an earlier revision.

Select the revision just prior the HEAD revision as shown below. The exact information you see will be different from the screenshot.

Now, to revert to that file version, just click the arrow next to the change number in the comparison pane and select Discard Change. It’s that easy! :]

Once you finish reverting to an earlier version, you will need to commit this “new” version of the file as the most recent. Go ahead and do that now.
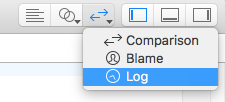
How do you know which earlier commit is the one you want? While you can certainly use the Source Control navigator as you learned earlier, there is another way. Click and hold on the Version Editor button and select Log. You can also choose View\Version Editor\Show Log View from the menu.
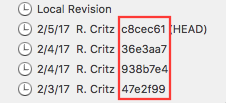
Xcode will list the commits that contain changes to the current file. Notice that the listing for each commit contains a commit identifier.
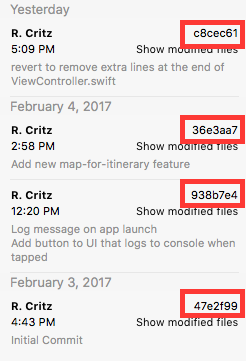
These identifiers match the ones shown in the revision history list you were using earlier.
You can also click Show modified files to explore the differences in more detail. Try it now!
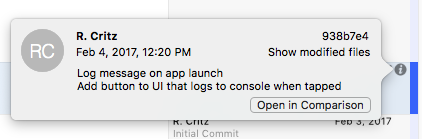
Another incredibly useful view into your project is called the Blame View. This view shows you which commit contributes each line of your file.
Switch to the Blame View. Click and hold on the Version Editor button and select Blame. You can also choose View\Version Editor\Show Blame View from the menu.
Your screen will look something like this:

To see more details about a committed change, press the info button next to the date. The resulting pop-up shows you who made the commit, when it was made, the commit message, and the commit identifier. It also has a button to show all of the files modified in the commit and a button to open the current file in Comparison View, comparing the this commit with the HEAD commit.