PaintCode Tutorial: Dynamic Buttons
Learn how to make beautiful resizable and recolorable buttons, using a popular tool called PaintCode that automatically creates Core Graphics code for you as you draw! By Felipe Laso-Marsetti.
Finishing Touches
Go back to ButtonView.m and add the following methods:
-(void)setEnabled:(BOOL)enabled {
    [super setEnabled:enabled];
    [self setNeedsDisplay];
}

-(void)setHighlighted:(BOOL)value {
    [super setHighlighted:value];
    [self setNeedsDisplay];
}

-(void)setSelected:(BOOL)value {
    [super setSelected:value];
    [self setNeedsDisplay];
}
The code above informs the button that it needs to redraw itself whenever it’s enabled and disabled, selected and unselected, or highlighted and unhighlighted. This allows the color changes for the highlighted state to show up.
Next, add the following method to ButtonViewController.m:
-(IBAction)buttonTapped:(UIButton *)button {
    ButtonView *buttonView = (ButtonView *)button;

    NSString *messageString = [NSString stringWithFormat:@"Red: %f\nGreen: %f\nBlue: %f\n Alpha: %f",
                               buttonView.redColor,
                               buttonView.greenColor,
                               buttonView.blueColor,
                               buttonView.alpha];

    UIAlertView *alertView = [[UIAlertView alloc] initWithTitle:@"Button Colors"
                                                        message:messageString
                                                       delegate:nil
                                              cancelButtonTitle:@"Dismiss"
                                              otherButtonTitles:nil];
    [alertView show];
}
This method simply presents an alert view when the button is tapped, showing the button’s current RGB and alpha values.
On the storyboard, connect this method to the Touch Up Inside event of the button.
Build and run your project one final time, tap the button and check out the results! You should see something similar to the screenshot below:
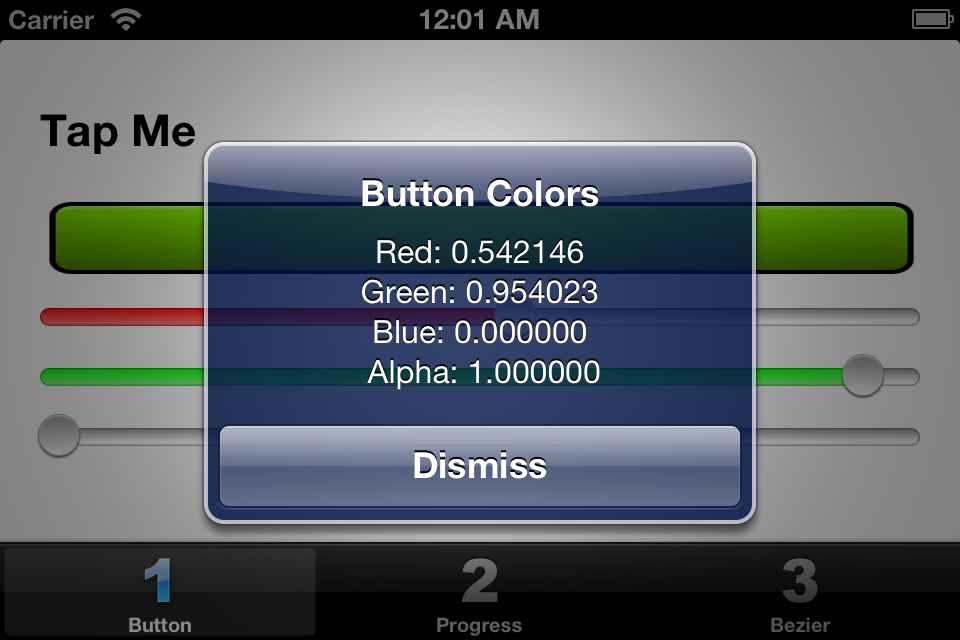
Perfect – things are working just as they should!
Where To Go From Here?
You can download the final project with the PaintCode file and Xcode project here.
Congratulations – you are now well on the road to leveraging the full power of PaintCode. It will help you design custom and dynamic UI elements for your apps in a fraction of the time!
There’s still two parts left in the series; part two will walk you through constructing a custom progress indicator and part three will show you how to make some neat dynamic bezier arrows!
For now though, you can take your current project a little further by trying out some of the following sugestions:
- Play around with PaintCode and learn more about its features and the available tools.
- Add text, more shadows, or other PaintCode elements or shapes to your button.
- Override
initWithFrame:inButtonViewso you can create dynamic buttons programmatically. - Create a custom initializer for
ButtonViewthat lets you set the initial frame and RGB values.
We hope you’ve enjoyed this PaintCode tutorial and we’re looking forward to seeing you in the next parts of the series. Things will get a bit more advanced as you move through the next two parts of this series — but we know you’re up to the task!
Happy PaintCoding – and as always, if you have any questions or comments please join the forum discussion below!