PaintCode Tutorial: Dynamic Buttons
Learn how to make beautiful resizable and recolorable buttons, using a popular tool called PaintCode that automatically creates Core Graphics code for you as you draw! By Felipe Laso-Marsetti.
Setting Button Properties Dynamically
Controlling the button’s size dynamically is one thing — but you’re going to take things to the next level and add some sliders to the ButtonViewController scene that control the RGB values for the color of the button.
Switch back to the storyboard and add three Slider objects from the object library and position them right below the button view. In the Size Inspector, update the Autosizing widget for all three sliders as shown:

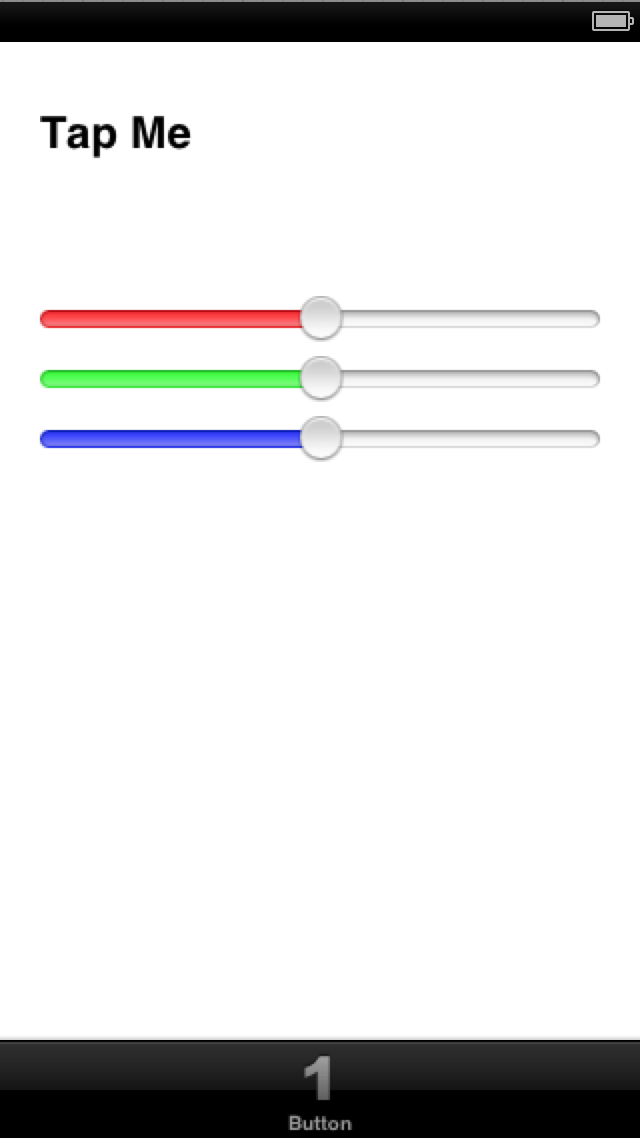
Optionally, you can move the button down a bit and add a label right above the button that reads “Tap Me” so your users know that it’s a button they can tap and interact with. This is what the scene should look like at this point:

In the Attributes Inspector, change the Min Track Tint color of the sliders to the following RGB values:
- Top slider: R:255 G:0 B:0
- Middle slider: R:0 G:255 B:0
- Bottom slider: R:0 G:0 B:255
Your sliders should now resemble the ones in the following screenshot:
Note: Sometimes the Background color of the slider changes when you set the Min Track Tint. This appears to be an issue with Xcode, but you can fix this by simply setting the Background color to Default.
Switch to ButtonViewController.m, and add the following import and class extension with outlets to the top of the file:
#import "ButtonView.h"

@interface ButtonViewController ()

@property (weak, nonatomic) IBOutlet UISlider *blueSlider;
@property (weak, nonatomic) IBOutlet ButtonView *buttonView;
@property (weak, nonatomic) IBOutlet UISlider *greenSlider;
@property (weak, nonatomic) IBOutlet UISlider *redSlider;

@end
Connect the buttonView outlet to the UIView for the button, and the UISlider outlets to the corresponding sliders on the storyboard. If you are unsure how to connect views to outlets, check out our How To Create a Simple iPhone App series.
In order to make the button’s color change as you drag the sliders, the ButtonView class needs to be updated as the slider values change.
Open ButtonView.h and add the following three properties between the @interface and @end lines:
@property (assign, nonatomic) CGFloat blueColor;
@property (assign, nonatomic) CGFloat greenColor;
@property (assign, nonatomic) CGFloat redColor;
These properties simply store the current RGB color of the button.
Now switch to ButtonView.m and take a look at drawRect:. Notice how the section with the Gradient Declarations uses the slightly longer (and older) array notation. To maintain good coding practices, replace the Gradient Declarations line with the following code:
NSArray *buttonGradientColors = @[(id)buttonColorLight.CGColor, (id)buttonColorDark.CGColor];
Next, replace the whole section with the “Color Declarations” comment with the following code:
-(void)drawRect:(CGRect)rect {
    ...

    // 1
    UIColor *buttonColorLight = [UIColor colorWithRed:self.redColor green:self.greenColor blue:self.blueColor alpha: 1];

    // 2
    if (self.state == UIControlStateHighlighted) {
        buttonColorLight = [UIColor colorWithRed:self.redColor green:self.greenColor blue:self.blueColor alpha:0.5];
    }

    // 3
    CGFloat buttonColorLightRGBA[4];
    [buttonColorLight getRed:&buttonColorLightRGBA[0]
                       green:&buttonColorLightRGBA[1]
                        blue:&buttonColorLightRGBA[2]
                       alpha:&buttonColorLightRGBA[3]];

    // 4
    UIColor *buttonColorDark = [UIColor colorWithRed:(buttonColorLightRGBA[0] * 0.5)
                                               green:(buttonColorLightRGBA[1] * 0.5)
                                                blue:(buttonColorLightRGBA[2] * 0.5)
                                               alpha:(buttonColorLightRGBA[3] * 0.5 + 0.5)];
    // 5
    UIColor *innerGlowColor = [UIColor colorWithRed:1 green:1 blue:1 alpha:0.53];
    UIColor *shadowColor2 = [UIColor colorWithRed:1 green:1 blue:1 alpha:0.51];

    ...
}
Here’s what the above code does:
- Creates a local
UIColorvariable for the light color of the button (remember, you set that up in the gradient editor) with the color values stored in the class properties. - Lowers the alpha value of the color to 50% if the user is touching the button, which is indicated by the
UIControlStateHighlightedstate. This gives the user some visual feedback for the button tap. - Loads the RGB color values for the light color into an array of
CGFloatvalues. - Creates the button’s dark color (remember, you set that up in the gradient editor) based on the light color.
- Creates the inner glow and shadow colors based on static values.
It’s a good idea to start your application with a default color already set for the button. Since the button is loaded from a storyboard, you’ll need to implement initWithCoder: (in ButtonView.m) to achieve this:
-(id)initWithCoder:(NSCoder *)coder {
    if (self = [super initWithCoder:coder]) {
        self.redColor = 1.0f;
        self.greenColor = 0.0f;
        self.blueColor = 0.0f;

        self.contentMode = UIViewContentModeRedraw;
    }

    return self;
}
This sets the button’s initial color to red as soon as it is loaded from the storyboard, and the view’s content mode to UIViewContentModeRedraw.
Note: If you’re wondering why initWithCoder: was overridden and not initWithFrame:, it’s because initWithFrame: is used to create a view programmatically, whereas initWithCoder: is used to create UI elements via a NIB or storyboard.
There’s one last thing to do before testing your changes. Switch to ButtonViewController.m and implement viewDidLoad as follows:
-(void)viewDidLoad {
    [super viewDidLoad];

    [self.redSlider setValue:self.buttonView.redColor];
    [self.greenSlider setValue:self.buttonView.greenColor];
    [self.blueSlider setValue:self.buttonView.blueColor];
}
The above code sets the value for each slider to the RGB components of the button’s initial color.
Build and run, and modify the slider controls to see how the the button’s color changes, as demonstrated in the screenshot below:

Oh, wait — the app isn’t responding! Why is that?
There are outlets hooked up to the sliders, but currently ButtonViewController has no way to detect or respond to changes in the slider values. You’ll need to add some IBAction code to handle these changes.
Responding To Actions
Responding to events from the sliders and the button is not too difficult to implement.
Add the following method to ButtonViewController.m:
-(IBAction)sliderValueChanged:(UISlider *)slider {
    if (slider == self.redSlider) {
        self.buttonView.redColor = self.redSlider.value;
    } else if (slider == self.greenSlider) {
        self.buttonView.greenColor = self.greenSlider.value;
    } else if (slider == self.blueSlider) {
        self.buttonView.blueColor = self.blueSlider.value;
    }

    [self.buttonView setNeedsDisplay];
}
The above method receives a pointer to the slider whose value has changed. You compare the pointer against your slider outlets and update the button’s color according to the change made to the slider.
Notice that you call setNeedsDisplay on the button at the very end of the method in order for the draw method to be called again to use the new color.
Now switch to the storyboard, right-click on each slider in turn, and connect the Value Changed event to the ButtonViewController's
sliderValueChanged: method, as shown in the screenshot below:

Build and run your project again, and try once more to move the sliders around to change the button’s color, as below:

Hey — it works! You now have not only a dynamically sizing button, but one whose color can be changed dynamically as well.
Go ahead and tap on your button to see what happens.
Oh, right — it doesn’t appear to do anything yet. The button doesn’t highlight to indicate it was tapped, nor is there any indication that the button is billing your credit card for $99.95 at this very moment. (Just kidding! :])
There are no actions hooked up to this button at this point — that’s your next task!