Developing and Testing Server-Side Swift with Docker and Vapor
Use Docker to develop and test your Vapor apps and learn to use Docker Compose to run different services, which include a database. By Natan Rolnik.
Building the Image
After you save the Dockerfile, go back to Terminal and run the build command, which tells Docker to build your app image:
docker build . --file development.Dockerfile --tag til-app-dev
A few notes about this command:
- The dot is the path where Docker looks for the Dockerfile. In this case, it’s the current directory.
- The
--fileflag is necessary because a named Dockerfile is being used. If the name of the file were justDockerfile, Docker would find it automatically without the flag. - The
--tagflag tells Docker how to identify this image. This makes it easier for Docker to access it later, when it’s time to run it.
Once you run this command, Docker will start by pulling the base image. Then it will run all the instructions present in the Dockerfile to build the application image.
This should take a few minutes, and it’s easy to follow the progress by looking at the logs.
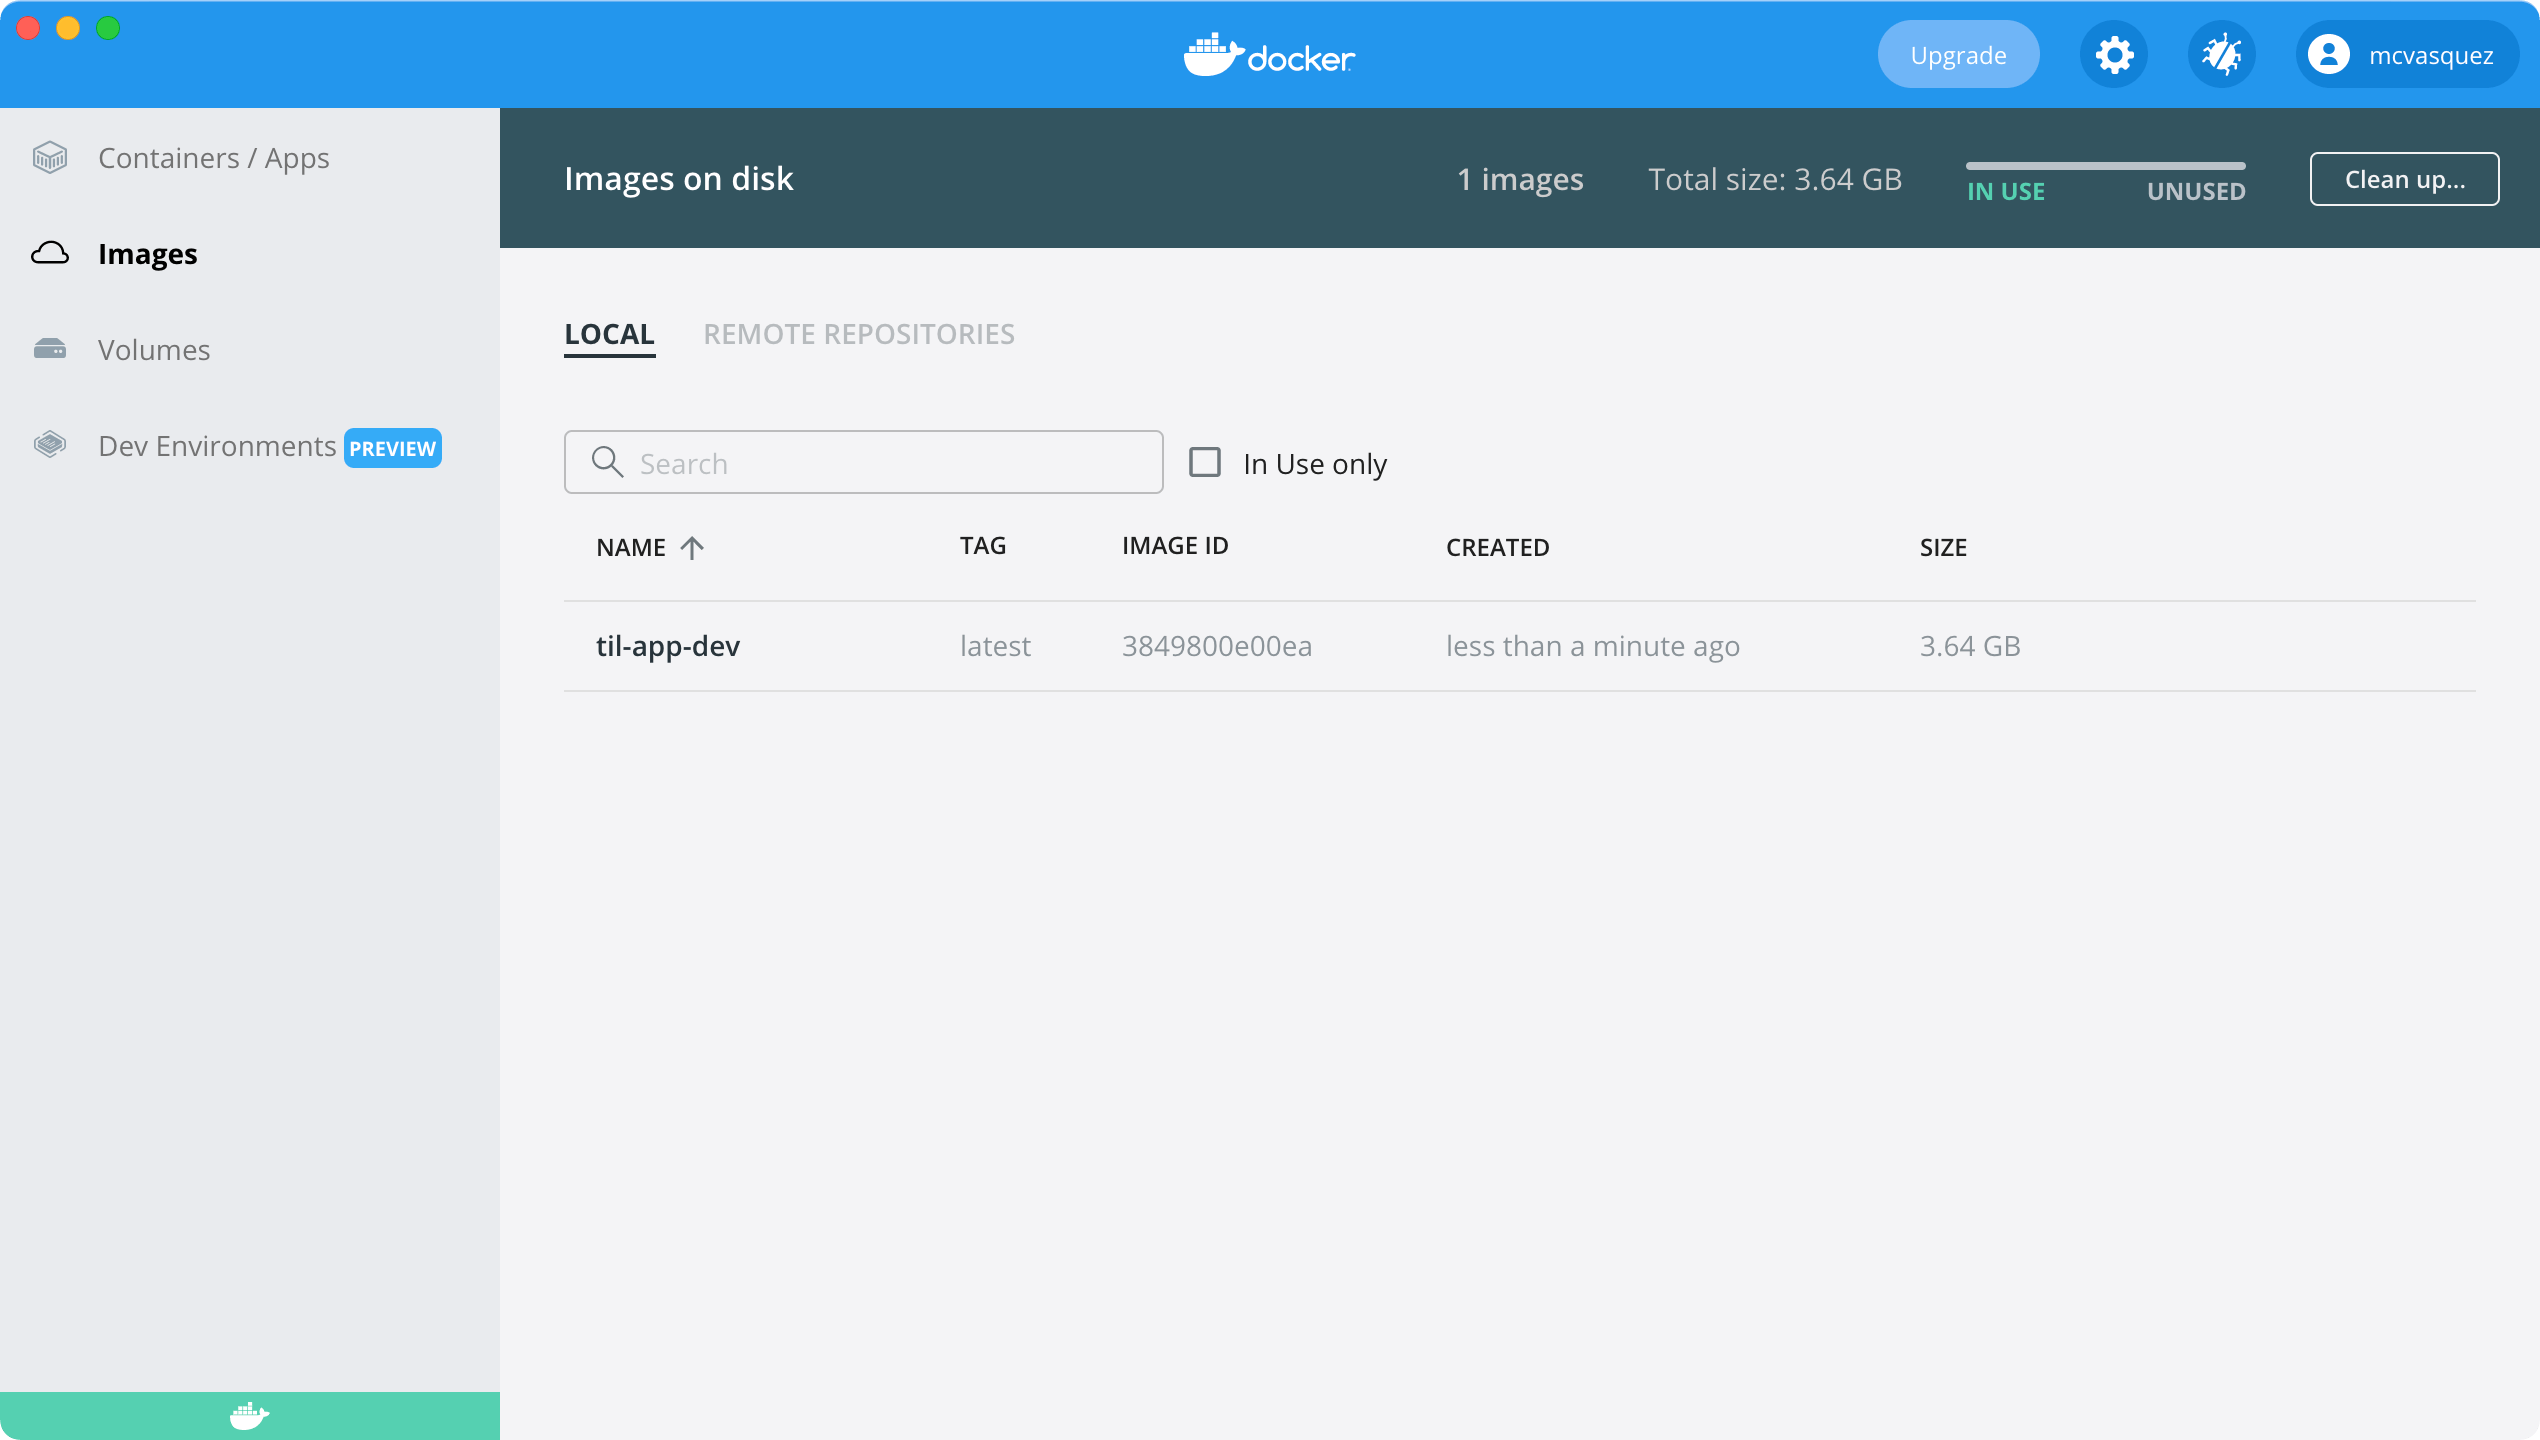
After the build command finishes, check the existing images. Run:
docker images
Alternatively, you can also open the Docker for Desktop application, and select the Images item in the left menu. The image will appear in a list, like the screenshot below shows:
The app image in Docker for Desktop.
Running the Image
After you confirm the app image is present, run it using the following command:
docker run \
  --name til-app-dev \
  --interactive --tty \
  --publish 8080:8080 \
  til-app-dev
This command is long so here’s a break down of all it’s doing:
- Creating a new container based on an image you specify.
- Passing a name to identify this new container. In this case,
til-app-dev. - Reading the app logs and stopping the container, passing
--interactiveand--tty. - Publishing the
8080port from the container and mapping it to the8080port on your computer. - Passing the name of the image you built in the previous section.
Docker creates and runs the new container. You’ll see the logs in Terminal stating that the server started on the 8080 port. Since you published the port to the host machine, now visit http://0.0.0.0:8080 or http://localhost:8080 in your browser and you’ll see the home page of the TIL app. How cool is that? Your app is running on a Linux image within your Mac!
To stop the container, stop the process using the shortcut Control-C. This won’t delete the container; you can start it again later on.
If you try to refresh the page in your browser, you’ll see that now it fails. This error occurs because you stopped the container. Next, you’ll learn how to start a stopped container.
Starting and Attaching to a Container
To start a stopped container, use start. Run the container you want by passing its name, as follows:
docker start til-app-dev
You’ll notice that Docker returned immediately after starting the container without displaying any logs. That’s because Docker does only what you tell it to do. The start command only starts the container in the background and doesn’t attach to the container’s standard input, output and error streams. If you run docker container ls, you’ll see that the container is running. Alternatively, you could also open the Docker for Desktop app or refresh the browser to check that it’s running.
To see the container logs, run the attach command. It will connect your terminal to the running container:
docker attach til-app-dev
Now, you’ll notice that the command didn’t return immediately and that your Terminal is attached to the app. However, no logs are available because you started the container before attaching to it. Refreshing the browser is enough to trigger a new request to the app, which will print some more logs to the console.
Instead of running the start and attach commands separately, use the start command and pass the --attach --interactive flags, like so:
docker start til-app-dev --attach --interactive
Now that you are acquainted with the basics, it’s time to hook up TIL with a production-scale database, like Postgres.
Using Docker Compose to Configure PostgreSQL
The TIL app now uses SQLite, which is an easy-to-configure database, ideal for getting up and running locally.
Although SQLite is great for prototyping, you’ll still want to deploy your application with a production-scale database, like PostgreSQL.
Instead of installing PostgreSQL on your machine, a better approach is to use an existing PostgreSQL image, so that your development and production environments are the same. And here is where Docker Compose comes in handy.
Docker Compose is a tool for managing apps that require multiple containers. You define all your services in a YAML file, and each service has its Dockerfile or base image. Then, the tool builds all of them with a single command, saving you from the manual overhead of building each container separately and connecting them.
Creating the Docker Compose File
In the root directory of the project, create a file named docker-compose-development.yml. Open it and paste the following contents:
# 1
version: '3'

services:
  # 2
  til-app-dev:
    build:
      context: .
      dockerfile: development.Dockerfile
    ports:
      - "8080:8080"
    # 3
    environment:
      # 4
      - DATABASE_HOST=postgres
      - DATABASE_PORT=5432
    # 5
    depends_on:
      - postgres
  # 6
  postgres:
    image: "postgres"
    # 7
    environment:
      - POSTGRES_DB=vapor_database
      - POSTGRES_USER=vapor_username
      - POSTGRES_PASSWORD=vapor_password
  # 8
  start_dependencies:
    image: dadarek/wait-for-dependencies
    depends_on:
      - postgres
    command: postgres:5432
Let’s look at the instructions included in this file:
- Specify the version of your Compose file, followed by the list of services you want.
- The first service is the app itself. It will use development.Dockerfile and expose the
8080port. Until now, this matches the flags you used in the previous sections when running the image. - Use
environmentto pass the database hostname and port to the app. Some values can change depending on the configuration, and you shouldn’t commit secrets, such as passwords and tokens, into source control. For that reason, use environment variables in these situations, which your app will be able to access. - Connect to the postgres container, defined a few lines below, using the
postgreshostname and port5432. - Set the
depends_onoption, to indicate dependencies between services and startup order. In this case, the app depends on the database container. - Define the database container, naming it
postgresand using the Postgres base image. - Pass the database name within the Postgres image, along with the user and password you chose.
- Use the
wait-for-dependenciesimage to start the database container before starting the app.
You’ve now created the Docker Compose file. But, you can’t use it yet. The app is still using SQLite. Next, you’ll replace it with PostgreSQL.