Scoped Storage in Android 10: Getting Started
In this tutorial, you’ll learn how to use scoped storage in your Android 10 app by building a simple image gallery. By Anshdeep Singh.
Fetching Images Using MediaStore
Open MainActivityViewModel.kt and add the following inside queryImages(), just after the // TODO comment.
// 1
val projection = arrayOf(
    MediaStore.Images.Media._ID,
    MediaStore.Images.Media.DISPLAY_NAME,
    MediaStore.Images.Media.DATE_TAKEN
)
// 2
val selection = "${MediaStore.Images.Media.DATE_TAKEN} >= ?"
// 3
val selectionArgs = arrayOf(
    dateToTimestamp(day = 1, month = 1, year = 2020).toString()
)
// 4
val sortOrder = "${MediaStore.Images.Media.DATE_TAKEN} DESC"
// 5
getApplication<Application>().contentResolver.query(
    MediaStore.Images.Media.EXTERNAL_CONTENT_URI,
    projection,
    selection,
    selectionArgs,
    sortOrder
)?.use { cursor ->
  imageList = addImagesFromCursor(cursor)
}
Add any missing imports by pressing Option-Enter on Mac or Alt-Enter on PC.
Here’s a step-by-step breakdown:
- projection: An array that contains all the information you need. It’s similar to the SELECT clause of an SQL statement.
-
selection: Similar to the WHERE clause in SQL, this lets you specify any condition. The
?in the statement is a placeholder that will get its value fromselectionArgs. -
selectionArgs: An array containing the value that will replace
?in the statement stored inselection. In this case, you’re requesting all the images from this year.dateToTimestamp()is a utility function that accepts a day, a month and a year. It returns the corresponding timestamp value, whichselectionArgsrequires. - sortOrder: As the name suggests, this contains the order to return the images. The default order is ascending, but here you add the DESC keyword after the variable name to switch to descending order.
-
query(): A method of
ContentResolverthat takes in all the above as parameters as well as an additionalUriparameter that maps to the required table in the provider. In this case, the requiredUriisEXTERNAL_CONTENT_URIsince you are requesting images from outside the app.Uriis always mandatory. Hence, it is a non-nullable parameter while the rest of the parameters are nullable.
Phew! That was a lot to take in. Keep it up.
Build and run to see what you’ve achieved so far. Assuming you granted the permission earlier, you’ll now see some photos instead of the blank screen:

The images will be different on your device. If you haven’t taken a picture in the year 2020, then the screen will still be blank. In that case, go ahead and take a selfie with your cat or dog! When you open the app again, you’ll see your picture there. Tap any image in the grid and it will show a delete dialog.
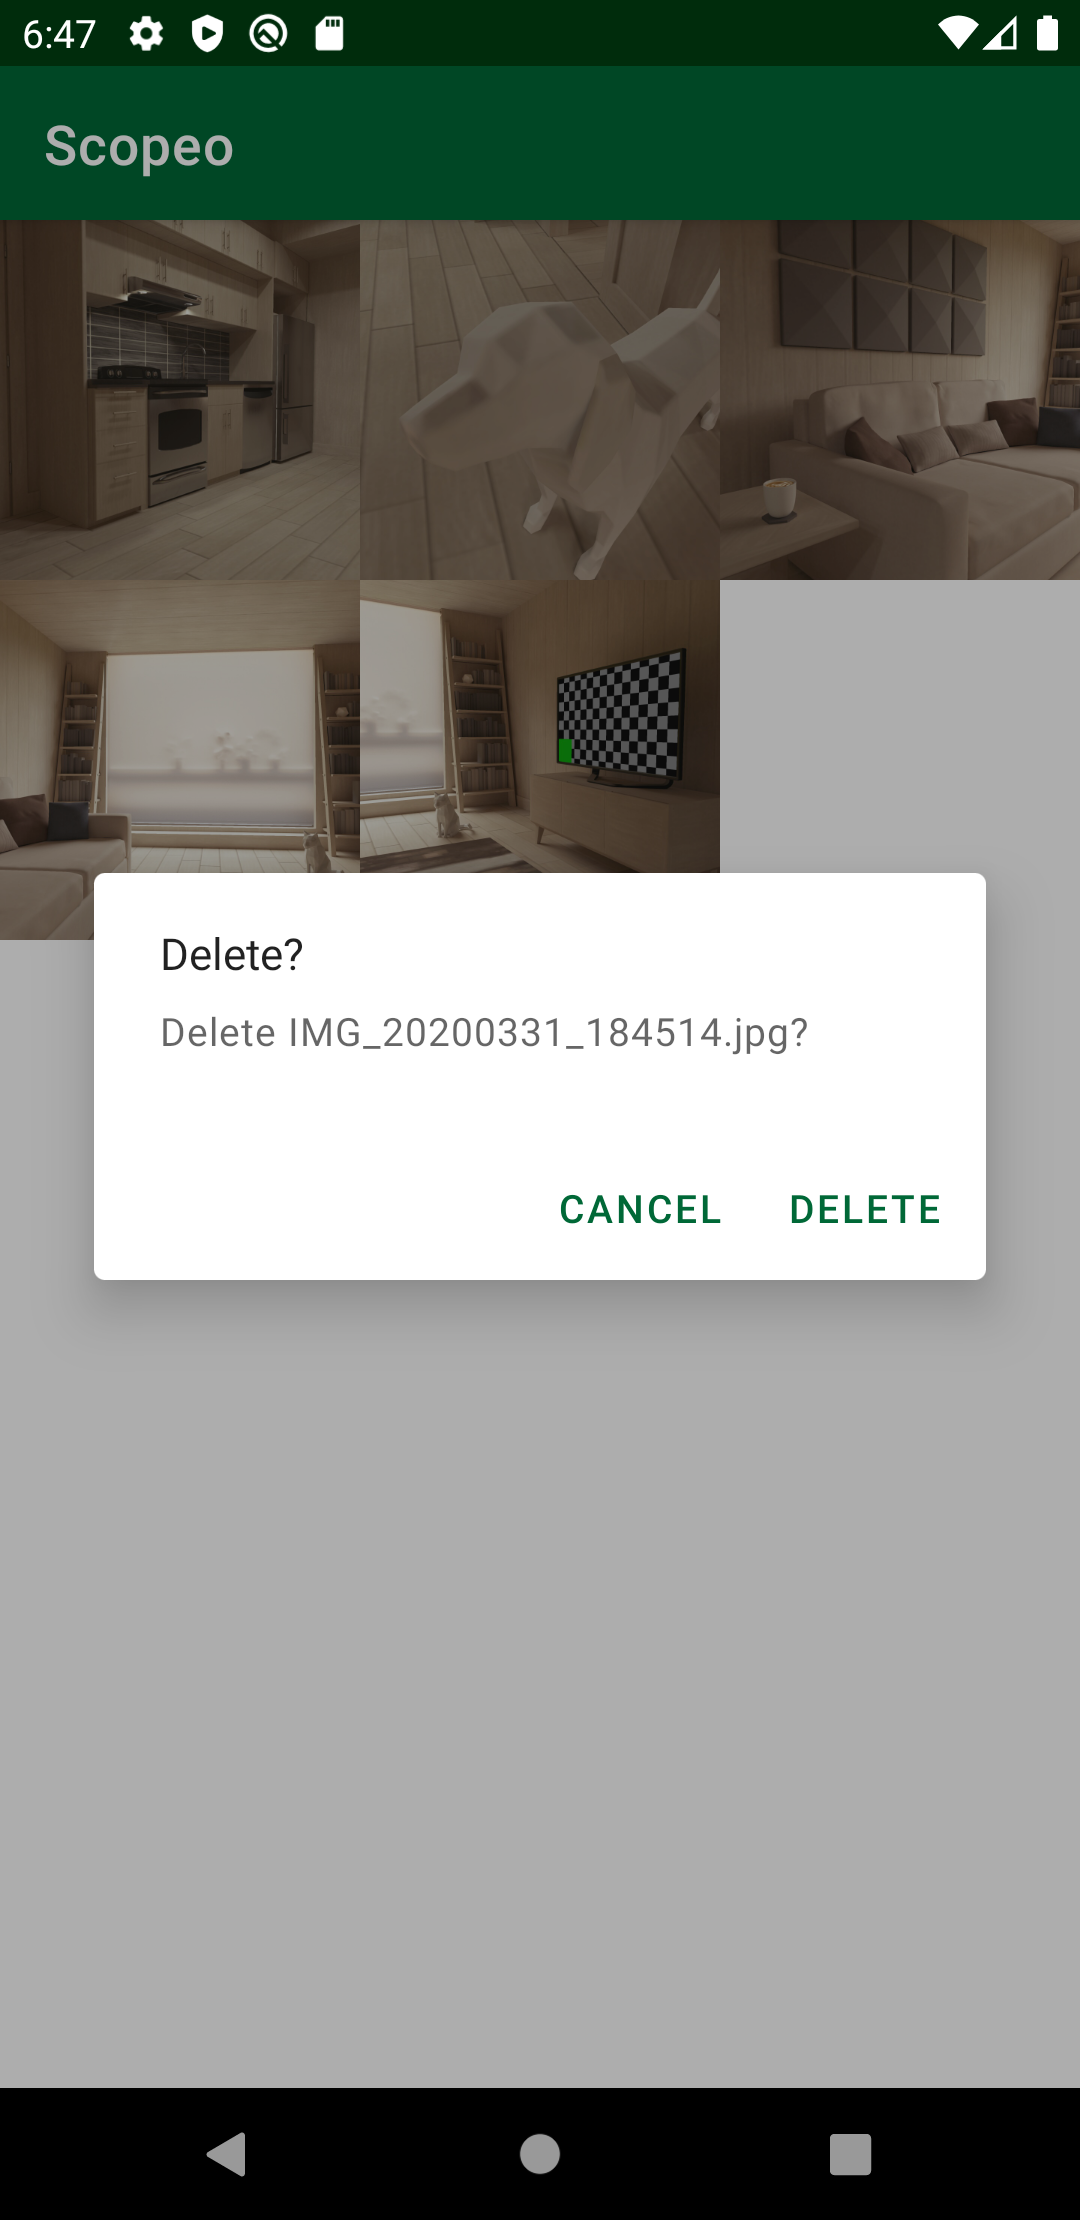
Tapping the DELETE button won’t do anything yet. Get ready to delete an image!
Deleting an Image From MediaStore
Jump to performDeleteImage() inside MainActivityViewModel.kt and add the following code:
try {
  // 1
  getApplication<Application>().contentResolver.delete(
      image.contentUri,"${MediaStore.Images.Media._ID} = ?",
      arrayOf(image.id.toString())
  )
}
// 2
catch (securityException: SecurityException) {
  if (Build.VERSION.SDK_INT >= Build.VERSION_CODES.Q) {
    val recoverableSecurityException =
        securityException as? RecoverableSecurityException
            ?: throw securityException
        pendingDeleteImage = image
        _permissionNeededForDelete.postValue(
              recoverableSecurityException.userAction.actionIntent.intentSender
        )
  } else {
    throw securityException
  }
}
Add any missing imports by pressing Option-Enter on Mac or Alt-Enter on PC.
There are a few important things you should know about this block of code:
- Here, you call
contentResolver.delete()inside atryblock since this method can throw aSecurityExceptionat runtime. The method requires theContentUriof the image you want to delete. In thewhereparameter, you specify that you want to delete an image based on its_ID. In the final parameter, you pass the string version of the_IDin an array. - In Android 10 and above, it isn’t possible to delete or modify items from
MediaStoredirectly. You need permission for these actions. The correct approach is to first catchRecoverableSecurityException, which contains anintentSenderthat can prompt the user to grant permission. You passintentSenderto the activity by callingpostValue()on yourMutableLiveData.
MutableLiveData and postValue() from Android’s MutableLiveData documentation.
Now, go to MainActivity.kt and add the following code to viewModel.permissionNeededForDelete.observe(), just after the // TODO comment.
intentSender?.let {
  startIntentSenderForResult(
      intentSender,
      DELETE_PERMISSION_REQUEST,
      null,
      0,
      0,
      0,
      null
  )
}
startIntentSenderForResult() launches intentSender, which you passed to it. DELETE_PERMISSION_REQUEST is a unique request code used to identify and handle the action when the request completes.
Before you try the new delete feature, Scopeo needs a few more finishing touches!
Listening for Changes With ContentObserver
ContentObserver is a class that listens for changes whenever the data in the content provider changes. Since data will change whenever you delete any image in the app, you need to use a ContentObserver.
Registering the ContentObserver
Start by registering the ContentObserver.
Open MainActivityViewModel.kt and add the following code inside loadImages(), just after the // TODO comment.
contentObserver = getApplication<Application>().contentResolver.registerObserver(
  MediaStore.Images.Media.EXTERNAL_CONTENT_URI
) {
  loadImages()
}
The code above just calls the extension method ContentResolver.registerObserver(uri: Uri, observer: (selfChange: Boolean) -> Unit), which is already implemented as shown below:
/**
 * Extension method to register a [ContentObserver]
 */
private fun ContentResolver.registerObserver(
    uri: Uri,
    observer: (selfChange: Boolean) -> Unit
): ContentObserver {
  // 1
  val contentObserver = object : ContentObserver(Handler()) {
    override fun onChange(selfChange: Boolean) {
      observer(selfChange)
    }
  }
  // 2
  registerContentObserver(uri, true, contentObserver)
  return contentObserver
}
Look closely at the code, and you’ll notice two things are happening:
-
contentObserveroverridesonChange(). This method defines what happens if the data in the provider changes. In this case, it will callloadImages()passed as a lambda. A best practice is to always use aHandler()when creatingContentObserver. - Next, the extension method registers the
ContentObserverusing theuripassed to it. The second parameter passed astrueindicates that all the other descendant URIs, starting with the given URI, should trigger the method call. The final parameter is the instance of theContentObserveryou created earlier.
Now that you’ve learned how to register the ContentObserver, take a moment to find out how and why to unregister it again.
Unregistering the ContentObserver
Being a good Android citizen, you should also unregister your ContentObserser to prevent memory leaks. Add the following code to onCleared() inside MainActivityViewModel.kt.
contentObserver?.let {
  getApplication<Application>().contentResolver.unregisterContentObserver(it)
}
This code just calls unregisterContentObserver() of the ContentResolver. ViewModel calls onCleared() when it’s not used anymore, so it’s the perfect place to unregister.
Well, it’s finally done! Go ahead and run your app to check out the delete feature. If you try deleting an image on an Android 10 device, it will now ask for permission:
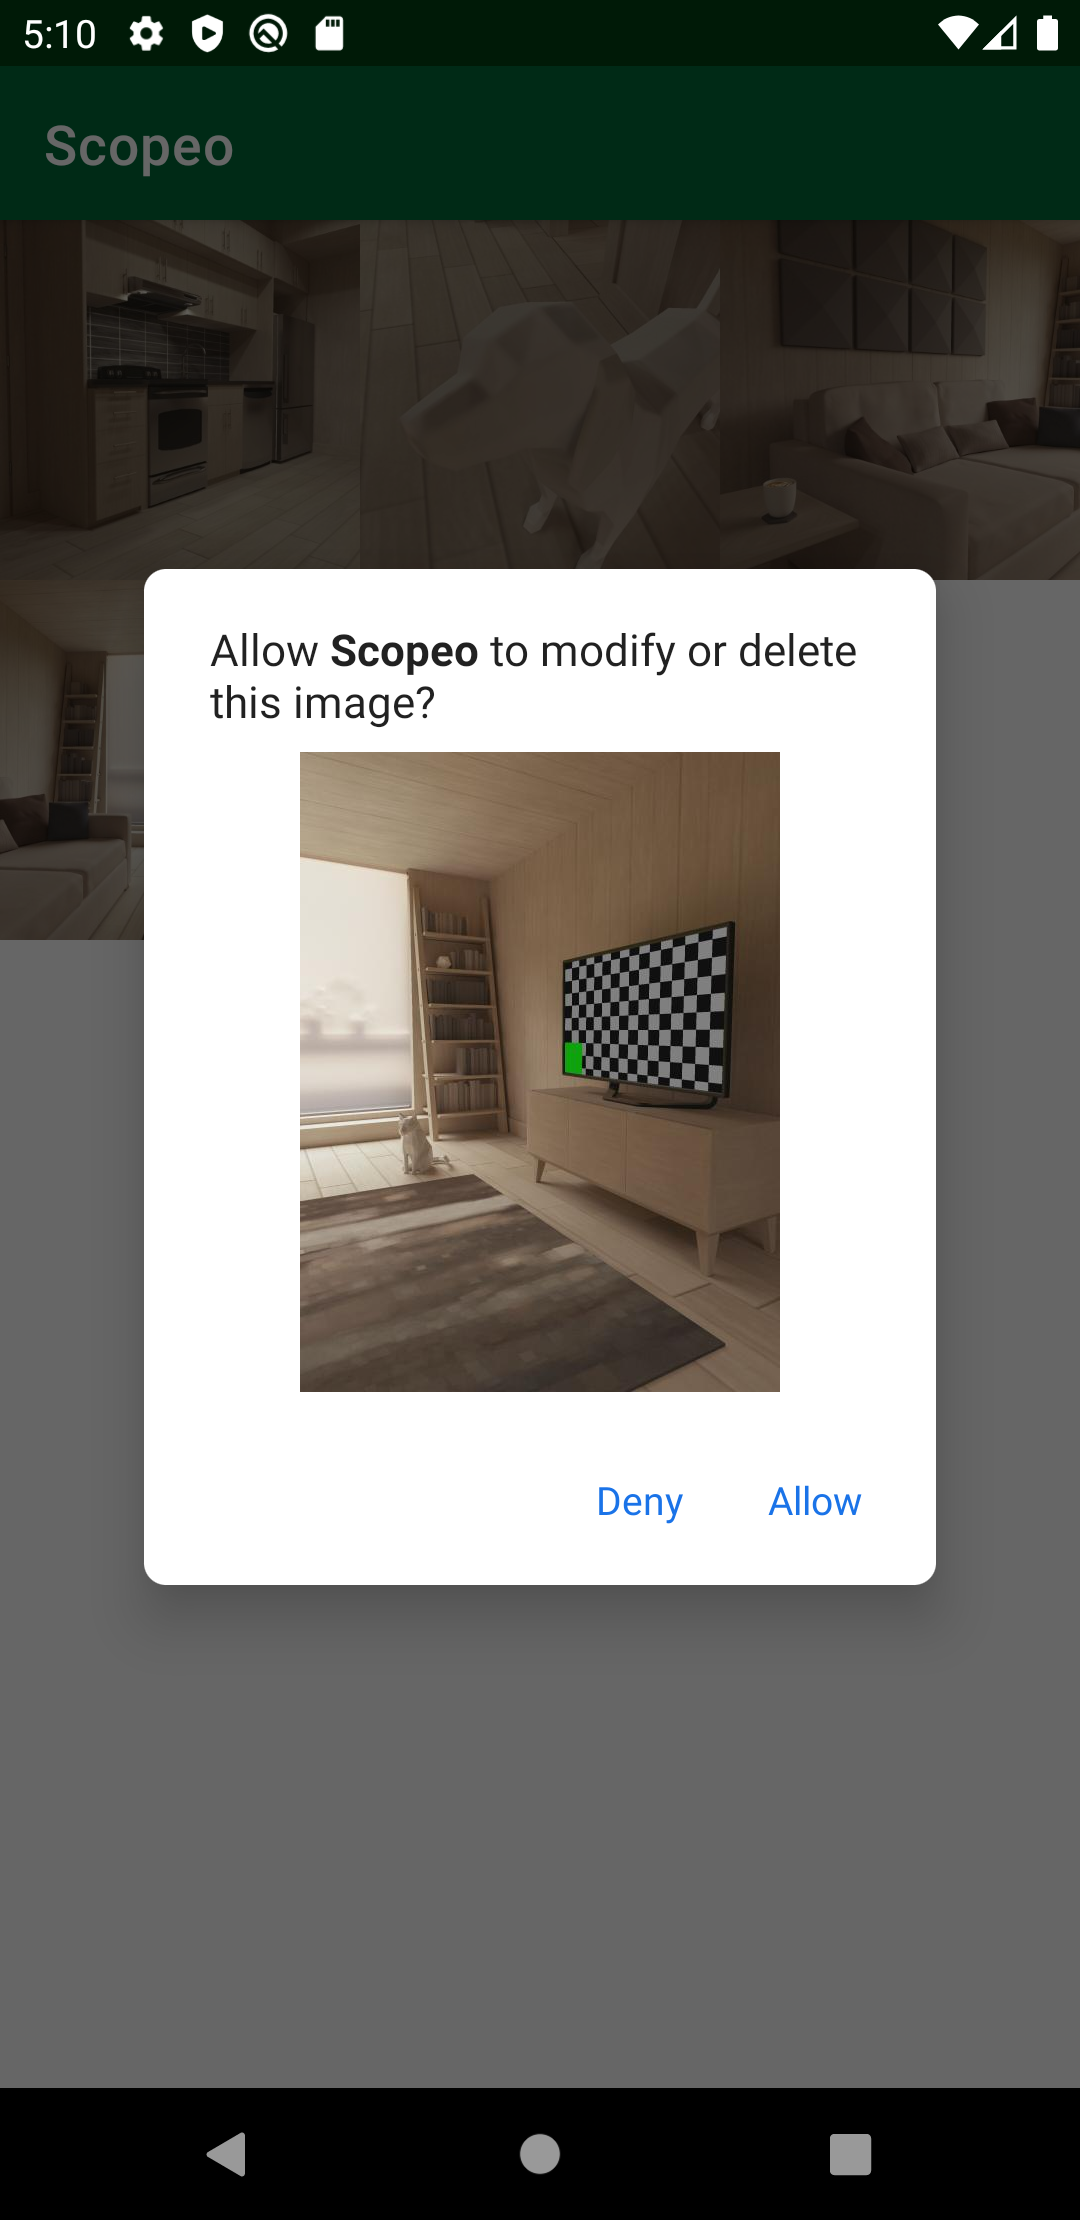
The dialog won’t show on devices running older versions of Android since scoped storage is only available on devices running Android 10 or above.
If you deny permission, nothing happens. But if you grant permission, you’ll delete the image permanently and the app will load the updated list.