Scoped Storage in Android 10: Getting Started
In this tutorial, you’ll learn how to use scoped storage in your Android 10 app by building a simple image gallery. By Anshdeep Singh.
Working with the file system is an important part of developing any Android app. Up until Android 10, when you gave an app storage permission, it could access any file on the device. However, most apps don’t need access to the whole storage system. They usually perform tasks on a single file or a small group of files. This created a threat to user privacy.
In Android 10, Google introduced the concept of scoped storage, which enhances user control and privacy while cutting back the file clutter that removed apps leave behind.
In this tutorial, you’ll build a simple gallery app called Scopeo, which displays the photos from the device’s shared storage. Along the way, you’ll learn about:
- What scoped storage is and why you need it.
- Adding the correct permissions when working with files.
- Using
MediaStoreAPIs to access the files. - How to opt out of scoped storage, if required.
-
Deleting files in
MediaStoredirectly by using anIntentSender.
You should also have some familiarity with Google’s architecture components, such as LiveData and ViewModel. Go through Android Jetpack Architecture Components: Getting Started to learn more about them.
Getting Started
Click the Download Materials button at the top or bottom of the page to download the starter and final projects.
Open Android Studio 3.6.1 or later and choose Open an existing Android Studio project. Then navigate to the starter project directory inside the main folder and click Open. Wait for Gradle to sync successfully and take some time to familiarize yourself with the code.

As you see from the screenshot above, the starter project contains the following files:
-
Image.kt is a simple data class that contains some properties of the image. It also includes a
DiffCallbackto efficiently update the image list when the user deletes an image. -
MainActivity.kt is where all the UI interactions occur. It contains a lot of boilerplate code already implemented for you. For simplicity, it also contains
GalleryAdapterandImageViewHolderin the same file. -
MainActivityViewModel.kt contains all the business logic of the app. You’ll add code in this class to perform time-consuming operations in the background. You’ll observe the changes using
LiveData. All the background tasks use the recommended approach, Kotlin coroutines, which work well withViewModel.
DiffUtil.Callback, look at Android’s callback documentation or the official Kotlin coroutines documentation.
Now that you’ve looked over the codebase, build and run. You’ll see the following screen:

OPEN ALBUM doesn’t do anything right now. As you progress through the tutorial, you’ll build a completely functional gallery app.
What Is Scoped Storage?
The Storage Access Framework (SAF), introduced in Android 4.4, made it easy for developers to browse and open files on the device. Intent actions like ACTION_CREATE_DOCUMENT, ACTION_OPEN_DOCUMENT and ACTION_OPEN_DOCUMENT_TREE perform the required operations.
Although it works, SAF is slow and highly unpopular among the developer community.
Scoped storage came on the scene when Android 10 officially launched on September 3, 2019. It changed things a bit. As the name suggests, it provides scoped — or limited — access to the file system. Apps that use scoped storage have access only to their app directory on external storage plus any media the app created.
Imagine you’re creating a voice recorder app. If you implement scoped storage in your app for Android 10 and above, you’ll have a limited scope for reading and writing files. Since your audio files reside in the app directory, you don’t need permission to access or modify them.
Why Do You Need Scoped Storage?
There are three main reasons for using scoped storage:
- Improving security: Developers should have control over the files their apps create. Scoped storage provides this control, letting developers work with files without having to request storage permissions At the same time, scoped storage also provides better app data protection because other apps can’t access these files easily.
- Reducing leftover app data: When a user uninstalls an app from their device, some app data still remains in the shared storage. With scoped storage, this problem disappears as all the app data resides exclusively in the app directory.
- Limiting the abuse of READ_EXTERNAL_STORAGE permission: Developers have abused this permission heavily because it gave them access to the entire external storage. Using scoped storage, apps can access only their own files, folders and other media file types using storage APIs.
Even though scoped storage is useful, there may be times when you don’t want to use it. Luckily, you can still opt out of using it in Android 10.
Implementing Non-Scoped Storage in Android 10
An easy way to opt out of scoped storage is to set requestLegacyExternalStorage in your application in AndroidManifest.xml to true.
This attribute is false by default on apps targeting Android 10 and higher. If you set it to true, it will make an exception for your app, allowing you to use legacy storage solutions. This grants access to different directories and media files without any issues.
This flag gives developers more time to test their apps before migrating to scoped storage. However, this isn’t recommended because, from Android 11 onwards, this attribute will no longer be available.
Now, it’s time to get started with using scoped storage in an actual app.
Adding the Required Permissions
For your first step, you’ll add permissions to let your app access and modify images from other apps.
Open AndroidManifest.xml and paste the following code just below the TODO:
<uses-permission android:name="android.permission.READ_EXTERNAL_STORAGE" />
<uses-permission
  android:name="android.permission.WRITE_EXTERNAL_STORAGE"
  android:maxSdkVersion="28" />
Here, you use READ_EXTERNAL_STORAGE permission to access images taken by other apps. WRITE_EXTERNAL_STORAGE permission lets you delete these images. You set android:maxSdkVersion to 28 because in Android 10 and above, you don’t need this permission anymore.
Later in the tutorial, you’ll explicitly ask the user’s permission to handle image deletion in Android 10.
Next, open MainActivity.kt and add the following permissions inside requestPermissions():
if (!haveStoragePermission()) {
  val permissions = arrayOf(
      Manifest.permission.READ_EXTERNAL_STORAGE,
      Manifest.permission.WRITE_EXTERNAL_STORAGE
  )
  ActivityCompat.requestPermissions(
      //1
      this,
      //2
      permissions,
      //3
      READ_EXTERNAL_STORAGE_REQUEST
  )
}
The code above requests runtime permissions, which are mandatory from Android 6.0 and higher.
requestPermissions() — from the support library — takes three parameters:
- The reference of the
Activityrequesting permissions. - A string array of the required permissions.
- The
requestCode, which must be unique sinceonRequestPermissionsResult()uses this same code to handle various user actions.
Build and run. Now, tap OPEN ALBUM, which shows a dialog asking the user for storage permission:

Tap Deny and the app will show the rationale for the permission.
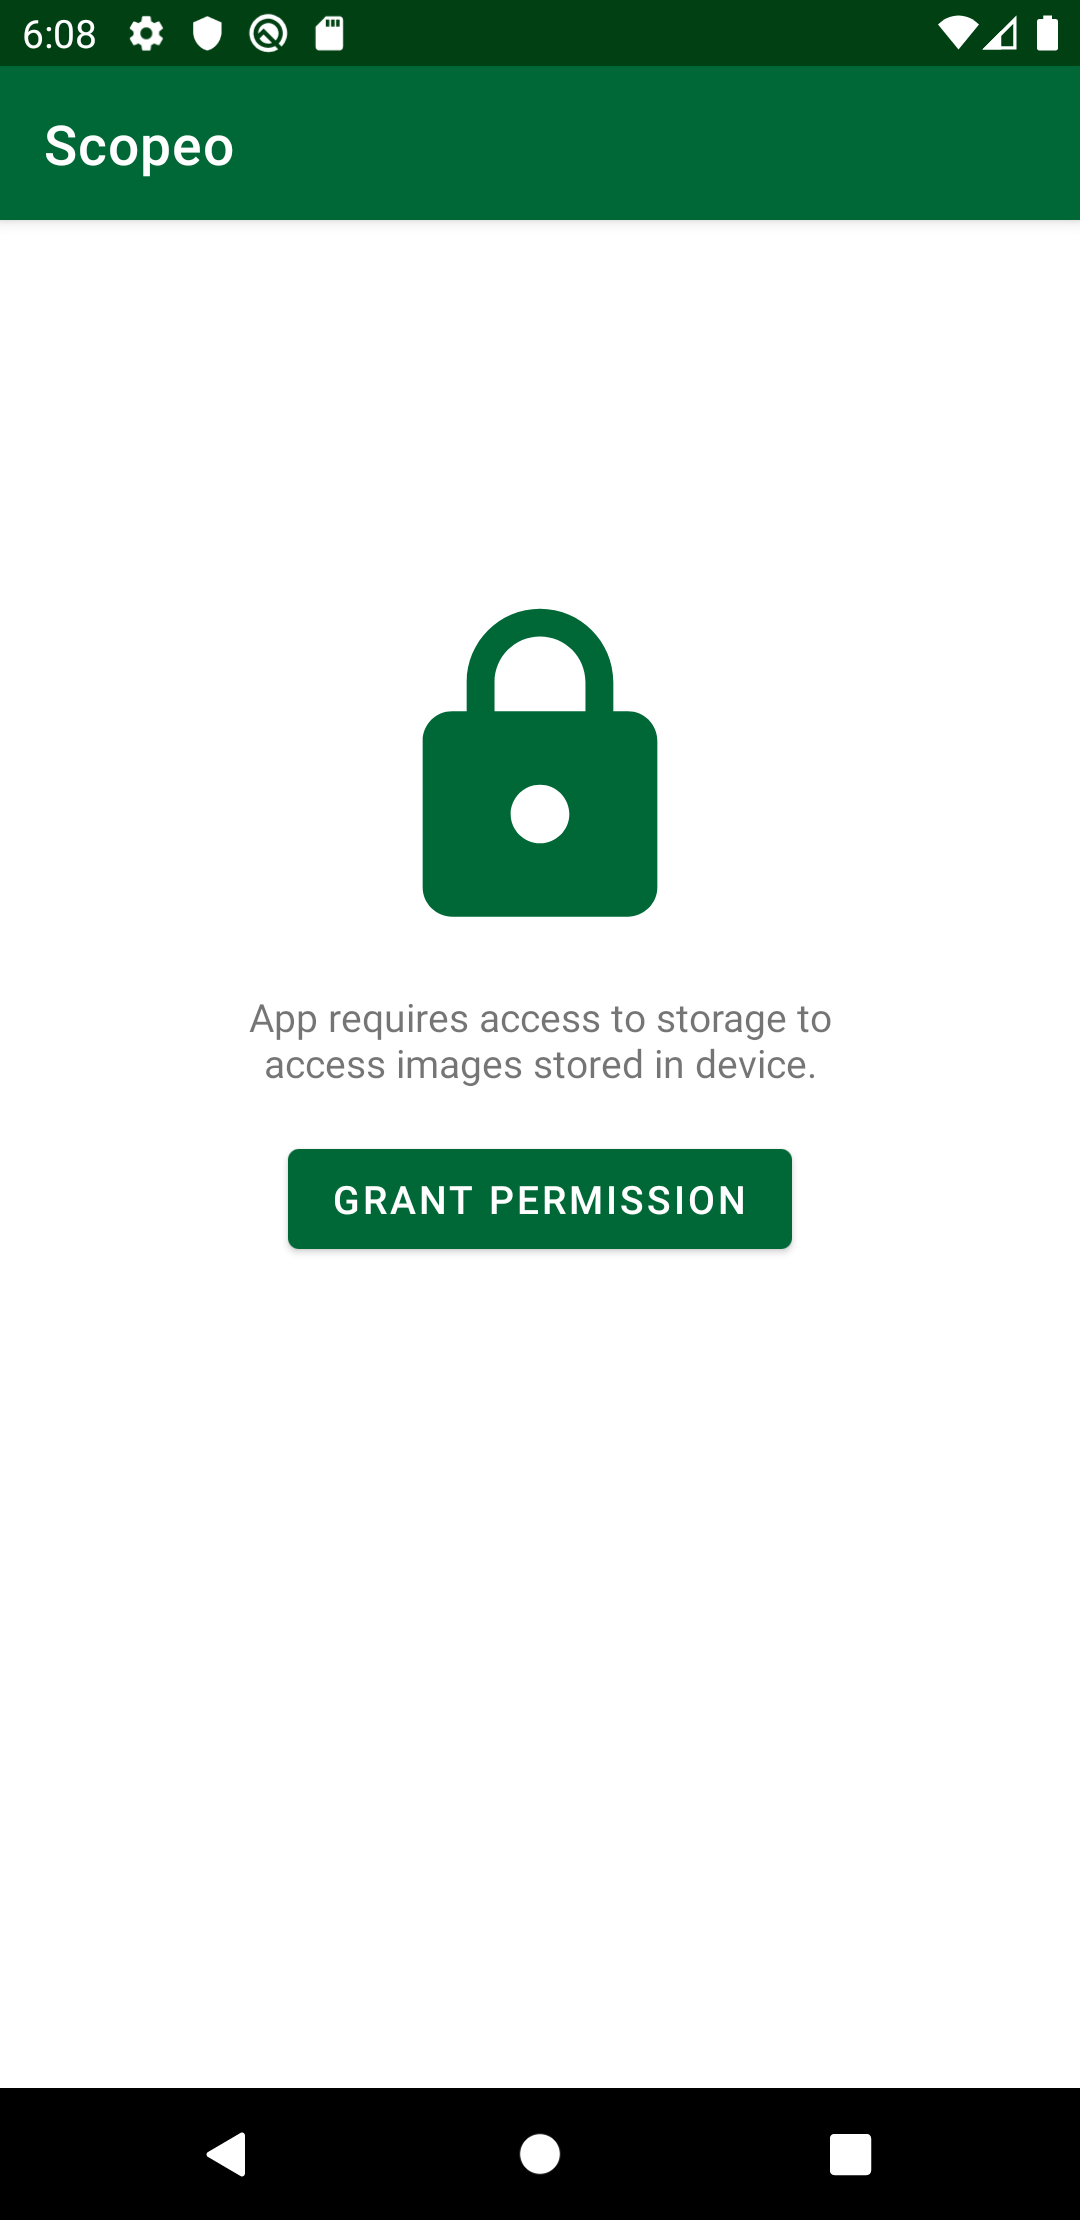
Now, when you tap GRANT PERMISSION and then tap Allow, it will show an empty screen as below:

The screen is empty because it doesn’t contain any images yet. You’ll add them next!