Moving from OpenGL to Metal
In this Metal tutorial, you’ll learn how to move your project from OpenGL to Apple’s 3D graphics API: Metal. By Andrew Kharchyshyn.
Metal was introduced in 2014 as a general purpose API for GPU-based computation. In 2018, Apple deprecated OpenGL in iOS 12 for both iOS and macOS.
In this tutorial, you’ll learn how to convert an app from using OpenGL to Metal. To complete this tutorial, you’ll need a working OpenGL app. The starter project for this tutorial is the finished project from the OpenGL tutorial. You can download what you need using the Download Materials button found at the top or bottom of this tutorial.
Before getting started, you may want to check out these great resources on Metal and OpenGL.
If you don’t have experience with 3D graphics, don’t worry! You’ll still be able to follow along. If you do have some experience with 3D programming or OpenGL, you may find this tutorial easier. Many of the same concepts apply in Metal.
OpenGL ES vs. Metal
OpenGL ES is designed to be a cross-platform framework. That means, with a few small modifications, you can run C++ OpenGL ES code on other platforms, such as Android.
The cross-platform support of OpenGL ES is nice, but Apple realized it was missing the signature integration of the operating system, hardware, and software that all good Apple products have. So, it took a clean-room approach and designed a graphics API specifically for Apple hardware. The goal was to have low overhead and high performance while supporting the latest and greatest features.
The result is Metal, which can provide up to 10✕ the number of draw calls for your app compared to OpenGL ES. The effects are amazing — you may remember them from the Zen Garden example in the WWDC 2014 keynote.
Understanding Conceptual Differences
From a development perspective, OpenGL and Metal are similar. In both, you set up buffers with data to pass to the GPU and specify vertex and fragment shaders. In OpenGL projects, there is a GLKBaseEffect, which is an abstraction on top of shaders. There’s no such API for Metal, so you need to write shaders yourself. But don’t worry – it’s not too complicated!
The biggest difference between OpenGL and Metal is that in Metal, you usually operate with two types of objects:
- Descriptor objects.
- Compiled-state objects.
The idea is simple. You create a descriptor object and compile it. The compiled-state object is a GPU-optimized resource. The creation and compilation are both expensive operations, so the idea is to do them as rarely as possible, and later to operate with compiled-state objects.
This approach means that when using Metal, you don’t need to do a lot of setup operations on the render loop. This makes it much more efficient than OpenGL which can’t do the same due to architecture restrictions.
Time to explore the differences on your own!
Getting Started
As a reminder, download the files you need using the Download Materials button at the top or bottom of this tutorial. Then, open OpenGLKit.xcodeproj in the Starter folder. You’ll see a project which uses OpenGL.
Build & run.

You should see a colorful square spinning. This square is rendered with OpenGL. However, since the deployment target for this project is iOS 12, there are several OpenGL deprecation warnings. You can see these in Xcode in the Issue navigator.
Now you’re going to draw the same square but with Metal. And get rid of all those pesky warnings!
Integrating Metal
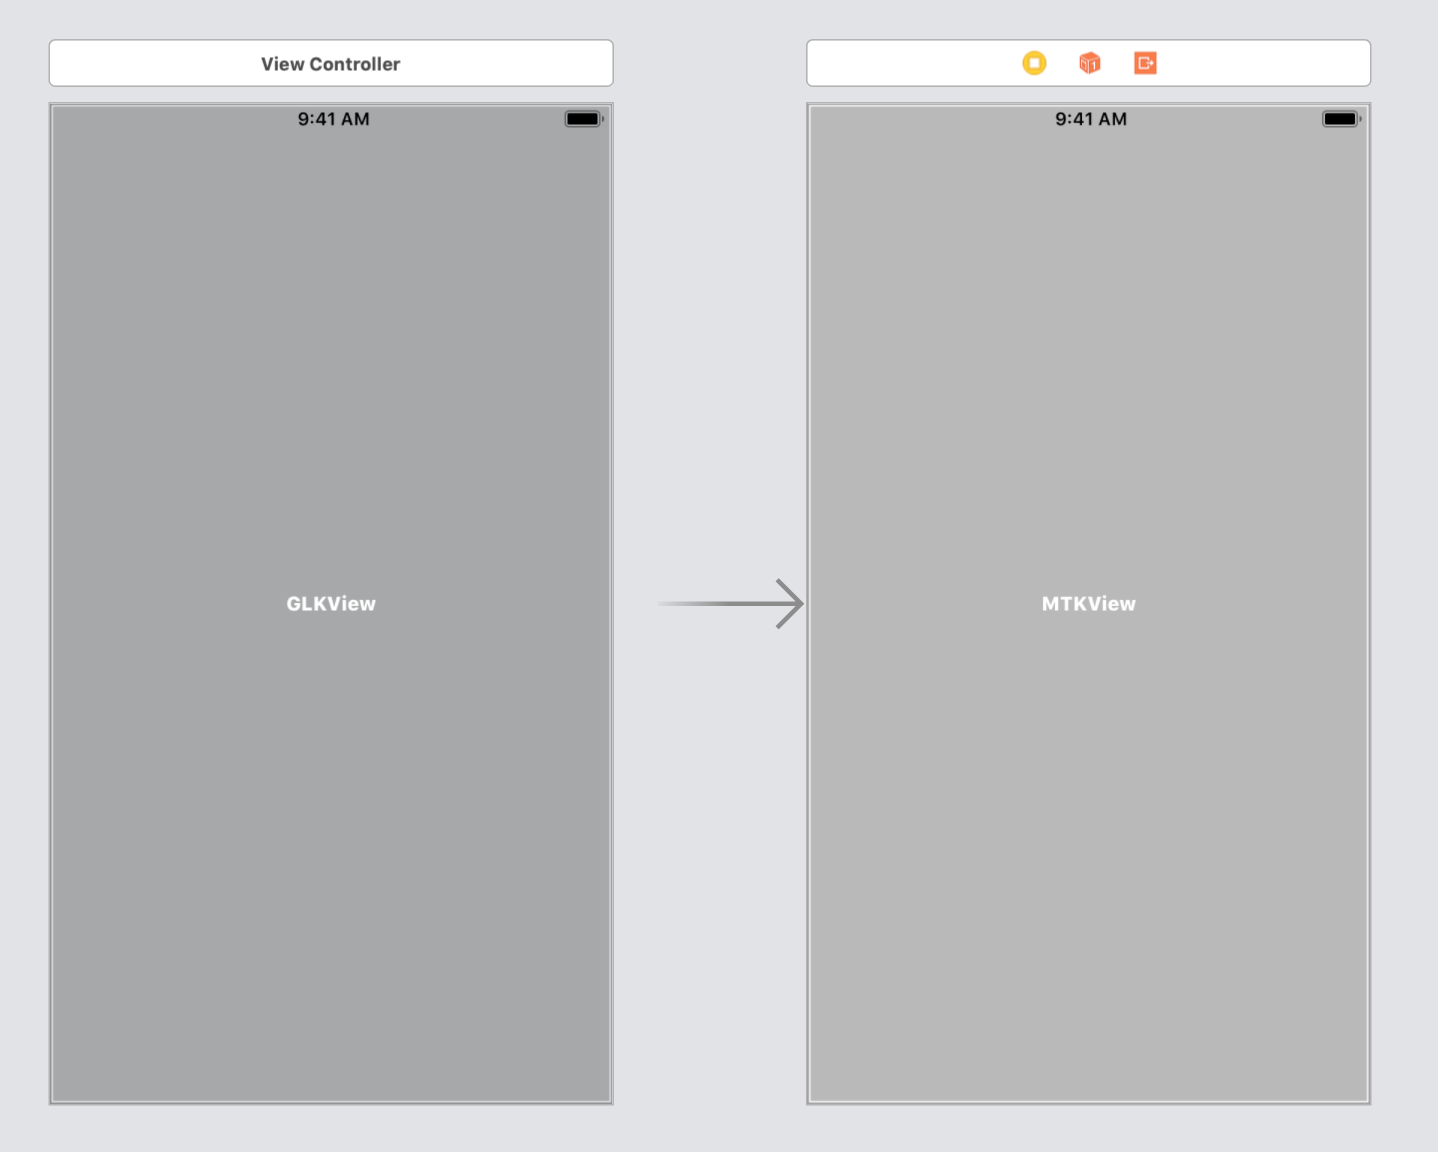
Open ViewController.swift, and change ViewController to be a subclass of UIViewController instead of GLKViewController. In Metal, there’s no such thing as MetalViewController. Instead, you have to use MTKView inside the UIViewController.
MTKView is a part of the MetalKit framework. To access this API,
add the following at the top of the file:
import MetalKit
Switching From OpenGL
Now it’s time to do some OpenGL cleanup. Follow these steps:
1. Rename both occurrences of setupGL() to setupMetal().
2. Remove tearDownGL() and deinit() methods. With Metal, there’s no need for explicit cleanup like this.
3. Find and remove the whole extension GLKViewControllerDelegate, since this view controller is no longer a GLKViewController. Note that glkViewControllerUpdate contains the logic for spinning. This is useful, but for now, remove it.
4. Remove the following code from the top of setupMetal():
context = EAGLContext(api: .openGLES3)
EAGLContext.setCurrent(context)

if let view = self.view as? GLKView, let context = context {
  view.context = context
  delegate = self
}
5. Remove the following properties from the top of ViewController:
private var context: EAGLContext?
private var effect = GLKBaseEffect()
private var ebo = GLuint()
private var vbo = GLuint()
private var vao = GLuint()
Finally, at the top of the ViewController class declaration, add an outlet to a MTKView:
@IBOutlet weak var metalView: MTKView!
Setting Up the Storyboard
The ViewController is no longer GLKViewController, so you need to make some changes in the storyboard.
Open Main.storyboard. In this example, the storyboard contains two scenes, both named View Controller Scene. One has a GLKView, and the other one contains a MTKView and a connection to the outlet that you’ve just added to the source code.
All you need to do is set the scene with the MTKView as the initial View Controller. Find the scene which doesn’t currently have the arrow pointing to it. Click on the bar at the top to select the view controller. Alternatively you can select it in the document outline pane. Then open the attributes inspector and check Is Initial View Controller.
Once that’s done, you can delete the first scene. Good work!
Setting Up Metal
Are you ready? It’s time to use some Metal!
In Metal, the main object that you’ll use to access the GPU is MTLDevice. The next most important object is MTLCommandQueue. This object is a queue to which you’ll pass encoded frames.
Open ViewController.swift and add these properties:
private var metalDevice: MTLDevice!
private var metalCommandQueue: MTLCommandQueue!
Now, go to setupMetal(). Replace the contents of it with the following:
metalDevice = MTLCreateSystemDefaultDevice()
metalCommandQueue = metalDevice.makeCommandQueue()
metalView.device = metalDevice
metalView.delegate = self
That’s a lot shorter than what was there before right!
This grabs the system default Metal device, then makes a command queue from the device. Then it assigns the device to the Metal view. Finally it sets the view controller as the view’s delegate to receive callbacks when to draw and resize.
Now you need to to implement the MTKViewDelegate protocol.
At the bottom of ViewController.swift, add this extension:
extension ViewController: MTKViewDelegate {
  // 1
  func mtkView(_ view: MTKView, drawableSizeWillChange size: CGSize) {
  }

  // 2
  func draw(in view: MTKView) {
  }
}
This extension implements two methods.
- This method is called when the drawable size changes, such as when the screen rotates.
- This method is called to perform the actual drawing.