SceneKit Tutorial With Swift Part 4: Render Loop
In the fourth installment of our SceneKit With Swift tutorial, you’ll learn to use the Scene Kit render loop in your Geometry Fighter game to make your geometry spawn over time. By Chris Language.
Spawn Timers
To make the gaming experience consistent across devices, you need to make use of time. No, I don’t mean taking more time to write your game! :] Rather, you need to use the passage of time as the one constant across devices; this lets you animate at a consistent rate, regardless of the frame rate the device can support.
Timers are a common technique in many games. Remember the updateAtTime parameter passed into the update delegate method? That parameter represents the current system time. If you monitor this parameter, you can calculate things like the elapsed time of your game, or spawn a new object every three seconds instead of as fast as possible.
Geometry Fighter will use a simple timer to spawn objects at randomly timed interval that any processor should be able to handle.
Add the following property to GameViewController below cameraNode:
var spawnTime: TimeInterval = 0
You’ll use this to determine time interval until you spawn another shape.
To fix the continuous spawning, replace the entire body of renderer(_: updateAtTime:) with the following:
// 1
if time > spawnTime {
  spawnShape()

  // 2
  spawnTime = time + TimeInterval(Float.random(min: 0.2, max: 1.5))
}
Taking each commented line in turn:
-
You check if
time(the current system time) is greater thanspawnTime. If so, spawn a new shape; otherwise, do nothing. -
After you spawn an object, update
spawnTimewith the next time to spawn a new object. The next spawn time is simply the current time incremented by a random amount. SinceTimeIntervalis in seconds, you spawn the next object between 0.2 seconds and 1.5 seconds after the current time.
Build and run; check out the difference your timer makes:
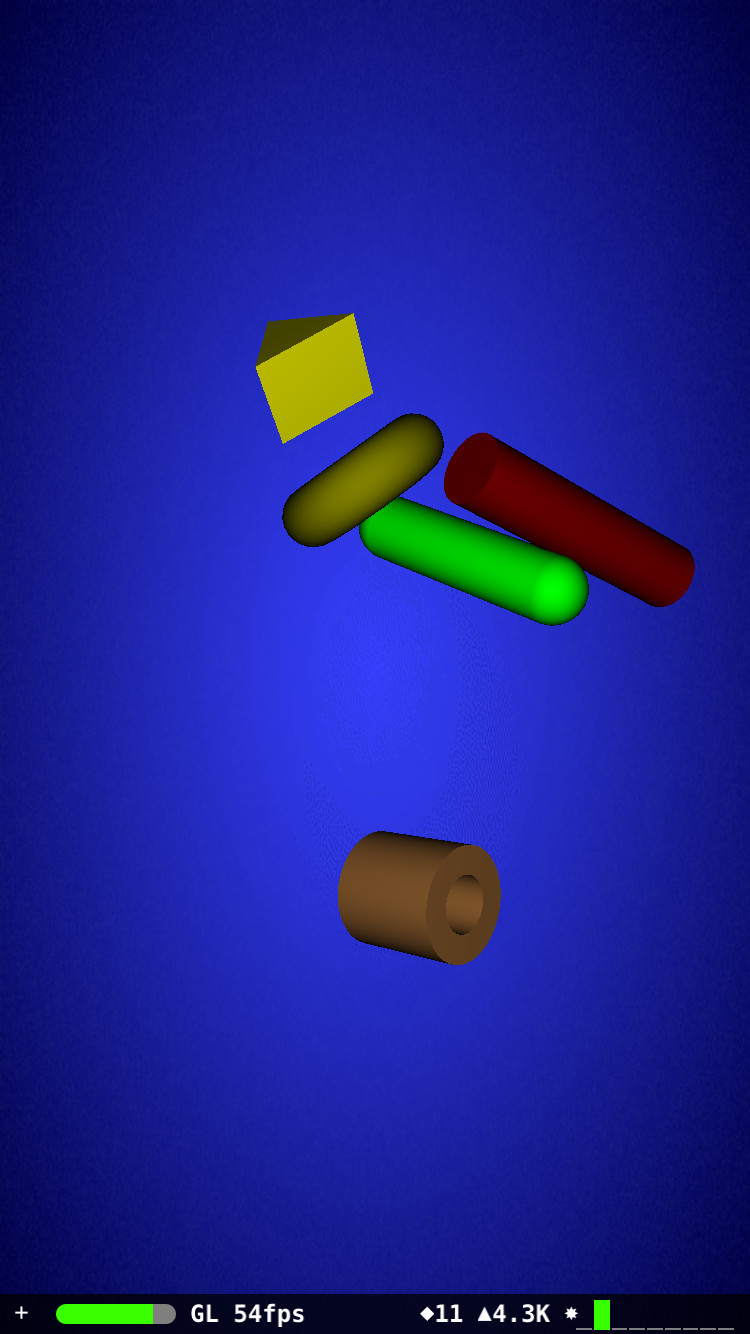
Mesmerizing, eh?
Things look a bit more manageable, and the shapes are spawning randomly. But aren’t you curious about what happens to all those objects after they fall out of sight?
Removing Child Nodes
spawnShape() continuously adds new child nodes into the scene — but they’re never removed, even after they fall out of sight. SceneKit does an awesome job of keeping things running smoothly for as long as possible, but that doesn’t mean you can forget about your children. What kind of parent are you? :]
To run at an optimal performance level and frame rate, you’ll have to remove objects that fall out of sight. And what better place to do this than — that’s right, the render loop! Handy thing, isn’t it?
Once an object reaches the limits of its bounds, you should remove it from the scene.
Add the following to the end of your GameViewController class, right below spawnShape():
func cleanScene() {
  // 1
  for node in scnScene.rootNode.childNodes {
    // 2
    if node.presentation.position.y < -2 {
      // 3
      node.removeFromParentNode()
    }
  }
}
Here’s what’s going on in the code above:
-
First, you simply create a little
forloop that steps through all available child nodes within the root node of the scene. -
Since the physics simulation is in play at this point, you can’t simply look at the object’s position as this reflects the position before the animation started. SceneKit maintains a copy of the object during the animation and plays it out until the animation is done. It’s a strange concept to understand at first, but you’ll see how this works before long. To get the actual position of an object while it’s animating, you leverage the
presentationNodeproperty. This is purely read-only — don’t attempt to modify any values on this property! - This line of code makes an object blink out of existence; it seems cruel to do this to your children, but hey, that’s just tough love.
To use your method above, add the following line to call cleanScene() just after the if statement inside renderer(_: updatedAtTime:):
cleanScene()
There’s one last thing to add. By default, SceneKit enters into a “paused” state if there are no animations to play out. To prevent this from happening, you have to enable the playing property on your SCNView instance.
Add the following line of code to the bottom of setupView():
scnView.isPlaying = true
This forces the SceneKit view into an endless playing mode.
Build and run; as your objects start to fall, pinch to zoom out and see where they disappear into nothingness:
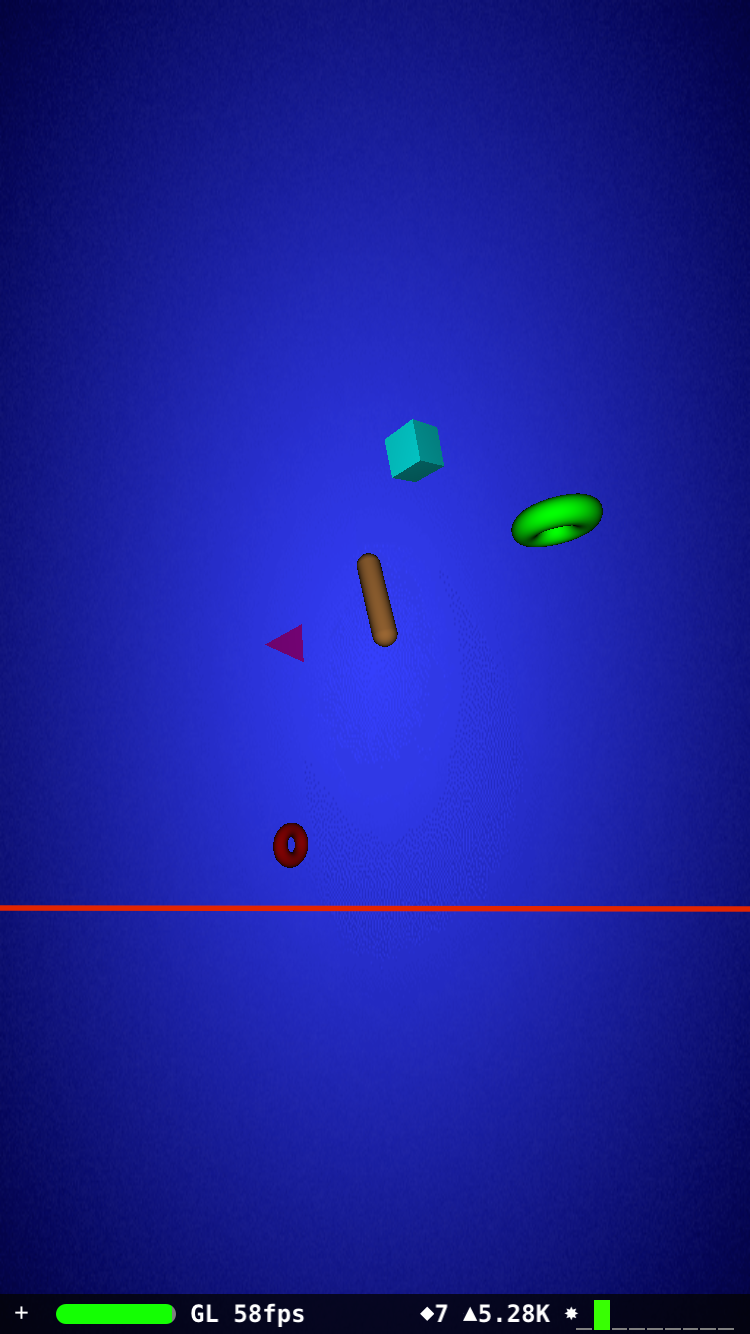
Objects that fall past the lower y-bound (noted by the red line in the screenshot above), are removed from the scene. That’s better than having all those objects lying around the dark recesses of your device. :]
Where to Go From Here?
Here is the example code from this Scene Kit tutorial with Swift.
At this point, you should keep reading to the fifth and final part of this tutorial series, where you'll add some particle systems and wrap up the game.
If you'd like to learn more, you should check out our book 3D Apple Games by Tutorials. The book teaches you everything you need to know to make 3D iOS games, by making a series of mini-games like this one, including a games like Breakout, Marble Madness, and even Crossy Road.
In the meantime, if you have any questions or comments about this tutorial, please join the forum discussion below!