How To Make a Game Like Cut the Rope With SpriteKit
In this tutorial, you’ll learn how to build a game like Cut the Rope with SpriteKit in Swift, complete with animations, sound effects and physics! By Brody Eller.
Cut The Rope is a popular physics-driven game where players feed a little monster named Om Nom by cutting ropes which suspend candies. Slice at just the right time and place and Om Nom gets a tasty treat.
With all due respect to Om Nom, the game’s true star is its simulated physics: Ropes swing, gravity pulls and candies tumble just as you’d expect in real life.
You can build a similar experience using the physics engine of SpriteKit, Apple’s 2D game framework. In this Cut the Rope with SpriteKit tutorial, you’ll do just that with a game called Snip The Vine.
Getting Started
In Snip The Vine, you’ll feed cute little animals pineapples to a crocodile. To get started, download the project files by clicking the Download Materials button at the top or bottom of the tutorial. Open the project in Xcode for a quick look at how it’s structured.
You’ll find the project files in several folders. In this tutorial, you’ll work in Classes, which contains the primary code files. Feel free to explore the other folders, shown below:

You’ll be using values from Constants.swift throughout the tutorial, so take some time to get acquainted with that file before diving in.
Adding the Crocodile to the Scene
Be forewarned that this crocodile is quite snappy, please keep your fingers at a safe distance at all times! :]
The crocodile is represented by an SKSpriteNode. You’ll need to retain a reference to the crocodile for your game logic. You’ll also need to set up a physics body for the crocodile sprite, to detect and handle contacts with other bodies.
In GameScene.swift, add the following properties to the top of the class:
private var crocodile: SKSpriteNode!
private var prize: SKSpriteNode!
These properties will store references to the crocodile and the prize (the pineapple).
Locate setUpCrocodile() inside GameScene.swift and add the following code:
crocodile = SKSpriteNode(imageNamed: ImageName.crocMouthClosed)
crocodile.position = CGPoint(x: size.width * 0.75, y: size.height * 0.312)
crocodile.zPosition = Layer.crocodile
crocodile.physicsBody = SKPhysicsBody(
  texture: SKTexture(imageNamed: ImageName.crocMask),
  size: crocodile.size)
crocodile.physicsBody?.categoryBitMask = PhysicsCategory.crocodile
crocodile.physicsBody?.collisionBitMask = 0
crocodile.physicsBody?.contactTestBitMask = PhysicsCategory.prize
crocodile.physicsBody?.isDynamic = false

addChild(crocodile)

animateCrocodile()
With this code, you create the crocodile node and set its position and zPosition.
The croc has an SKPhysicsBody, which means it can interact with other objects in the world. This will be useful later, when you want to detect when the pineapple lands in its mouth.
You don’t want the croc to get knocked over or fall off the bottom of the screen! To prevent that, you set isDynamic to false, which prevents physical forces from affecting it.
The categoryBitMask defines what physics category the body belongs to — PhysicsCategory.crocodile, in this case. You set collisionBitMask to 0 because you don’t want the crocodile to bounce off any other bodies. All you need to know is when a “prize” body makes contact with the crocodile, so you set the contactTestBitMask accordingly.
You might notice that the physics body for the crocodile initializes using an SKTexture object. You could simply re-use .crocMouthOpen for the body texture, but that image includes the croc’s whole body, whereas the mask texture just includes the crocodile’s head and mouth. A croc can’t eat a pineapple with its tail!
Now you’ll add a “waiting” animation to the crocodile. Find animateCrocodile() and add the following code:
let duration = Double.random(in: 2...4)
let open = SKAction.setTexture(SKTexture(imageNamed: ImageName.crocMouthOpen))
let wait = SKAction.wait(forDuration: duration)
let close = SKAction.setTexture(SKTexture(imageNamed: ImageName.crocMouthClosed))
let sequence = SKAction.sequence([wait, open, wait, close])

crocodile.run(.repeatForever(sequence))
Besides making the little crocodile very anxious, this code also creates a couple of actions that change the texture of the crocodile node so that it alternates between a closed mouth and an open mouth.
The SKAction.sequence(_:) constructor creates a sequence of actions from an array. In this case, the texture actions combine in sequence with a randomly-chosen delay period between two and four seconds.
The sequence action is wrapped in repeatForever(_:), so it will repeat for the duration of the level. The crocodile node then runs it.
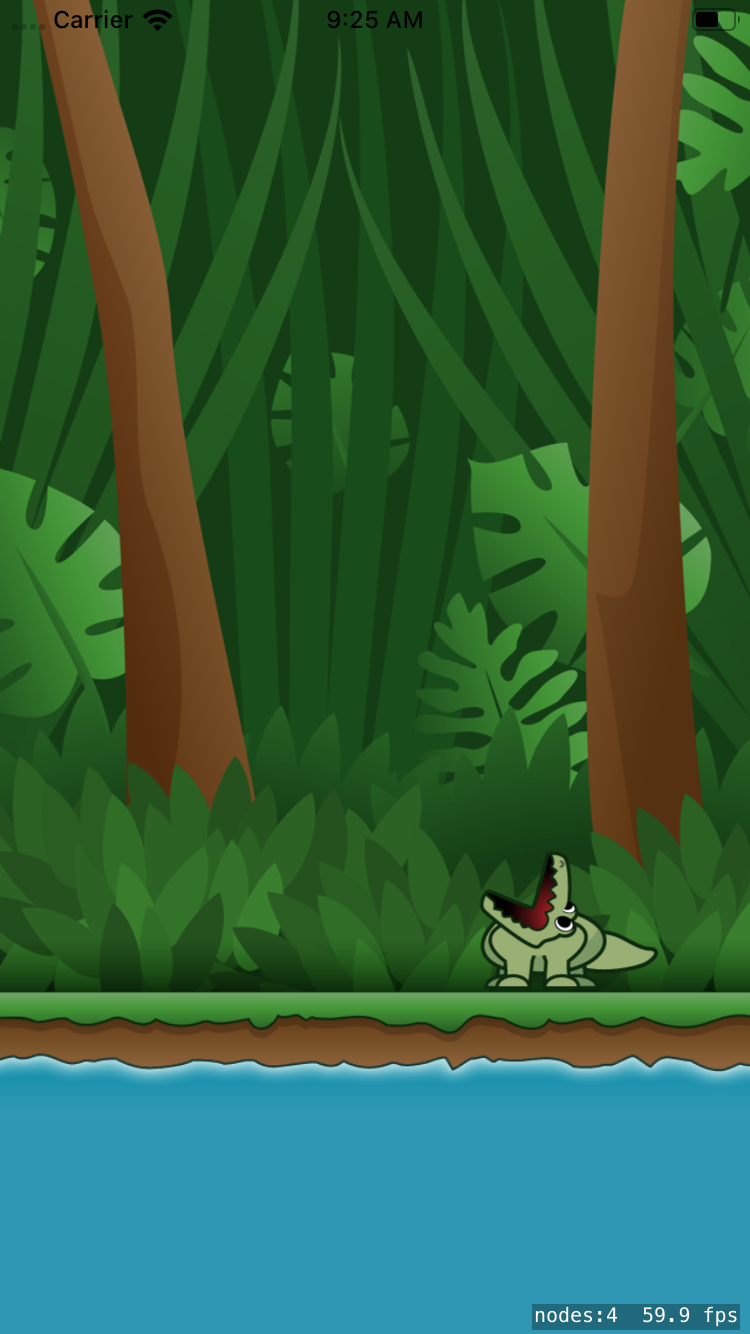
That’s it! Build and run and see this fierce reptile snap his jaws of death!
You’ve got scenery and you’ve got a croc — now you need cute little animals a pineapple.
Adding the Prize
Open GameScene.swift and locate setUpPrize(). Add the following:
prize = SKSpriteNode(imageNamed: ImageName.prize)
prize.position = CGPoint(x: size.width * 0.5, y: size.height * 0.7)
prize.zPosition = Layer.prize
prize.physicsBody = SKPhysicsBody(circleOfRadius: prize.size.height / 2)
prize.physicsBody?.categoryBitMask = PhysicsCategory.prize
prize.physicsBody?.collisionBitMask = 0
prize.physicsBody?.density = 0.5

addChild(prize)
Similar to the crocodile, the pineapple node also uses a physics body. The big difference is that the pineapple should fall and bounce around, whereas the crocodile just sits there and waits impatiently. So you leave isDynamic set to its default value of true. You also decrease the density of the pineapple so it can swing more freely.
Working With Physics
Before you start dropping pineapples, it’s a good idea to configure the physics world. Locate setUpPhysics() inside of GameScene.swift and add the following three lines:
physicsWorld.contactDelegate = self
physicsWorld.gravity = CGVector(dx: 0.0, dy: -9.8)
physicsWorld.speed = 1.0
This sets up the physics world’s contactDelegate, gravity and speed. Gravity specifies the gravitational acceleration applied to physics bodies in the world, while speed regulates how fast the simulation executes. You want both properties set to their default values here.
You’ll notice you didn’t have to conform to SKPhysicsContactDelegate because there’s already an extension at the bottom of GameScene that implements it. Leave it alone for now; you’ll use it later.
Build and run again. You should see the pineapple sail past the crocodile and fall into the water.

Time to add the vines.
Adding Vines
SpriteKit physics bodies model rigid objects… but vines bend. To handle this, you’ll implement each vine as an array of segments with flexible joints, similar to a chain.
Each vine has three significant attributes:
-
anchorPoint: A
CGPointindicating where the end of the vine connects to the tree. -
length: An
Intrepresenting the number of segments in the vine. -
name: A
Stringused to identify which vine a given segment belongs to.
In this tutorial, the game has only one level. But in a real game, you’d want to be able to easily create new level layouts without writing a lot of code. A good way to do this is to specify your level data independently of your game logic, perhaps by storing it in a data file with a property list or JSON.
Since you’ll be loading your vine data from a file, the natural structure to represent it is an array of Codable values, which can be easily read from a property list using PlistDecoder. Each dictionary in the property list will represent one VineData instance, a struct that is already defined in the starter project.
In GameScene.swift, locate setUpVines() and add the following code:
let decoder = PropertyListDecoder()
guard
  let dataFile = Bundle.main.url(
    forResource: GameConfiguration.vineDataFile,
    withExtension: nil),
  let data = try? Data(contentsOf: dataFile),
  let vines = try? decoder.decode([VineData].self, from: data)
  else {
    return
}
Load the vine data from a property list file. Take a look at VineData.plist inside Resources/Data. You should see that the file contains an array of dictionaries, each containing a relAnchorPoint and length:

Next, add the following code to the method:
// 1 add vines
for (i, vineData) in vines.enumerated() {
  let anchorPoint = CGPoint(
    x: vineData.relAnchorPoint.x * size.width,
    y: vineData.relAnchorPoint.y * size.height)
  let vine = VineNode(
    length: vineData.length,
    anchorPoint: anchorPoint,
    name: "\(i)")

  // 2 add to scene
  vine.addToScene(self)

  // 3 connect the other end of the vine to the prize
  vine.attachToPrize(prize)
}
With this code, you:
- For each vine, initialize a new
VineNode.lengthspecifies the number of segments in the vine.relAnchorPointdetermines the anchor position of the vine relative to the size of the scene. - Finally, attach the
VineNodeto the scene withaddToScene(_:). - Then, attach it to the prize using
attachToPrize(_:).
Next, you’ll implement those methods in VineNode.