In-App Updates: Getting Started
Learn how to make an in-app mechanism to notify users of a new version of your app. By Carlos Mota.
Sign up/Sign in
With a free Kodeco account you can download source code, track your progress, bookmark, personalise your learner profile and more!
Create accountAlready a member of Kodeco? Sign in
Sign up/Sign in
With a free Kodeco account you can download source code, track your progress, bookmark, personalise your learner profile and more!
Create accountAlready a member of Kodeco? Sign in
Contents
In-App Updates: Getting Started
20 mins
Testing
You’ve written a lot of code, but how do you test that everything works as expected? Ideally, you publish the app on the Play Store, and then you increment its version code and launch another one.
But this process can be time-consuming, so you should test the app locally to guarantee everything works as expected.
To mock this flow, use FakeUpdateManager but configured for both types of updates. You’ll use BuildConfig.DEBUG to define when to run this mocked scenario, but remember that it should only be executed in debug builds.
Change how AppUpdateManager is initialized in checkForUpdates by replacing it with the code below:
val appUpdateManager : AppUpdateManager
if (BuildConfig.DEBUG) {
  appUpdateManager = FakeAppUpdateManager(baseContext)
  appUpdateManager.setUpdateAvailable(2)
} else {
  appUpdateManager = AppUpdateManagerFactory.create(baseContext)
}
With this, you’ll use the Play Store’s AppUpdateManager when the app is launched and FakeAppUpdateManager when tested locally.
The number 2 on setUpdateAvailable corresponds to the app version code. It can be any number as long as it’s higher than your version code defined on build.gradle.
Now, to simulate an immediate update, add this logic to the end of handleImmediateUpdate.
if (BuildConfig.DEBUG) {
  val fakeAppUpdate = manager as FakeAppUpdateManager
  if (fakeAppUpdate.isImmediateFlowVisible) {
    fakeAppUpdate.userAcceptsUpdate()
    fakeAppUpdate.downloadStarts()
    fakeAppUpdate.downloadCompletes()
    launchRestartDialog(manager)
  }
}
It’s necessary to make the above calls to mimic the entire flow. Only after calling startUpdateFlowForResult will isImmediateFlowVisible return true and the rest of the update can be mocked.
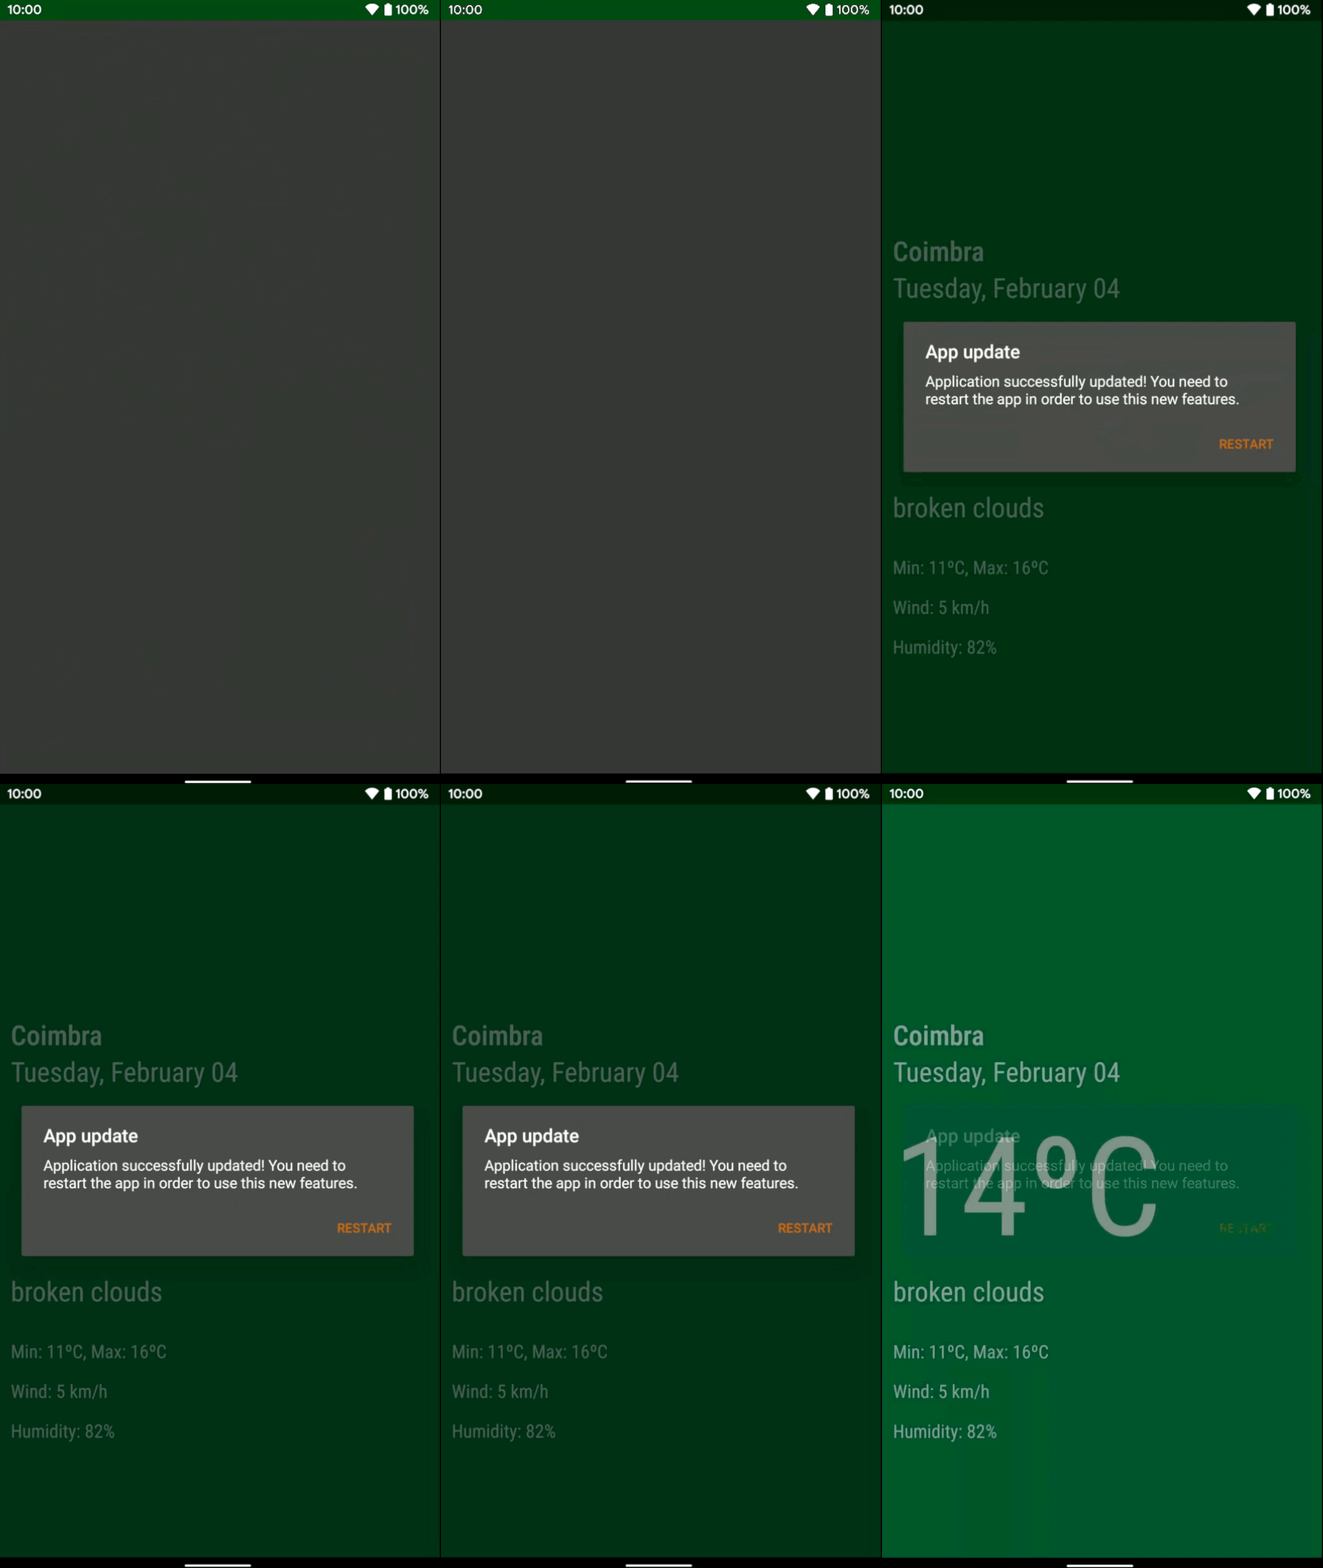
Compile and run. You’ll see a similar screen:

The process is identical to the flexible type. Add these instructions right after the startUpdateFlowForResult in setUpdateAction:
if (BuildConfig.DEBUG) {
  val fakeAppUpdate = manager as FakeAppUpdateManager
  if (fakeAppUpdate.isConfirmationDialogVisible) {
    fakeAppUpdate.userAcceptsUpdate()
    fakeAppUpdate.downloadStarts()
    fakeAppUpdate.downloadCompletes()
    fakeAppUpdate.completeUpdate()
    fakeAppUpdate.installCompletes()
  }
}
Change APP_UPDATE_TYPE_SUPPORTED to AppUpdateType.FLEXIBLE.
Build and run. You should see a workable update button.

Launching an Update
FakeUpdateManager allows you to make the first offline tests, but you can also publish your app on the store to see it working in a real scenario.
You can learn more about publishing an Android app with the Android App Distribution Tutorial: From Zero to Google Play Store tutorial.
Don’t forget that the app published should have a higher version code and name than the one you use to test from your computer.
For this, open build.gradle and update these values:
versionCode 2
versionName "1.1"
You can now publish your new version of the app on the Google Play Store.
When testing from the Play Store, you’ll see this screen for immediate updates:

And you’ll see this one for flexible updates:

Troubleshooting
Because updates can be distributed across multiple servers, the process of receiving one may take a while. With continuous testing, the latest version may become cached on your Play Store. It’s necessary to then clear it, so you can receive a notification when a new version is available.
You can do this via one of two options:
- Google Play Store app ▸ My apps & games
- Native Settings ▸ Apps ▸ Google Play Store ▸ Storage & cache ▸ Clear cache
Additionally, if you use app Google Play’s app signing, there’s a known problem where the update will fail on the installation phase. This happens because Google creates a derived .apk that is resigned. This security measure makes the cross-validation fail.
In such a scenario, both installers are signed with the same key, but they don’t match. This results in the update being aborted.
INSTALL_FAILED_UPDATE_INCOMPATIBLE.
After this, the next time you open your app, you’ll see the update screen again.
Where to Go From Here?
You’ve just implemented a mechanism to notify your users of updates. With it, they can always enjoy the latest, greatest version of your app. Congrats!
So, what does the future hold for in-app updates?
During the 2019 Android Dev Summit, Google announced three new features for the Google Play Console:
- Priority: This feature will make it possible to define the type of update you’ll support on the Play Console. You’ll have both implementations written on apps.
- Staleness: This feature will return an integer with the number of days an incoming update has been ignored.
- Progress: If you’re doing a flexible update, you currently have no API to give you the number of bytes already downloaded along with the update size.
Each of these features aims to improve in-app updates and is expected to launch soon.
If you have any questions or comments, please join the forum discussion below!