NSCollectionView Tutorial
In this NSCollectionView tutorial for macOS, you’ll learn how to add a collection view to your app and populate it with a data source – using Swift! By Gabriel Miro.
Going Multi-Section
SlidesMagic is doing some serious magic now. But you’re going to improve it by adding sections.
First, you need to add a check box to the bottom of the view so you can toggle between single and multi-section.
Open Main.storyboard, and in the Document Outline view, select the scroll view’s bottom constraint. Open the Size Inspector and change its Constant to 30.
This moves the collection view up to make room for the check box.

Now, drag a Check Box Button from the Object Library into the space below the collection view. Select it, and in the Attributes Inspector, set its Title to Show Sections, and its State to Off.

Then, set its Auto Layout constraints by selecting the pin button and set the top constraint to 8 and the leading constraint to 20. Choose Update Frames: Items of New Constraints and click Add 2 Constraints.
Build and run. It should look like this at the bottom:

When you click the box, the application needs to change the collection view’s appearance.
Open ViewController.swift and add the following method at the end of the ViewController class:
  @IBAction func showHideSections(sender: NSButton) {
    let show = sender.state
    // 1
    imageDirectoryLoader.singleSectionMode = (show == NSOffState)
    // 2
    imageDirectoryLoader.setupDataForUrls(nil)
    // 3
    collectionView.reloadData()
  }
Here’s what you’re doing:
- Setting single or multi-section mode according to the state of the box.
- You rearrange the model according to the selected mode. The
nilvalue passed means you skip image loading — same images, different layout. - Model changed, discard visible items and redisplay them.
If you’re curious how images are distributed across sections, look up sectionLengthArray in ImageDirectoryLoader. The number of elements in this array sets the max number of sections, and the element values set the number of items in each section.
Now, open Main.storyboard. In the Document Outline, Control-drag from the Show Sections control over the View Controller. In the black pop-up window click showHideSections: to connect it. You can check if the connection was set properly in the Connections Inspector.

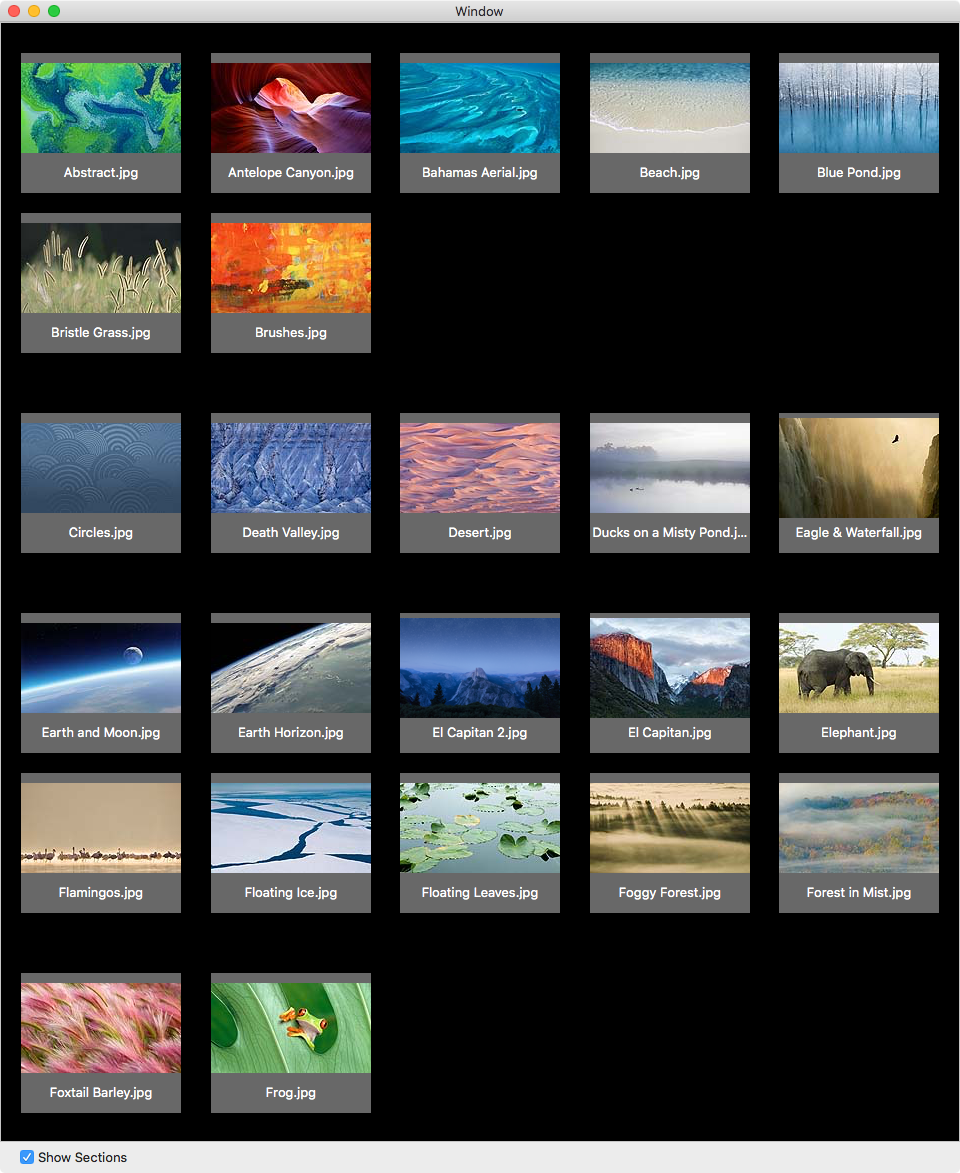
Build and run; check Show Sections and watch the layout change.

To get better visual separation between sections, open ViewController.swift and modify the layout’s sectionInset property in the configureCollectionView() method.
Replace:
flowLayout.sectionInset = EdgeInsets(top: 10.0, left: 20.0, bottom: 10.0, right: 20.0)
With this:
flowLayout.sectionInset = EdgeInsets(top: 30.0, left: 20.0, bottom: 30.0, right: 20.0)
Build and run; check Show Sections, and note the additional spacing between sections.
Add Section Headers
Another way to see section boundaries is to add a header or footer view. To do this, you need a custom NSView class and will need to implement a data source method to provide the header views to the collection view.
To create the header view, select File/New/File…. Select macOS/User Interface/View and click Next.
Enter HeaderView.xib as the file name and for Group select Resources.
Click Create.

Open HeaderView.xib and select the Custom View. Open the Size Inspector and change Width to 500 and Height to 40.
Drag a label from the Object Library to the left-hand side of Custom View. Open the Attributes Inspector and change Title to Section Number and Font Size to 16.
Drag a second label to the right-hand side of Custom View and change Title to Images Count and Alignment to Right.
Set the Section Number labels Auto Layout constraints by selecting the pin button and set the top constraint to 12 and the leading constraint to 20. Choose Update Frames: Items of New Constraints and click Add 2 Constraints.
Next, set the Images Count labels top constraint to 11 and the trailing constraint to 20. Be sure to choose Update Frames: Items of New Constraints and click Add 2 Constraints.
The header view should look like this:

With the interface ready for show time, the next task is to create a custom view subclass for the header view.
Select File/New/File… to create a new file.
Choose macOS/Source/Cocoa Class, name the class HeaderView, and then make it a subclass of NSView. Click Next, and for Group select Views. Click Create.
Open HeaderView.swift and replace the contents of the class with the following:
// 1
@IBOutlet weak var sectionTitle: NSTextField!
@IBOutlet weak var imageCount: NSTextField!

// 2
override func draw(_ dirtyRect: NSRect) {
  super.draw(dirtyRect)
  NSColor(calibratedWhite: 0.8 , alpha: 0.8).set()
  NSRectFillUsingOperation(dirtyRect, NSCompositingOperation.sourceOver)
}
In here, you’re:
- Setting up outlets you’ll use to connect to the labels in the nib.
- Drawing a gray background.
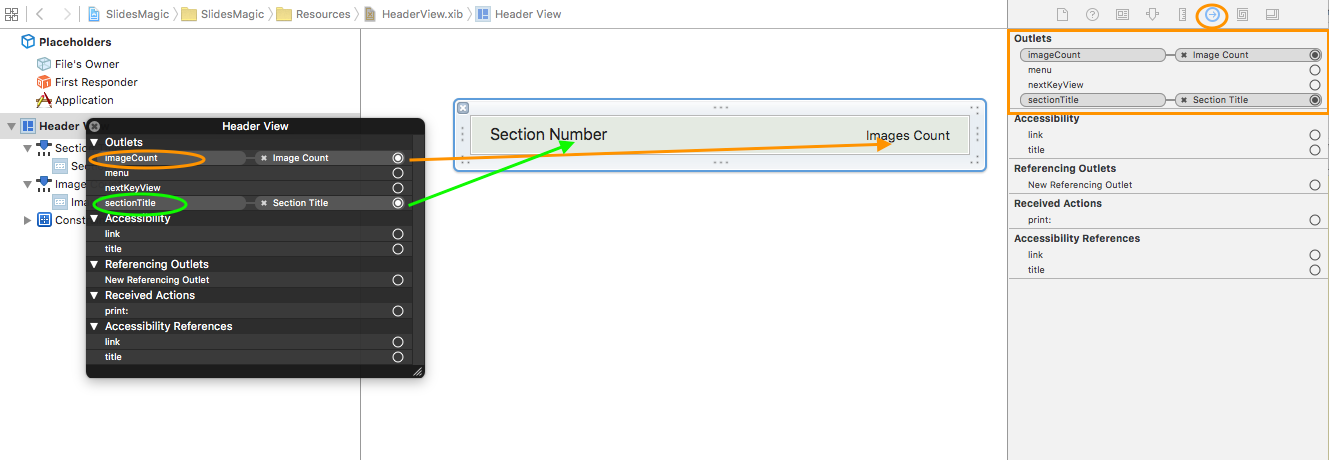
To connect the outlets to the labels, open HeaderView.xib and select the Custom View. Open the Identity Inspector and change the Class to HeaderView.

In the Document Outline view, Control-click on the Header View. In the black pop-up window, drag from imageCount to the Images Count label on the canvas to connect the outlet.
Repeat the operation for the second label, dragging from sectionTitle to the Section Number label in the canvas.
Implement the Data Source and Delegate Methods
Your header view is in place and ready to go, and you need to pass the header views to the collection view to implement collectionView(_:viewForSupplementaryElementOfKind:at:).
Open ViewController.swift and add the following method to the NSCollectionViewDataSource extension:
func collectionView(_ collectionView: NSCollectionView, viewForSupplementaryElementOfKind kind: String, at indexPath: IndexPath) -> NSView {
  // 1
  let view = collectionView.makeSupplementaryView(ofKind: NSCollectionElementKindSectionHeader, withIdentifier: "HeaderView", for: indexPath) as! HeaderView
  // 2
  view.sectionTitle.stringValue = "Section \(indexPath.section)"
  let numberOfItemsInSection = imageDirectoryLoader.numberOfItemsInSection(indexPath.section)
  view.imageCount.stringValue = "\(numberOfItemsInSection) image files"
  return view
}
The collection view calls this method when it needs the data source to provide a header for a section. The method does the following:
- Calls
makeSupplementaryViewOfKind(_:withIdentifier:for:)to instantiate aHeaderViewobject using the nib with a name equal towithIdentifier. - Sets the values for the labels.
At the end of ViewController.swift, add this NSCollectionViewDelegateFlowLayout extension:
extension ViewController : NSCollectionViewDelegateFlowLayout {
  func collectionView(_ collectionView: NSCollectionView, layout collectionViewLayout: NSCollectionViewLayout, referenceSizeForHeaderInSection section: Int) -> NSSize {
    return imageDirectoryLoader.singleSectionMode ? NSZeroSize : NSSize(width: 1000, height: 40)
  }
}
The above method, although technically optional, is a must when you use headers because the flow layout delegate needs to provide the size of the header for every section.
When not implemented, the header won’t show because zero size is assumed. Additionally, it ignores the specified width, effectively setting it to the collection view’s width.
In this case, the method returns a size of zero when the collection view is in single section mode, and it returns 40 when in multiple sections mode.
For the collection view to use NSCollectionViewDelegateFlowLayout, you must connect ViewController to the delegate outlet of NSCollectionView.
Open Main.storyboard and select the collection view. Open the Connections Inspector, and locate the delegate in the Outlets section. Drag from the button next to it to the view controller in the Document Outline.

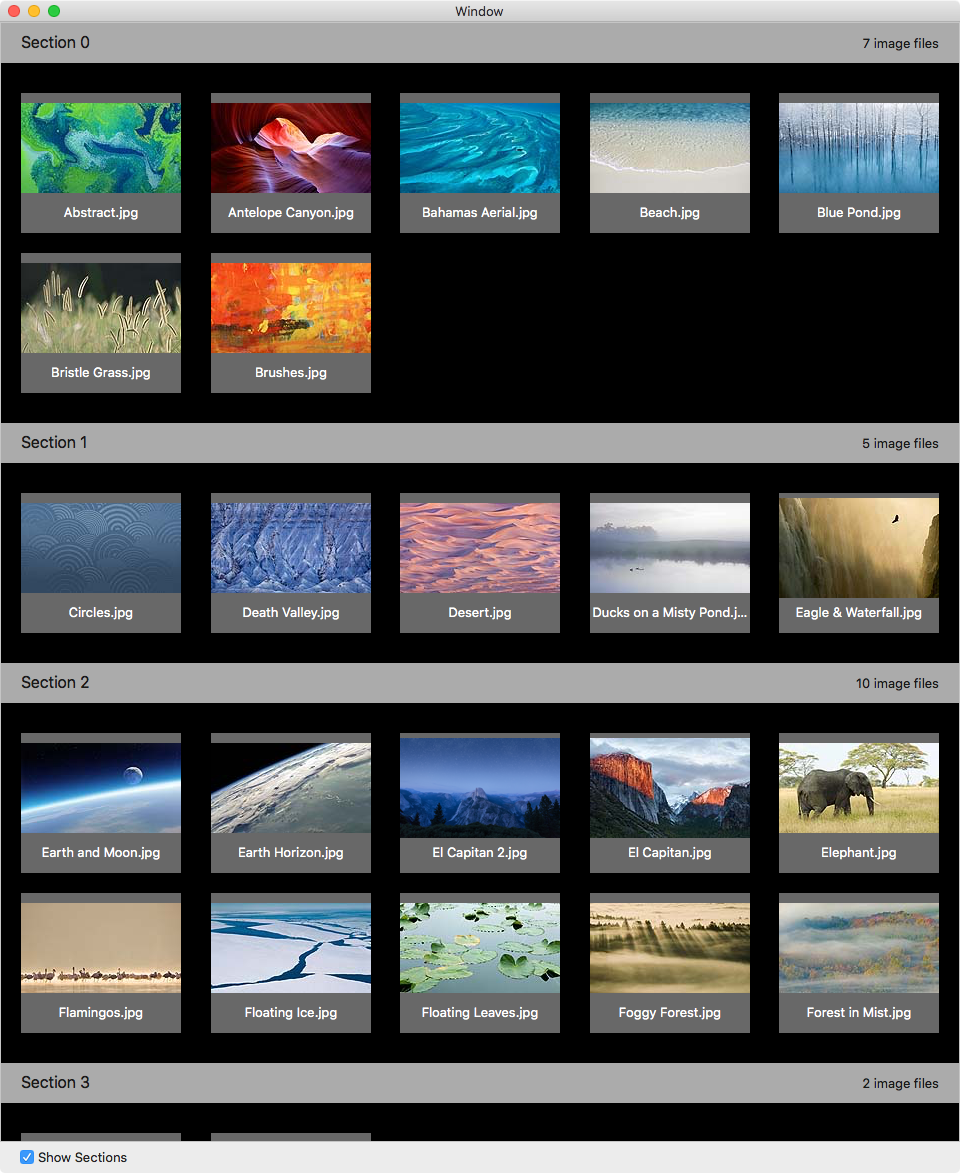
Build and run; check Show Sections and watch your header neatly define sections: