fastlane Tutorial: Getting Started
In this fastlane tutorial you’ll learn how to take advantage of many of the tools provided to automate large and laborious parts of your life as an iOS dev! By Lyndsey Scott.
Creating the IPA file
Sure, it’s nice that you don’t have to create screenshots anymore, but the most time-consuming part of the submission process is actually building and signing the app. Guess what – fastlane can do this as well!
Open Fastfile and add the following code after the end of the screenshot lane:
  desc "Create ipa"
  lane :build do
    increment_build_number
    gym
  end
This creates a lane called build which uses increment_build_number to increase the build number by 1 (so each build number is unique per iTunes Connect’s upload requirement) and gym to create a signed ipa file.
Save Fastfile, then inside the mZone project directory in Terminal, enter the following command:
fastlane build
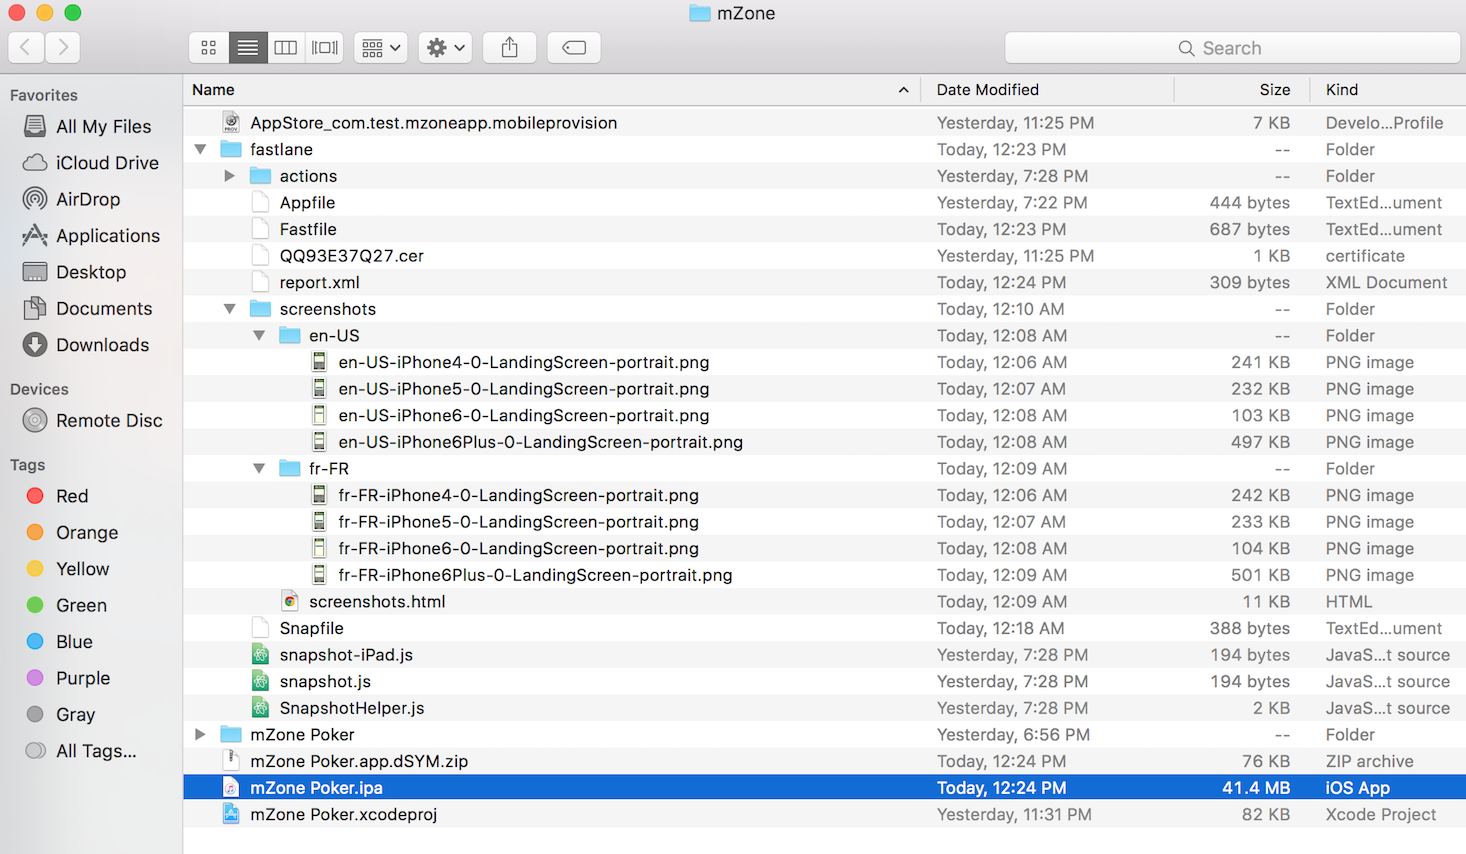
This calls the build lane you added above that starts the build process. Once it successfully completes, open the mZone Project folder. You should see the signed ipa file:
Done! This one command takes care of the arguably most frustrating and least-understood part of iOS development.
Seamless Delivery
To upload the screenshots, metadata and the IPA file to iTunes Connect, you can use deliver, which is already installed and initialized as part of fastlane.
Open Fastfile and add the following code after the end of the build lane:
  desc "Upload to App Store"
  lane :upload do
    deliver
  end
Open your Terminal window and enter the following command:
fastlane upload
With this command, fastlane creates a preview of what it will upload in the form of an HTML page.
If everything looks good, type y into Terminal in answer to the question “Does the Preview on path ‘./Preview.html’ look okay for you? (y/n)”.
At this point you can just chill out and let the computer do all the work for you. :]
After the successful completion of the process, your Terminal window should look like this:

Log in to your iTunes Connect account. All screenshots, description and build version 1.0 should be uploaded and ready.
All that’s left for you to do is click the big “Submit for Review” button, and you’re done!
Wait just a minute… What’s all this about having to manually log in and click a button? I thought we were automating all the things.
Well, it turns out deliver can automatically submit your app for review as well!
First you need to update the upload lane:
  desc "Upload to App Store and submit for review"
  lane :upload do
    deliver(
      submit_for_review: true
    )
  end
Then you need to replace Deliverfile‘s contents with the following so it contains all the additional info needed for submission:
# 1
price_tier 0
# 2
app_review_information(
  first_name: "YOUR_FIRST_NAME",
  last_name: "YOUR_LAST_NAME",
  phone_number: "YOUR_PHONE_NUMBER",
  email_address: "YOUR_EMAIL_ADDRESS",
  demo_user: "N/A",
  demo_password: "N/A",
  notes: "No demo account needed"
)
# 3
submission_information({
    export_compliance_encryption_updated: false,
    export_compliance_uses_encryption: false,
    content_rights_contains_third_party_content: false,
    add_id_info_uses_idfa: false
})
# 4
automatic_release false
# 5
app_icon './fastlane/metadata/AppIcon.png'
# 6
app_rating_config_path "./fastlane/metadata/itunes_rating_config.json"
Here you do the following:
- Set your price tier to 0, indicating it’s a free app.
- Once you fill out the first four lines within app_review_information with the appropriate values, app_review_information provides your contact information to the app review team. Since fastlane doesn’t currently have a boolean-responsive key to indicate that no demo account is needed, you can simply indicate that no demo account is needed within the review notes.
- The submission information answers the questions you’re typically presented with after selecting the “Submit For Review” button. (You can find other available keys here.)
- Setting automatic_release to false allows you to release this version of the app manually after it’s accepted by app review.
- Provide the app icon file location to fastlane.
- Provide the iTunes Rating Configuration file location to fastlane.
Return to your terminal and again run:
fastlane upload
After several minutes, fastlane should indicate that you’ve successfully submitted your app for review and iTunes Connect should confirm it!
Note: As of fastlane version 1.111.0, the text output may incorrectly indicate your app has been submitted successfully even if there’s a problem during submission. So, you should always verify your app shows as Waiting for Review in iTunes Connect.
Also note that in order to delete mZone from iTunes, your app must have been approved by an app review.
After it’s been approved, you can briefly release and then select Remove from Sale in the pricing and availability section. Then, navigate to the App Information screen, scroll to the bottom and select Delete to remove the app permanently.
Putting it All Together
You currently have separate lanes for provisioning, screenshots, building and uploading to the App Store. While you could always call each of these one by one, you don’t want to do that, right?
Oh no, you want ONE command that does everything.
Open Fastfile and add the following code after the end of the upload lane:
  desc "Provision, take screenshots, build and upload to App Store"
  lane :do_everything do
    provision
    screenshot
    build
    upload
  end
As this lane’s description and name implies, this lane takes care of everything. :]
Try it out by running this Terminal command:
fastlane do_everything
Great work! Just let fastlane do all the heavy lifting while you sit back and relax.

Caution: it might feel weird having so much time on your hands compared to your pre-fastlane existence, but trust us, you’ll get used to it. :]
Where to Go From Here?
Download the final project for this tutorial here (sans code signing, your app name, provisioning profile, certificate, ipa file, etc) to see how the app, metadata and fastlane files stack up to yours.
Today you learned how to use fastlane to deploy your apps and save you a bunch of time. Keep in mind that although there are a few steps necessary to get fastlane working, a lot of that is just first time setup.
fastlane also offers a ton of integrations that let you customize your lanes to provide real time feedback on Slack, perform unit tests and deploy TestFlight builds.
To learn more about this fantastic tool, take a look at the official fastlane website.
I hope you enjoyed this fastlane tutorial, and I look forward to seeing how you use fastlane in your deployment pipeline. If you have any questions or comments, please join the forum discussion below!