UIGestureRecognizer Tutorial: Getting Started
In this tutorial, you’ll learn how to configure UIGestureRecognizer objects and how to create custom recognizers in code. By Ryan Ackermann.
Allowing Two Gestures to Happen at Once
Open ViewController.swift. Below the ViewController, create a ViewController class extension and conform it to UIGestureRecognizerDelegate:
extension ViewController: UIGestureRecognizerDelegate {
}
Then, implement one of the delegate’s optional methods:
func gestureRecognizer(
  _ gestureRecognizer: UIGestureRecognizer,
  shouldRecognizeSimultaneouslyWith otherGestureRecognizer: UIGestureRecognizer
) -> Bool {
  return true
}
This method tells the gesture recognizer whether it’s OK to recognize a gesture if another recognizer has already detected a gesture. The default implementation always returns false, but you’ve switched it to always return true.
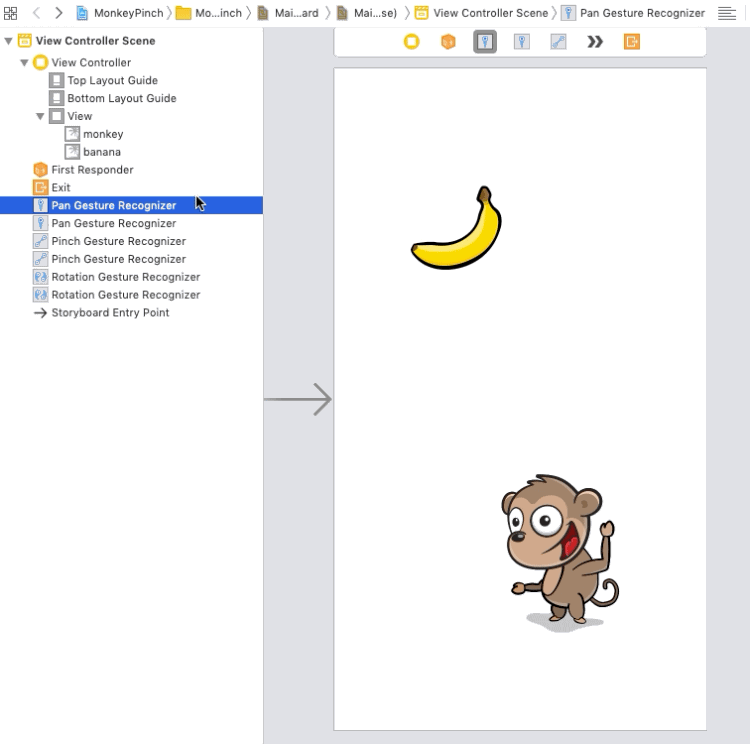
Next, open Main.storyboard and connect each gesture recognizer’s delegate outlet to the view controller. You’ll connect six gesture recognizers in total.
Build and run again. Now, you can drag the monkey, pinch to scale it and continue dragging afterward! You can even scale and rotate at the same time in a natural way. This makes for a much nicer experience for the user.
Programmatic UIGestureRecognizers
So far, you’ve created gesture recognizers with the storyboard editor, but what if you wanted to do things programmatically?
Well, why not try it out? You’ll do so by adding a tap gesture recognizer to play a sound effect when you tap either of the image views.
To play a sound, you’ll need to access AVFoundation. At the top of ViewController.swift, add:
import AVFoundation
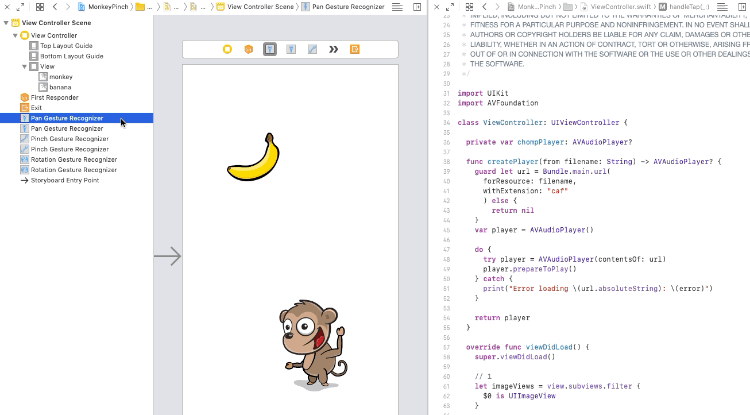
Add the following changes to ViewController.swift, just before viewDidLoad():
private var chompPlayer: AVAudioPlayer?

func createPlayer(from filename: String) -> AVAudioPlayer? {
  guard let url = Bundle.main.url(
    forResource: filename,
    withExtension: "caf"
    ) else {
      return nil
  }
  var player = AVAudioPlayer()

  do {
    try player = AVAudioPlayer(contentsOf: url)
    player.prepareToPlay()
  } catch {
    print("Error loading \(url.absoluteString): \(error)")
  }

  return player
}
Add the following code at the end of viewDidLoad():
// 1
let imageViews = view.subviews.filter {
  $0 is UIImageView
}

// 2
for imageView in imageViews {
  // 3
  let tapGesture = UITapGestureRecognizer(
    target: self,
    action: #selector(handleTap)
  )

  // 4
  tapGesture.delegate = self
  imageView.addGestureRecognizer(tapGesture)

  // TODO: Add a custom gesture recognizer too
}

chompPlayer = createPlayer(from: "chomp")
The begin project contains handleTap(_:). Add the following inside of this method:
chompPlayer?.play()
The audio playing code is outside the scope of this tutorial, but if you want to learn more check out our AVFoundation Course. The important part is in viewDidLoad():
- Create an array of image views — in this case, the monkey and banana.
- Cycle through the array.
- Create a
UITapGestureRecognizerfor each image view, specifying the callback. This is an alternate way of adding gesture recognizers. Previously, you added the recognizers to the storyboard. - Set the delegate of the recognizer programmatically and add the recognizer to the image view.
That’s it! Build and run. You can now tap the image views for a sound effect!
Setting UIGestureRecognizer Dependencies
Everything works pretty well, except for one minor annoyance. Dragging an object very slightly causes it to both pan and play the sound effect. You really want the sound effect to play only when you tap an object, not when you pan it.
To solve this, you could remove or modify the delegate callback to behave differently when a touch and pinch coincide. But there’s another approach you can use with gesture recognizers: setting dependencies.
You can call a method called require(toFail:) on a gesture recognizer. Can you guess what it does? ;]
Open Main.storyboard and another editor on the right by clicking the button on the top-right of the storyboard panel.
On the left of the new panel that just opened, click the button with four squares. Finally, select the third item from the list, Automatic, which will ensure that ViewController.swift shows there.
Now Control-drag from the monkey pan gesture recognizer to below the class declaration and connect it to an outlet named monkeyPan. Repeat this for the banana pan gesture recognizer, but name the outlet bananaPan.
Make sure you add the correct names to the recognizers to prevent mixing them up! You can check this in the Connections inspector.
Next, add these two lines to viewDidLoad(), right before the TODO:
tapGesture.require(toFail: monkeyPan)
tapGesture.require(toFail: bananaPan)
Now, the app will only call the tap gesture recognizer if it doesn’t detect a pan. Pretty cool, eh?
Creating Custom UIGestureRecognizers
At this point, you know pretty much everything you need to know to use the built-in gesture recognizers in your apps. But what if you want to detect some kind of gesture that the built-in recognizers don’t support?
Well, you can always write your own! For example, what if you wanted to detect a “tickle” when the user rapidly moves the object left and right several times? Ready to do this?
“Tickling” the Monkey
Create a new file via File ▸ New ▸ File… and pick the iOS ▸ Source ▸ Swift File template. Name the file TickleGestureRecognizer.
Then replace the import statement in TickleGestureRecognizer.swift with the following:
import UIKit

class TickleGestureRecognizer: UIGestureRecognizer {
  // 1
  private let requiredTickles = 2
  private let distanceForTickleGesture: CGFloat = 25

  // 2
  enum TickleDirection {
    case unknown
    case left
    case right
  }

  // 3
  private var tickleCount = 0
  private var tickleStartLocation: CGPoint = .zero
  private var latestDirection: TickleDirection = .unknown
}
Here’s what you just declared, step-by-step:
- tickleCount: How many times the user switches the direction of the gesture, while moving a minimum number of points. Once the user changes gesture direction three times, you count it as a tickle gesture.
- tickleStartLocation: The point where the user started moving in this tickle. You’ll update this each time the user switches direction, while moving a minimum number of points.
- latestDirection : The latest direction the finger moved, which starts as unknown. After the user moves a minimum amount, you’ll check whether the gesture went left or right and update this appropriately.
- The constants that define what the gesture will need. Note that you infer
requiredTicklesas anInt, but you need to specifydistanceForTickleGestureas aCGFloat. If you don’t, then the app will infer it as anInt, which causes difficulties when calculating withCGPoints later. - The possible tickle directions.
- Three properties to keep track of this gesture, which are:
Of course, these properties are specific to the gesture you’re detecting here. You’ll create your own if you’re making a recognizer for a different type of gesture.