NSCoding Tutorial for iOS: How to Permanently Save App Data
In this NSCoding tutorial, you’ll learn how to save and persist iOS app data so that your app can resume its state after quitting. By Ehab Amer.
Trying It Out!
Before you run the app, add this line right before the return at the end of the class property definition of privateDocsDir:
print(documentsDirectoryURL.absoluteString)
This will help you know exactly where on your computer the folder is that contains the docs when the app runs in the simulator.
Now, run the app. Copy the value from the console but skip the “file://” part. The path should start with “/Users” and end with “/PrivateDocuments.”
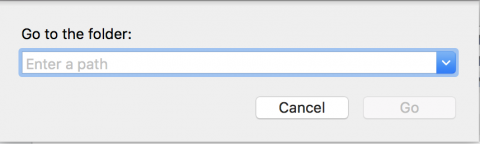
Open the Finder app. Navigate from the menu, Go ▸ Go to Folder and paste the path in the dialog:
Paste the path you copied from the console here.
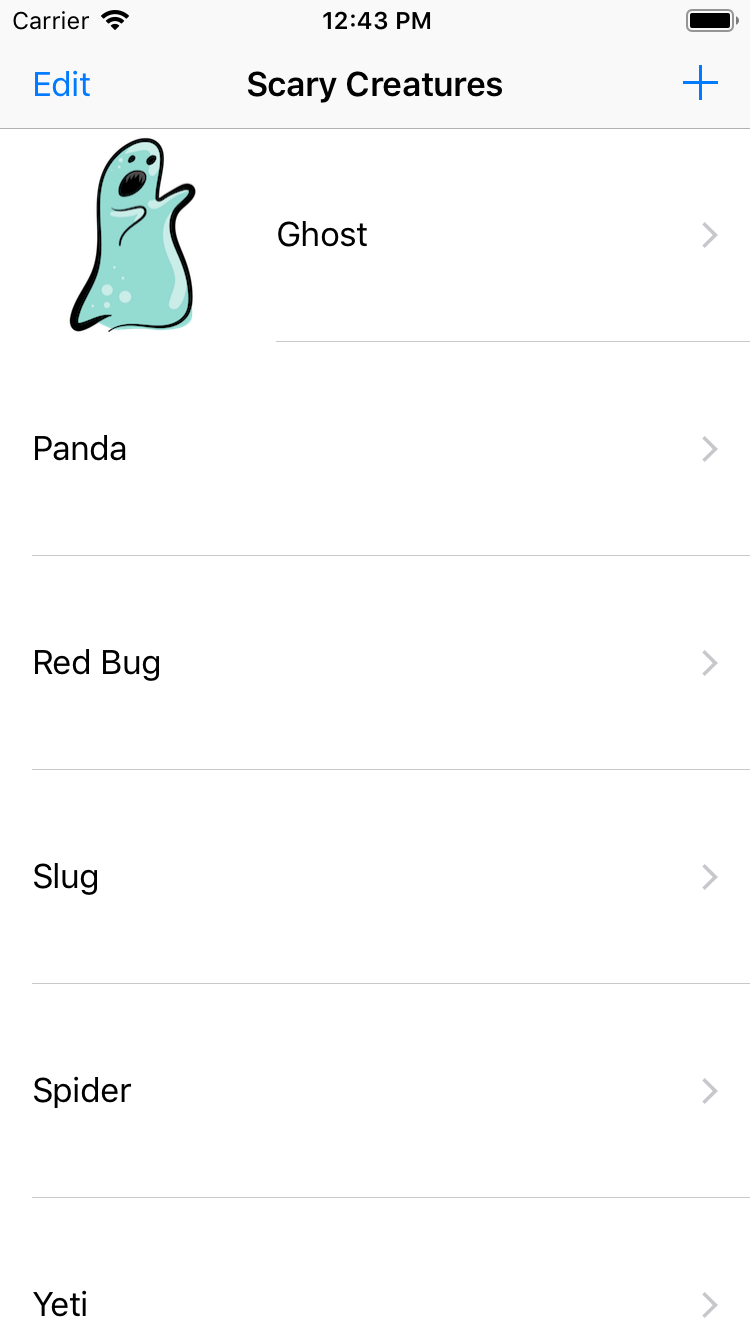
When you open the folder, its contents should look like this:
Contents of the PrivateDocuments folder.

The items you see here are created by MasterViewController.loadCreatures(), which was implemented for you in the starter project. Each time you run the app, it will add more documents on disk… this isn’t actually correct! This happens because you aren’t reading the contents of the database from disk when the app loads. You’ll fix this in a moment but first, you need to implement a few more things.
If the user triggers a delete on the table view, you also need to delete the creature from the database. In this same file, replace the implementation of tableView(_:commit:forRowAt:) with this:
if editingStyle == .delete {
  let creatureToDelete = creatures.remove(at: indexPath.row)
  creatureToDelete.deleteDoc()
  tableView.deleteRows(at: [indexPath], with: .fade)
}
One last thing you need to consider: you finished the Add and Delete functions, but what about Edit? Don’t worry… it’s just as simple as implementing Delete.
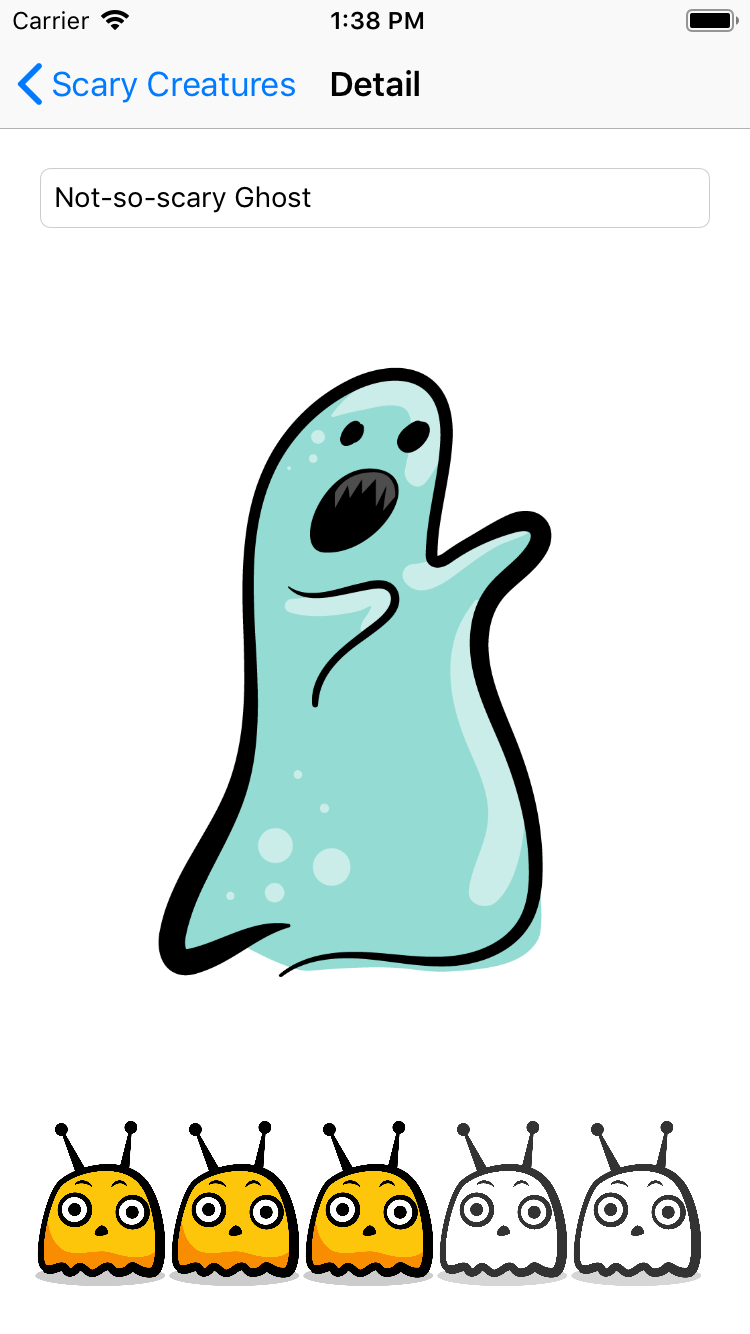
Open DetailViewController.swift and add the following line at the end of both rateViewRatingDidChange(rateView:newRating:) and titleFieldTextChanged(_:):
detailItem?.saveData()
This simply tells the ScaryCreatureDoc object to save itself when you change its information in the user interface.
Saving and Loading Images
The last thing remaining for the creature app is saving and loading images. You won’t save them inside the list file itself; it would be much more convenient to save them as normal image files right beside the other stored data, so now you’ll write the code for that.
In ScaryCreatureDoc.swift, add the following code at the end of the class:
func saveImages() {
  // 1
  if _fullImage == nil || _thumbImage == nil { return }

  // 2
  do {
    try createDataPath()
  } catch {
    print("Couldn't create save Folder. " + error.localizedDescription)
    return
  }

  // 3
  let thumbImageURL = docPath!.appendingPathComponent(Keys.thumbImageFile.rawValue)
  let fullImageURL = docPath!.appendingPathComponent(Keys.fullImageFile.rawValue)

  // 4
  let thumbImageData = _thumbImage!.pngData()
  let fullImageData = _fullImage!.pngData()

  // 5
  try! thumbImageData!.write(to: thumbImageURL)
  try! fullImageData!.write(to: fullImageURL)
}
This is a bit similar to what you wrote before in saveData():
- Ensure that there are images stored; otherwise, there’s no point continuing the execution.
- Create the data path if needed.
- Build the paths that will point to each file on the disk.
- Convert each image to its PNG data representation to be ready for you to write on disk.
- Write the generated data on disk in their respective paths.
There are two points in the project where you want to call saveImages().
The first is in the initializer init(title:rating:thumbImage:fullImage:). Open ScaryCreatureDoc.swift and, at the end of this initializer, right after saveData(), add the following line:
saveImages()
The second point is in DetailViewController.swift inside imagePickerController(_:didFinishPickingMediaWithInfo:). You will find a dispatch closure wherein you update the images in detailItem. Add this line to the end of the closure:
self.detailItem?.saveImages()
Now, you can save, update and delete creatures. The app is ready to save all the scary and non-scary creatures you may come across in the future. :]
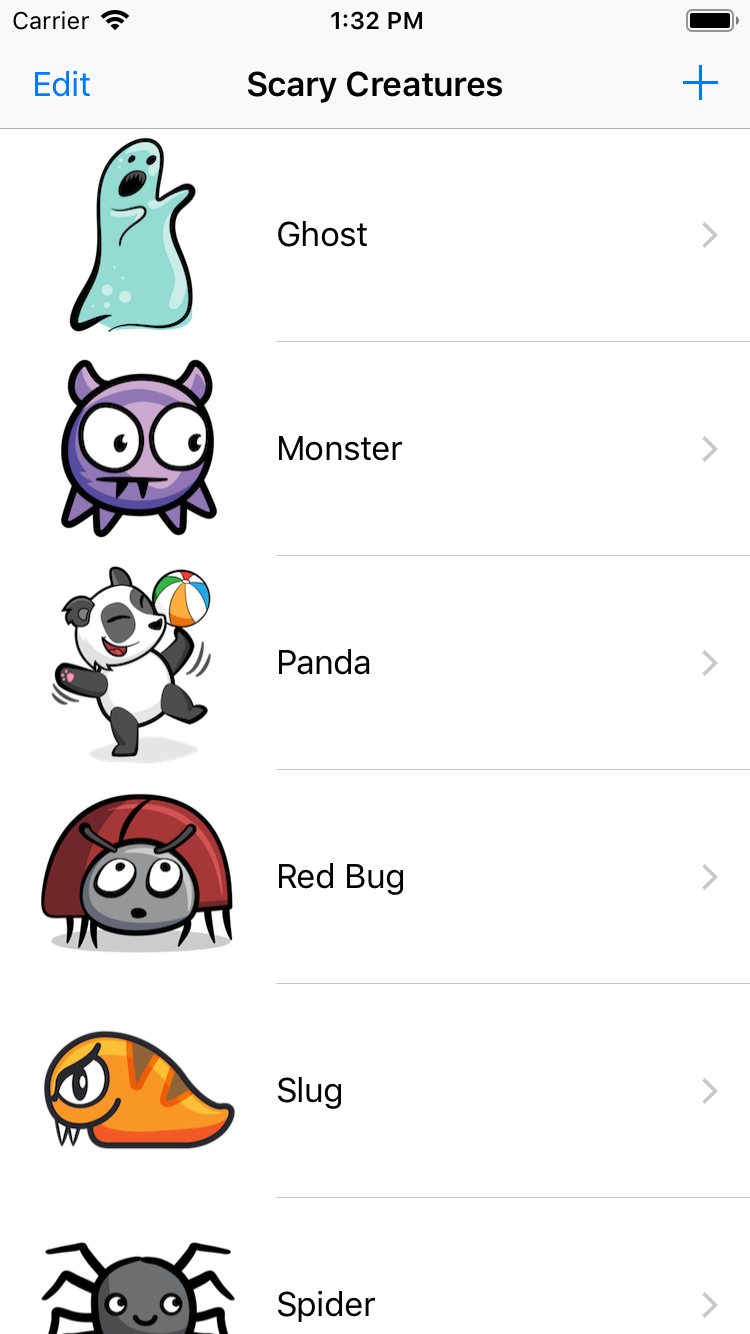
If you were to build and run now and restore your scary creatures from disk, you’d find that some have images and others do not, like this:
Using the path printed in Xcode’s debug console, find and delete the PrivateDocuments folder. Now build and run once. You’ll see the the initial creatures with their images:
While you’re saving your creatures, you can’t see what you’ve saved yet. Open MasterViewController.swift and replace the implementation of loadCreatures() with this:
creatures = ScaryCreatureDatabase.loadScaryCreatureDocs()
This loads the creatures from disk instead of the using the pre-populated list.
Build and run again. Try changing the the title and the rating. When you return to the main screen, the app saves your changes to disk.
Implementing NSSecureCoding
In iOS 6, Apple introduced something new that is built on top of NSCoding. You may have noticed that you decode values from an archive to store them in a variable like this line:
let title = aDecoder.decodeObject(forKey: Keys.title.rawValue) as! String
When reading the value, it is already loaded to memory, then you cast it to the data type you know it should be. If something went wrong and the type of the object previously written couldn’t be cast to the required data type, the object would be completely loaded in memory, then the cast attempt would fail.
The trick is the sequence of actions; although the app will not use the object at all, the object has already been loaded fully in memory, then released after the failed cast.
NSSecureCoding provides a way to load the data while validating its class as it is being decoded, instead of afterwards. And the best part is that it’s super easy to implement.
First, in ScaryCreatureData.swift, make the class implement the protocol NSSecureCoding so the class declaration looks like this:
class ScaryCreatureData: NSObject, NSCoding, NSSecureCoding
Then add the following code at the end of the class:
static var supportsSecureCoding: Bool {
  return true
}
This is all you need to comply with NSSecureCoding, but you didn’t gain the benefits from it yet.
Replace the encode(with:) implementation with this:
aCoder.encode(title as NSString, forKey: Keys.title.rawValue)
aCoder.encode(NSNumber(value: rating), forKey: Keys.rating.rawValue)
Now, replace the implementation of init?(coder:) with this:
let title = aDecoder.decodeObject(of: NSString.self, forKey: Keys.title.rawValue)
  as String? ?? ""
let rating = aDecoder.decodeObject(of: NSNumber.self, forKey: Keys.rating.rawValue)
self.init(title: title, rating: rating?.floatValue ?? 0)
If you look at the new initializer code, you will notice that this decodeObject(of:forKey:) is different from decodeObject(forKey:) as the first parameter it takes is a class.
Unfortunately, using NSSecureCoding requires you to use the string and float counterparts in Objective-C; that’s why NSString and NSNumber are used, then the values are converted back to Swift String and Float.
The last step is to tell the NSKeyedArchiver to use secure coding. In ScaryCreatureDoc.swift, change the following line in saveData():
let codedData = try! NSKeyedArchiver.archivedData(withRootObject: data,
                                                  requiringSecureCoding: false)
To this instead:
let codedData = try! NSKeyedArchiver.archivedData(withRootObject: data,
                                                  requiringSecureCoding: true)
Here, you simply pass true to requiringSecureCoding instead of false. This tells NSKeyedArchiver to enforce NSSecureCoding for the object and its descendants when you archive it.
NSSecureCoding will not be compatible now. You need to delete any previously saved data or uninstall the app from the simulator. In a real-world scenario, you must migrate the old data.