ReSwift Tutorial: Memory Game App
In this ReSwift tutorial, you’ll learn to create a Redux-like app architecture in Swift that leverages unidirectional data flow. By Michael Ciurus.
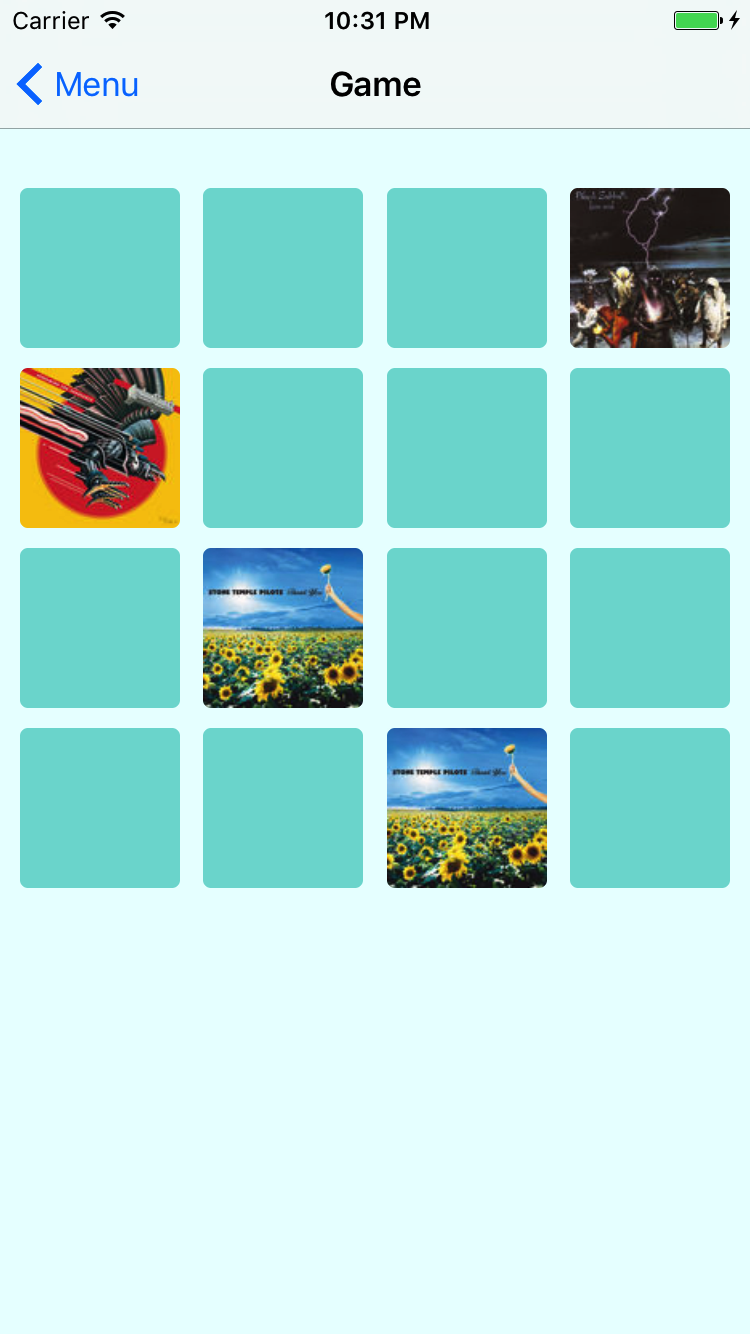
Playing The Game
The logic of the game allows the user to flip two cards, If they’re the same, they remain uncovered; if not, they get hidden again. The player’s objective is to uncover all cards with the fewest steps possible.
To do this, you’ll need a flip action. Open FlipCardAction.swift and add the following:
import ReSwift

struct FlipCardAction: Action {
  let cardIndexToFlip: Int
}
FlipCardAction will use cardIndexToFlip to update GameState when a card is flipped.
Change gameReducer to support FlipCardAction and perform the game algorithm magic. Open GameReducer.swift and add the following case, just before default:
case let flipCardAction as FlipCardAction:
  state.memoryCards = flipCard(index: flipCardAction.cardIndexToFlip, memoryCards: state.memoryCards)
  state.gameFinished = hasFinishedGame(cards: state.memoryCards)
For a FlipCardAction, flipCard changes the state of the memory cards based on the cardIndexToFlip and other game logic. hasFinishedGame is called to determine if the game has finished and update the state accordingly. Both functions can be found in MemoryGameLogic.swift.
The final piece of the puzzle is to send a flip action when a card is selected. This will kick off the game logic and make associated state changes.
In GameViewController.swift, find the UICollectionViewDelegate extension. Add the following to collectionView(_:didSelectItemAt:):
store.dispatch(FlipCardAction(cardIndexToFlip: indexPath.row))
When a card is selected in the collection view, the associated indexPath.row is sent with FlipCardAction.
Run the game and now you can play it. Come back when you’re done having fun! :]
Where to Go From Here?
You can download the final MemoryTunes project here.
There’s still a lot to learn about ReSwift.
- Middleware: There isn’t currently a good way to handle Cross Cutting Concerns in Swift. In ReSwift, you get it for free! You can implement all sorts of concerns using ReSwift’s Middleware feature. It allows you to easily wrap up actions with concerns (logging, statistics, caching).
- Routing: You implemented your own routing for the MemoryTunes app. You could also use a more general solution like ReSwift-Router. It’s still an open problem – maybe you will be the one that solves it? :]
- Testing: ReSwift is probably the easiest architecture out there to create tests for. Reducers contain the code you need to test, and they’re pure functions. Pure functions always give the same output for the same input, don’t rely on the state of the app and have no side effects.
- Debugging: With ReSwift’s state defined in one structure and unidirectional flow, debugging is much easier. You can even record steps of state leading to a crash.
- Persistence: Because all the state of your app is in one place, you can easily serialize and persist it. Caching content for offline mode is a hard architectural problem, but not with ReSwift – you almost get it for free.
- Other Implementations: Redux-like architecture is not a library: it’s a paradigm. You can implement it yourself, use ReSwift or other libraries like Katana or ReduxKit.
If you want to expand your knowledge on the subject, listen to this ReSwift talk by Benjamin Encz, the creator of ReSwift.
ReSwift’s repo also has a lot of interesting example projects. And finally, Christian Tietze’s blog has a lot of interesting advanced ReSwift topics.
If you have any questions, comments or ideas, come join the discussion in the forums below!