UICollectionView Custom Layout Tutorial: Pinterest
Build a UICollectionView custom layout inspired by the Pinterest app, and learn how to cache attributes and dynamically size cells. By Andrew Kharchyshyn.
Connecting with UIViewController
Before you can see your layout in action, you need to implement the layout delegate. PinterestLayout relies on this to provide photo and caption heights when calculating the height of an item's frame.
Open PhotoStreamViewController.swift. Add the following extension to the end of the file to implement PinterestLayoutDelegate:
extension PhotoStreamViewController: PinterestLayoutDelegate {
  func collectionView(
      _ collectionView: UICollectionView,
      heightForPhotoAtIndexPath indexPath:IndexPath) -> CGFloat {
    return photos[indexPath.item].image.size.height
  }
}
Here, you provide the layout with the exact height of the photos.
Next, add the following code inside viewDidLoad(), right below the call to super:
if let layout = collectionView?.collectionViewLayout as? PinterestLayout {
  layout.delegate = self
}
This sets PhotoStreamViewController as the delegate for your layout.
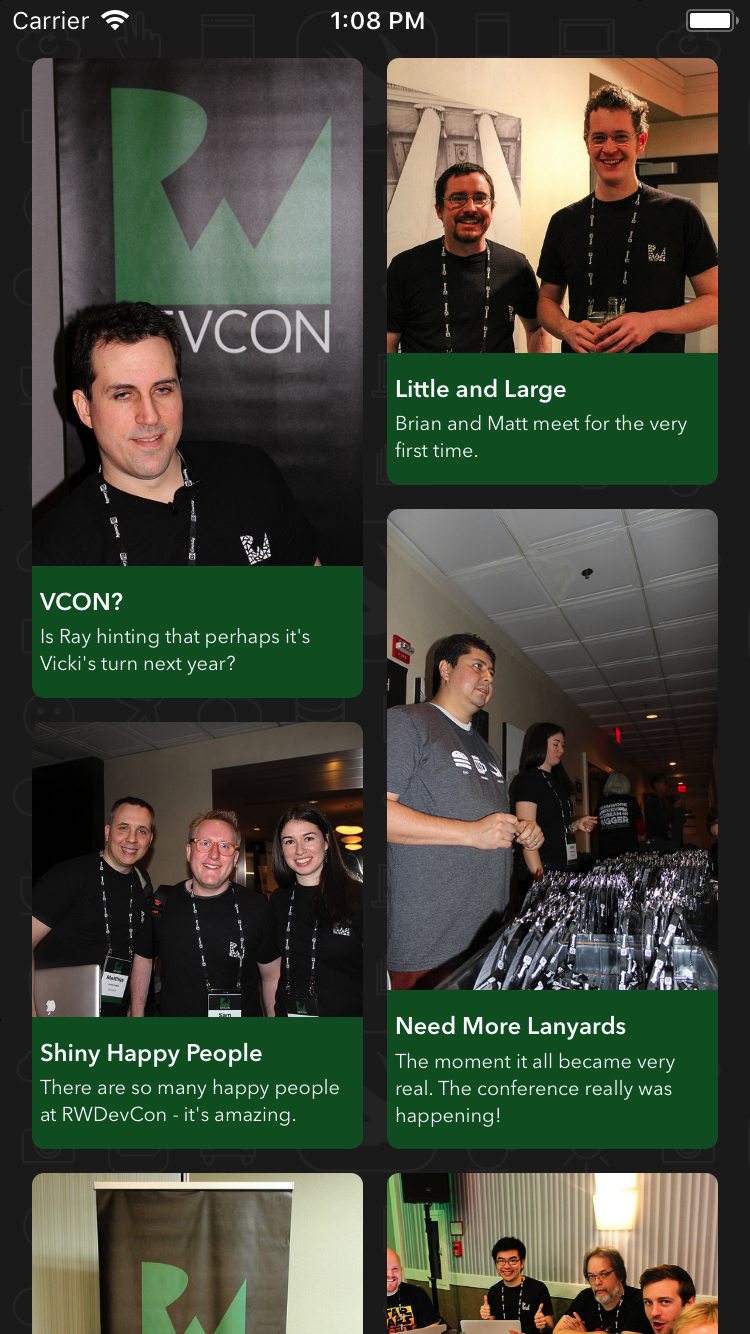
Time to see how things are shaping up! Build and run your app. You'll see the cells are properly positioned and sized based on the heights of the photos:
You've now built a completely custom collection view layout. Great work!
Where to Go From Here?
You can download the final project with all of the code from the tutorial by clicking the Download Materials button at the top or bottom of this tutorial.
With less work than you probably imagined, you've created your very own Pinterest-like custom layout!
If you'd like to learn more about custom layouts, consider the following resources:
- Read the Creating Custom Layouts section of the Collection View Programming Guide for iOS, which covers this subject extensively.
- Follow our Custom Collection View Layout Video Tutorial Series. There you can learn how to build amazing custom layouts inspired by popular iOS apps. You'll also dig into some advanced topics like creating interactive layouts and manipulating scroll behavior.
If you have any questions or comments on this tutorial, feel free to join the discussion below in the forums!