Building an Action for Google Assistant: Getting Started
In this tutorial, you’ll learn how to create a conversational experience with Google Assistant. By Jenn Bailey.
Update note: This article has been updated to use the Google Actions Library for Java and Kotlin and Android Studio 3.5. The original article was also written by Jenn Bailey.
Are you a fan of Google Assistant? Do you say things like, “OK Google, pass the salt!” at the dinner table? Have you asked Google Assistant random questions to see what it would say in reply?
Google Assistant is a voice assistant from Google found on mobile devices, Google Home, and more. It allows users to perform tasks and get information in a hands-free fashion via a Voice User Interface, or VUI. It allows users another way to interact with your brand other than your Android app. Google Assistant is on more than 500 million devices worldwide, and Google expects that number to reach one billion soon.
Did you know you can write your own actions for Google Assistant? In this tutorial, you’ll learn how to create your own conversational experience with Google Assistant.
VUI and Conversational Design
VUI design lets you create a natural and intuitive conversation for the user that can scale across different surfaces such as screen or speaker only. When designing a conversation, it’s important to consider the following:
- Is VUI an appropriate means of accomplishing the task the action creates? Here’s a quiz to help you determine whether VUI is a good fit.
- Who is the audience for this action?
- What is the personality of your action? For example: An action created for a trendy surfboard shop will have a much different persona than an action created for a high-scale professional clothing company. Look at the difference between these two conversations:


Designing an Action’s Conversation
A good conversation design includes the following components:
- A Happy Path, or the shortest path through the conversation that accomplishes the task.
- Conversation repair scenarios that allow the conversation to recover and continue in cases where the user says something unexpected or the user is not properly understood.
- Opportunities for the user to exit the conversation gracefully.
- Varied greetings when starting the action to keep the experience new and spontaneous for the user.
Getting Started
Get the projects by clicking the Download Materials button at the top or bottom of this tutorial. In this tutorial you’ll write an action to play the raywenderlich.com Podcast right from the assistant!.
You need:
- An active Google account. Sign up for one here.
- An Android phone/tablet logged in with the same Google account that you’ll use in this tutorial.
Checking Permissions Settings
First, you need to check some permissions for your set up. Go to the Google Wide Controls page. Enable the following permissions:

Expand Web & App Activity, and check Include Chrome history and activity from sites, apps, and devices that use Google services and Include voice and audio recordings:

Also be sure to enable Voice & Audio Activity and Device Information.
Note: It is helpful, but not required to have some understanding of Kotlin.
Creating the Action Project
You need to start off by creating a project to work with. Go to the Actions Console and login with the Google account you’d like to use for development. Click New project:

Then, accept the terms of agreement if prompted to, name the project RWPodcast and click Create project:

Scroll down to the More Options section. Select Conversational:

Expand Build your Action and click Add Action(s):

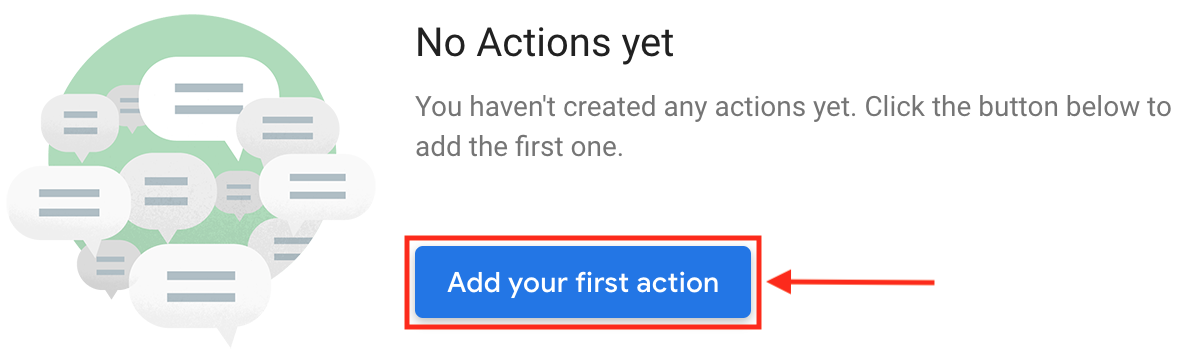
Click Add your first action.
Select the Custom category on the left-hand pane and click Build:

This will take you to the Dialogflow console webpage. If prompted, select or login with your Google account, and click Allow. You might also need to accept terms of service.
Creating the Dialogflow Agent
Next, create your agent. The Dialogflow page will prompt you to create an auto-configured Dialogflow agent. Click Create.

Agents and Intents
Agents are Natural Language Understanding (NLU) modules. Agents translate what the user says into actionable data. When the utterance of the user matches one of the agent’s intents, the agent performs the translation of the user’s request into actionable data and returns the result to the user.
Intents match user input to the appropriate responses. In the training phrases of the intent, you:
- Define examples of user utterances that can trigger the intent.
- Specify what to extract from the utterance.
- Specify how to respond.
Generally, an intent represents a single ‘turn’ in the conversation.
Intents consist of four different components:
- Name: An identifier for the intent that reference by the fulfillment.
- Training Phrases: A defined collection of example phrases that invoke a particular intent. Dialogflow will automatically match similar phrases with the ones provided.
- Actions and Parameters: Define which parts of the user utterances to extract. These often include information such as dates, times, quantities and places.
- Response: The utterance displayed or spoken back to the user.
Note: Dialogflow supports a feature related to intents called contexts. Contexts are used to have more control over intent matching and manage the state of the conversation over multiple intents. To learn more, check the documentation.
A typical agent has several intents that address different user intentions. When a Dialogflow agent hears an utterance from the user, it attempts to match that utterance to one of the training phrases defined in the intents. Then, the agent returns the response from that intent.
There are special types of intents. By default, a new agent includes two of these, fallback intent and the the welcome intent.
The agent invokes a fallback intent when the user says something that the agent can’t recognize.
The agent invokes a welcome intent when the user starts a conversation with the agent. The welcome intent informs the user what the action does or how to start a conversation.
Click on the Intents tab on the left pane. Then select Default Welcome Intent to see the default welcome intent:

Notice the predefined training phrases:

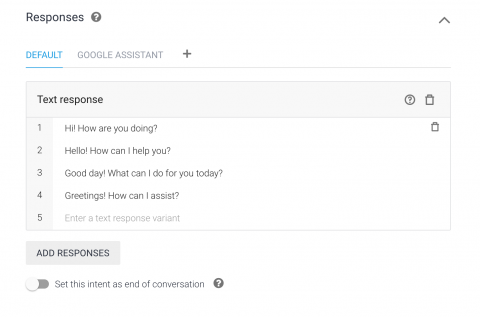
Also, notice the predefined responses lower on the page:
You can also create custom intents, choose your own training phrases and define your own responses.
Lastly, there are follow-up intents. Follow-up intents nest below a parent intent. Use them to gather follow-up information.