Android Intents Tutorial with Kotlin
In this Intents tutorial you’ll learn what Intents are, the role they play in Android, and how to use them to communicate with other installed apps. By Jenn Bailey.
Handling Intents
Looks like that intent worked like a charm. But where are those Extras you sent across? Did they take a wrong turn at the last memory buffer? Time to find them and put them to work.
Add the following code at the end of onCreate() in EnterTextActivity.kt:
pictureUri = intent.getParcelableExtra<Uri>(IMAGE_URI_KEY)
val bitmapWidth = intent.getIntExtra(BITMAP_WIDTH, 100)
val bitmapHeight = intent.getIntExtra(BITMAP_HEIGHT, 100)

pictureUri?.let {
  val selectedImageBitmap = BitmapResizer.shrinkBitmap(this, it, bitmapWidth,
    bitmapHeight)
  selectedPictureImageview.setImageBitmap(selectedImageBitmap)
}
When you create the activity, you assign the Uri passed from the previous activity to pictureUri by accessing the Intent via intent. Once you have access to the intent, you can access its Extra values.
Since variables and objects come in various forms, you have multiple methods to access them from the intent. To access the Uri object above, for example, you need to use getParcelableExtra. Other Extra methods exist for other variables such as strings and primitive data types.
getIntExtra(), similar to other methods that return primitives, also allows you to define a default value. These are used when a value isn’t supplied, or when the key is missing from the provided Extras.
Once you’ve retrieved the necessary Extras, create a Bitmap from the Uri sized by the BITMAP_WIDTH and BITMAP_HEIGHT values you passed. Finally, you set the ImageView image source to the bitmap to display the photo.
In addition to displaying the ImageView, this screen also contains two EditText views where the user can enter their meme text. The starter project does the heavy lifting for you by taking the text from those views and compositing it onto the photo.
The only thing you need to do is to flesh out onClick(). Update the line to the R.id.write_text_to_image_button branch condition:
R.id.writeTextToImageButton -> createMeme()
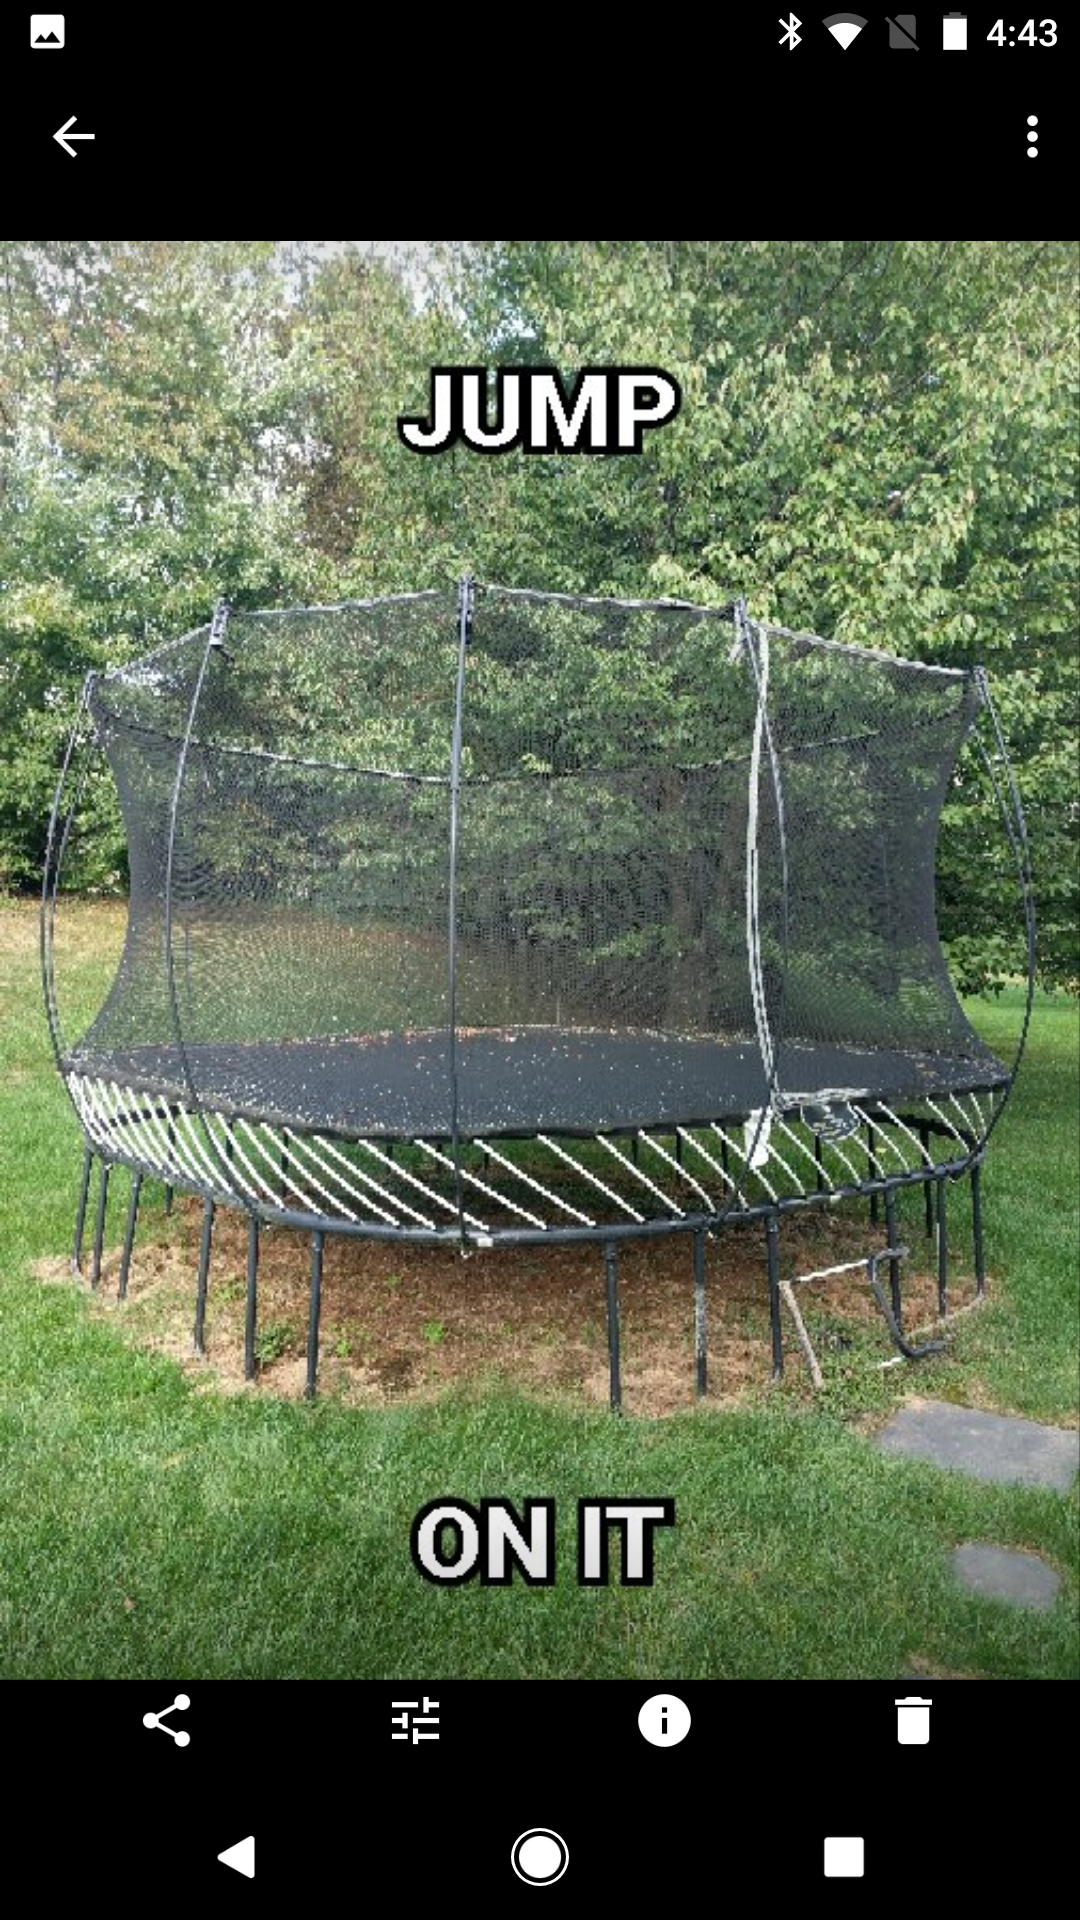
Drumroll please. Build and run. Repeat the usual steps to take a photo, and then enter your incredibly witty meme text on the second screen and tap LETS MEMEIFY!:

You’ve just created your own meme generator! Don’t celebrate too long, though: There are a few bits of polish that you need to add to the app.
Broadcast Intents
It would be nice to save your shiny new meme so you can share it with the world. It’s not going to go viral all on its own! :]
Fortunately, the starter project has it covered for you — you only need to tie things together.
Add the following code to saveImageToGallery(), just below the try block before Toaster.show(this, R.string.save_image_succeeded):
val mediaScanIntent = Intent(Intent.ACTION_MEDIA_SCANNER_SCAN_FILE)
mediaScanIntent.data = Uri.fromFile(imageFile)
sendBroadcast(mediaScanIntent)
This intent uses the ACTION_MEDIA_SCANNER_SCAN_FILE action to ask the Android’s media database to add the image’s Uri. That way, any apps that access the media database can use the image via its Uri.
The ACTION_MEDIA_SCANNER_SCAN_FILE action also requires the intent to have some attached data in the form of a Uri, which comes from the File object to which you save the Bitmap.
Finally, you broadcast the intent across Android so that any interested parties — in this case, the media scanner — can act upon it. Since the media scanner doesn’t have a user interface, you can’t start an activity so you simply broadcast the intent instead.
Now, update the R.id.save_image_button branch condition in the onClick() function to the following:
R.id.saveImageButton -> askForPermissions()
When the user taps SAVE IMAGE the above code checks for WRITE_EXTERNAL_STORAGE permission. If it’s not granted on Android Marshmallow and above, the method politely asks the user to grant it. Otherwise, if you are allowed to write to the external storage, it simply passes control to saveImageToGallery().
The code in saveImageToGallery() performs some error handling and, if everything checks out, kicks off the intent.
Build and run. Take a photo, add some stunningly brilliant meme text, tap LETS MEMEIFY! and then tap SAVE IMAGE once your image is ready.
Now, close the app and open the Photos app. If you’re using the emulator, then open the Gallery app. You should be able to see your new image in all its meme-ified glory:
Your memes can now escape the confines of your app and are available for you to post to social media or share in any manner of your choosing. Your meme generator is complete!
Intent Filtering
By now you should have a good idea of how to use the right intent for the right job. However, there’s another side to the story of the faithful intent: How your app knows which intent requests to respond to when an implicit intent is sent.
Open AndroidManifest.xml found in app/manifests and, in the first activity element, you should see the following:
<activity
    android:name=".TakePictureActivity"
    android:label="@string/app_name"
    android:screenOrientation="portrait">
    <intent-filter>
        <action android:name="android.intent.action.MAIN" />

    <category android:name="android.intent.category.LAUNCHER" />
</intent-filter>

</activity>
The key here is the intent-filter element. An Intent Filter enables parts of your app to respond to implicit intents.
These behave like a banner when Android tries to satisfy an implicit intent sent by another app. An app can have multiple intent filters, which it waves about wildly, hoping its intent filter satisfies what Android is looking for:
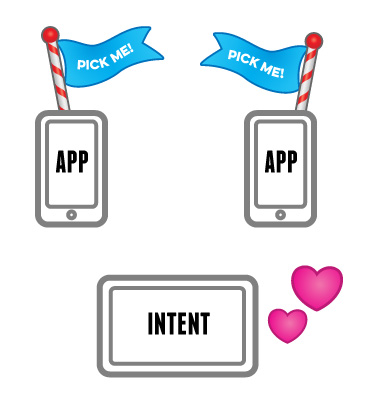
It’s kind of like online dating for intents and apps. :]
To make sure it’s the right app for the intent, the intent filter provides three things:
-
Intent Action: The action the app can fulfill. This is similar to the way the camera app fulfills the
ACTION_IMAGE_CAPTUREaction for your app. - Intent Data: The type of data the intent can accept. This ranges from specific file paths, to ports and to MIME types such as images and video. You can set one or more attributes to control how strict or lenient you are with the data from an intent that your app can handle.
- Intent Category: The categories of intents that are accepted. This is an additional way to specify which actions can respond to an implicit intent.
It would be AWESOME to offer Memeify as an implicit intent to interacting with images from other apps and it’s surprisingly simple to do.
Add the following code directly underneath the first intent filter in your AndroidManifest.xml file:
<intent-filter>
    <action android:name="android.intent.action.SEND" />
    <category android:name="android.intent.category.DEFAULT" />
    <data android:mimeType="@string/image_mime_type" />
</intent-filter>
Your new intent filter specifies that your app will look for SEND action from an implicit intent. You use the default category as you don’t have any special use cases and you’re looking only for image MIME data types.
Now, open TakePictureActivity.kt and add the following to the end of the class:
private fun checkReceivedIntent() {
  val imageReceivedIntent = intent
  val intentAction = imageReceivedIntent.action
  val intentType = imageReceivedIntent.type

  if (Intent.ACTION_SEND == intentAction && intentType != null) {
    if (intentType.startsWith(MIME_TYPE_IMAGE)) {
      selectedPhotoPath =
          imageReceivedIntent.getParcelableExtra<Uri>(Intent.EXTRA_STREAM)
      setImageViewWithImage()
    }
  }

}
Here, you get the Intent that started the activity and retrieve its action and type. Then you compare these to what you declared in your intent filter, which is a data source with the MIME type of an image.
If it’s a match, then you get the image’s Uri. Query the Uri for the Bitmap using a helper method included with the starter project. Then, finally ask the ImageView to display the retrieved Bitmap.
Next, add the following line at the end of onCreate():
checkReceivedIntent()
The above code ensures that you will check if there is an intent every time the activity is created.
Build and run. Then, back out to the home screen and go to the Photos app, or the Gallery app if you’re using the emulator. Choose any photo, and tap the share button. You should see Memeify among the presented options:
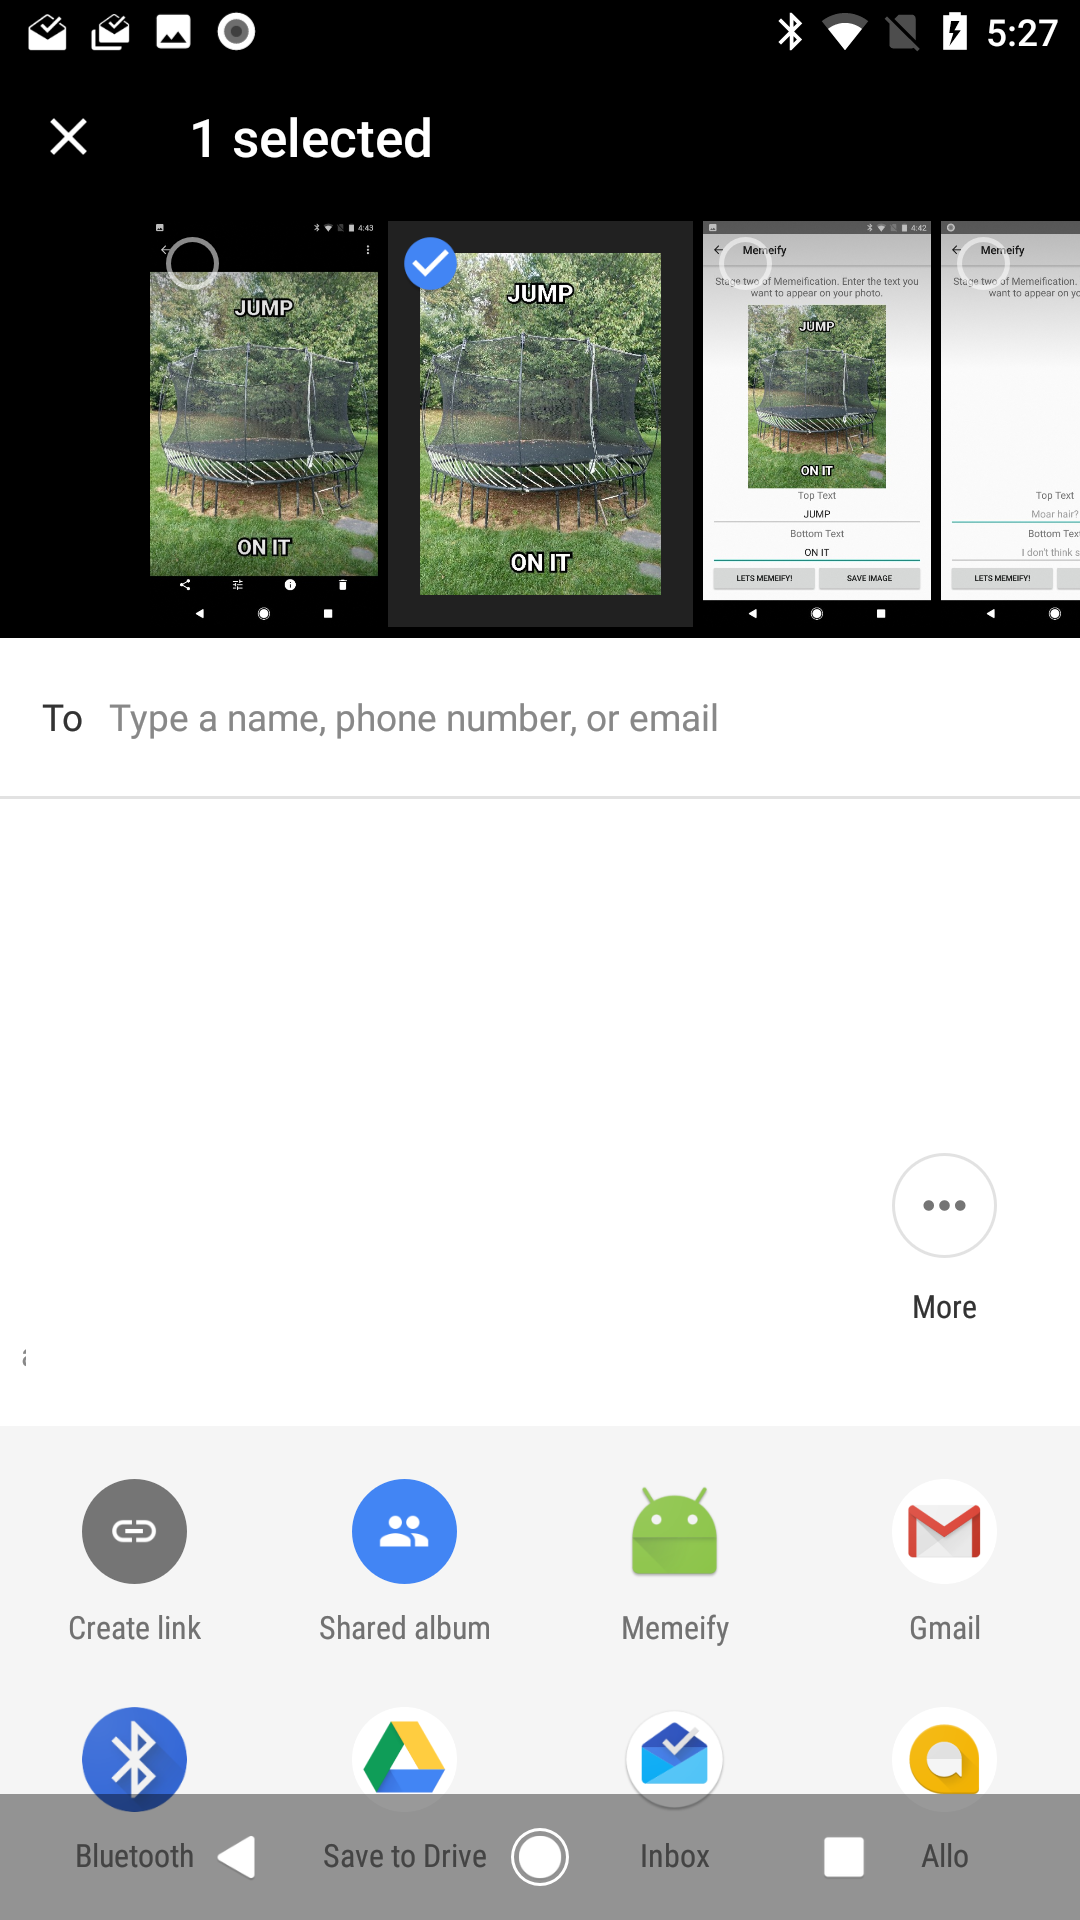
Memeify is ready and waiting to receive your photo! Tap Memeify and see what happens! Memeify launches with the selected photo already displayed in the ImageView.
Your app is now receiving intents like a boss!