Android Intents Tutorial with Kotlin
In this Intents tutorial you’ll learn what Intents are, the role they play in Android, and how to use them to communicate with other installed apps. By Jenn Bailey.
Putting Your Intent in Motion
You now have a working intent ready to go, along with a full mental model of what a typical intent looks like:

There’s not much left to do here except let the intent fulfill what it was destined to do with the final line of takePictureWithCamera(). Add the following to the bottom of the method:
startActivityForResult(captureIntent, TAKE_PHOTO_REQUEST_CODE)
This line asks Android to start an activity that can perform the action captureIntent to capture an image to a file. Once the activity has fulfilled the intent’s action, you also want to retrieve the resulting image. TAKE_PHOTO_REQUEST_CODE, the constant you specified earlier, will be used to identify the intent when it returns.
Next, in the onClick() function, replace the empty closure in the when statement for the R.id.picture_imageview branch condition with a call to the takePictureWithCamera() function. The resulting line of code should look like the following:
R.id.pictureImageview -> takePictureWithCamera()
This calls takePictureWithCamera() when you tap the ImageView.
Time to check the fruits of your labor! Build and run the app. Tap the ImageView to invoke the camera:

You can take pictures at this point, you just can’t do anything with them! You’ll handle this in the next section.
Note: If you are running the app in the Emulator, you may need to edit the camera settings on your AVD. To do this, click Tools\Android\AVD Manager and then click the green pencil to the right of the virtual device you want to use. Then, click Show Advanced Settings in the bottom-left of the window. In the Camera section, ensure all enabled camera dropdowns are set to Emulated or Webcam0. Also, allow the app to use the camera permission if prompted.
Implicit Intents
If you’re running the app on a physical device with a number of camera-centric apps, you might have noticed something unexpected:

You get prompted to choose which app should handle the intent.
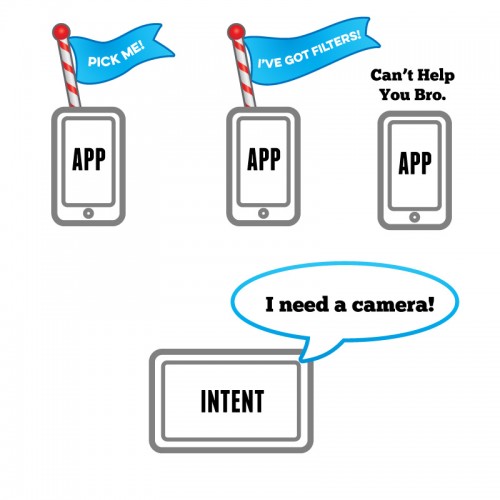
When you create an intent, you can be as explicit or as implicit as you like with what the intent should use to complete its action. ACTION_IMAGE_CAPTURE is a perfect example of an Implicit Intent.
Implicit intents let Android developers give users the power of choice. If they have a particular app they like to use to perform a certain task, would it be so wrong to use some of its features for your own benefit? At the very least, it definitely saves you from reinventing the wheel in your own app.
An implicit Intent informs Android that it needs an app to handle the intent’s action when it starts. The Android system then compares the given intent against all apps installed on the device to see which ones can handle that action, and therefore process that intent. If more than one can handle the intent, the user is prompted to choose one:
If only one app responds, the intent automatically takes the user to that app to perform the action. If there are no apps to perform that action, then Android will return nothing, leaving you with a null value that will cause your app to crash! :[
You can prevent this by checking the result to ensure that at least one app responded to the action before attempting to start it. Or, in this case, you can also state the app can only be installed on devices that have a camera by declaring the necessary hardware requirements by adding the following line to AndroidManifest.xml:
<uses-feature android:name="android.hardware.camera" />
The starter project opts for the device restriction method.
So you have an implicit intent set up to take a photo, but you don’t yet have a way to access that photo in your app. Your meme generator isn’t going to get far without photos!
Add the following new method just below takePictureWithCamera() in TakePictureActivity:
override fun onActivityResult(requestCode: Int, resultCode: Int, data: Intent?) {
  super.onActivityResult(requestCode, resultCode, data)

  if (requestCode == TAKE_PHOTO_REQUEST_CODE
      && resultCode == RESULT_OK) {
    //setImageViewWithImage()
  }

}
The above method only executes when an activity started by startActivityForResult() in takePictureWithCamera() has finished and returns to your app.
The if statement above matches the returned requestCode against the constant you passed in (TAKE_PHOTO_REQUEST_CODE) to ensure this is your intent. You also check that the resultCode is RESULT_OK, this is simply an Android constant that indicates successful execution.
If everything does go well, then you can assume your image is ready for use, so you call setImageViewWithImage().
Time to define that method!
First, inside TakePictureActivity at the top, add the following boolean variable:
private var pictureTaken: Boolean = false
This tracks whether you have taken a photo, which is useful in the event you take more than one photo. You’ll use this variable shortly.
Next, add the following right after onActivityResult():
private fun setImageViewWithImage() {
  val photoPath: Uri = selectedPhotoPath ?: return
  pictureImageview.post {
    val pictureBitmap = BitmapResizer.shrinkBitmap(
        this@TakePictureActivity,
        photoPath,
        pictureImageview.width,
        pictureImageview.height
    )
    pictureImageview.setImageBitmap(pictureBitmap)
  }
  lookingGoodTextView.visibility = View.VISIBLE
  pictureTaken = true
}
BitmapResizer is a helper class bundled with the starter project to make sure the Bitmap you retrieve from the camera is scaled to the correct size for your device’s screen. Although the device can scale the image for you, resizing it in this way is more memory efficient.
With setImageViewWithImage() now ready, uncomment this line that calls it, within onActivityResult():
// setImageViewWithImage()
Build and run. Select your favorite camera app, if prompted, and take another photo.
This time, the photo should scale to the appropriate size given your display and show up in the ImageView:

You’ll also see a TextView underneath that compliments you on your excellent photography skills. It’s always nice to be polite. :]
Explicit Intents
It’s nearly time to build phase two of your meme generator. But first you need to get your picture over to the next activity since you’re a little strapped for screen real estate here.
In Constants.kt, add the following constants just below the comment line:
const val IMAGE_URI_KEY = "IMAGE_URI"
const val BITMAP_WIDTH = "BITMAP_WIDTH"
const val BITMAP_HEIGHT = "BITMAP_HEIGHT"
These will be used as keys for the extras you’ll pass to an intent on the next screen.
Now, add the following method to the bottom of TakePictureActivity, adding any imports as necessary:
private fun moveToNextScreen() {
  if (pictureTaken) {
    val nextScreenIntent = Intent(this, EnterTextActivity::class.java).apply {
      putExtra(IMAGE_URI_KEY, selectedPhotoPath)
      putExtra(BITMAP_WIDTH, pictureImageview.width)
      putExtra(BITMAP_HEIGHT, pictureImageview.height)
    }
    startActivity(nextScreenIntent)
  } else {
    Toaster.show(this, R.string.select_a_picture)
  }
}
Here you check pictureTaken to see if it’s true, which indicates your ImageView has a Bitmap from the camera. If you don’t have a Bitmap, then your activity will briefly show a Toast message telling you to go take a photo. The show method from the Toaster class makes showing toasts just a tiny bit easier. If pictureTaken is true, then you create an intent for the next activity and set up the necessary extras, using the constants you just defined as the keys.
Next, in the onClick() function, replace the empty closure in the when statement for the R.id.enter_text_button branch condition with a call to the moveToNextScreen() function. The resulting line of code should look like the following:
R.id.enterTextButton -> moveToNextScreen()
Build and run. Tap LETS MEMEIFY! without first taking a photo and you’ll see the toast appear:

If a photo is taken, then moveToNextScreen() proceeds to create an intent for the text entry activity. It also attaches some Extras to the intent, such as the Uri path for the Bitmap and the height and width of the Bitmap as it’s displayed on the screen. These will be useful in the next activity.
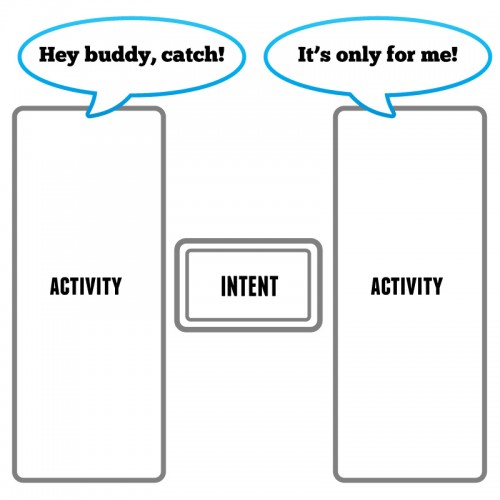
You’ve just created your first explicit intent. Compared to implicit intents, explicit intents are a lot more conservative. This is because they describe a specific component that will be created and used when the intent starts. This could be another activity that is a part of your app or a specific Service in your app, such as one that starts to download a file in the background.
This intent is constructed by providing the Context from which the intent was created, this, along with the class the intent needs to run, EnterTextActivity::class.java. Since you’ve explicitly stated how the intent gets from A to B, Android simply complies. The user has no control over how the intent is completed:
Build and run. Repeat the process of taking a photo, but this time tap LETS MEMEIFY!. Your explicit intent will kick into action and take you to the next activity:
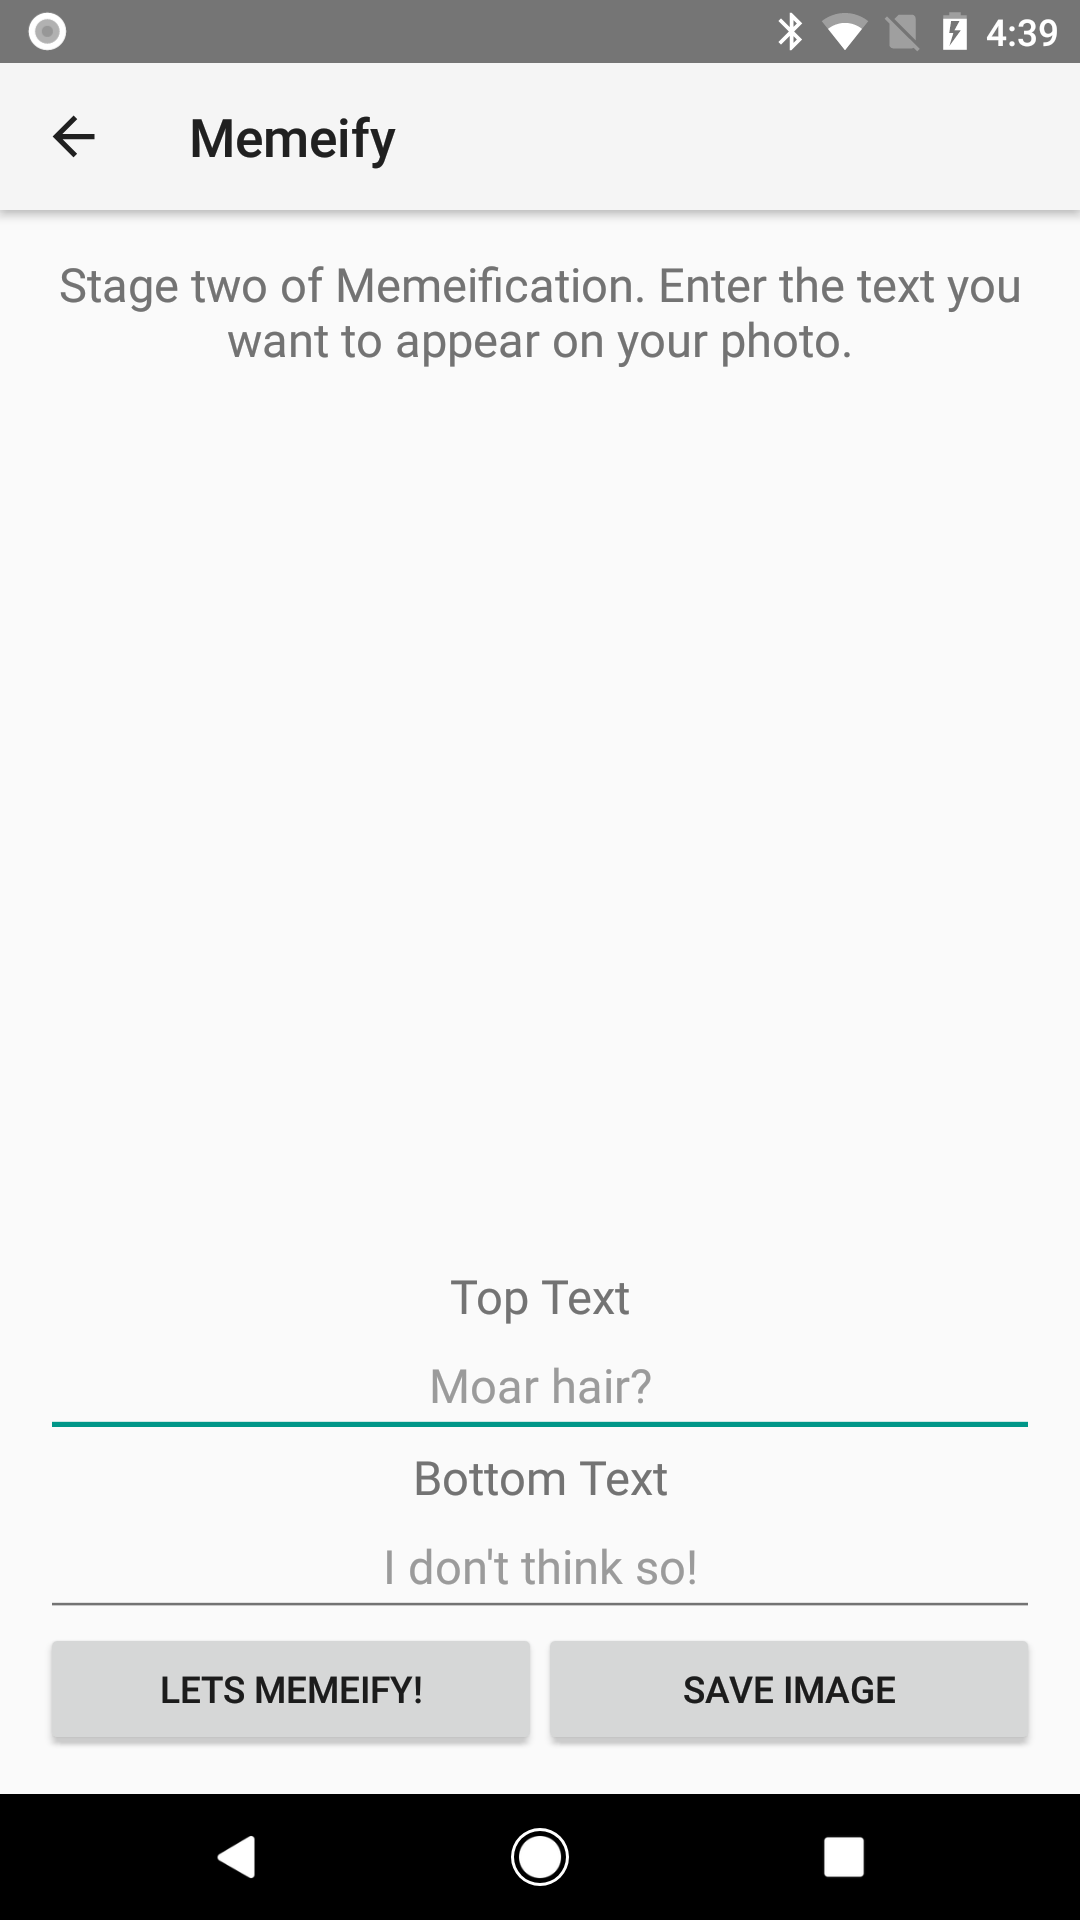
The starter project already has this activity created and declared in AndroidManifest.xml, so you don’t have to create it yourself.