Google Maps for Flutter Tutorial: Getting Started
In this tutorial, you’ll learn how to integrate the Google Maps API into your Flutter app by creating an app to show places to eat nearby. By Kyle Jablonski.
Map Types
The GoogleMap attribute mapType allows you to customize the tiles within the map. The current supported types are:
- normal: Normal tiles (traffic and labels, subtle terrain information).
- satellite: Satellite imaging tiles (aerial photos).
- terrain: Terrain tiles (indicates type and height of terrain).
- hybrid: Hybrid tiles (satellite images with some labels/overlays).
You’ll stick with normal tiles in this tutorial, but feel free to experiment with mapType if you wish.
Styling the map
Google Maps can be customized to provide a limited set of display features such as landmarks, roads, and other built-up areas. You do this by providing a JSON file that specifies these customizations. Head over to Styling a Google Map iOS to view the options for iOS and head over to Style a Google Map Androd to see the same for Android.
To add a style to your map copy the following method into the _PlacesSearchMapSample class:
  void _setStyle(GoogleMapController controller) async {
    String value = await DefaultAssetBundle.of(context)
                           .loadString('assets/maps_style.json');
    controller.setMapStyle(value);
  }
Here, you load a JSON file with the customizations and apply them to the map. You can open maps_style.json in the project assets folder to see what changes are specified.
Then, add a call to your new method in your GoogleMap widget by adding it to the onMapCreated argument anonymous function just before _controller.complete(controller);:
_setStyle(controller);
Here you have called the _setStyle() method passing in the GoogleMapController to set the style of the Google map. If you want to configure a different style, replace the maps_style.json in the assets folder with a style from the Maps Style generator.
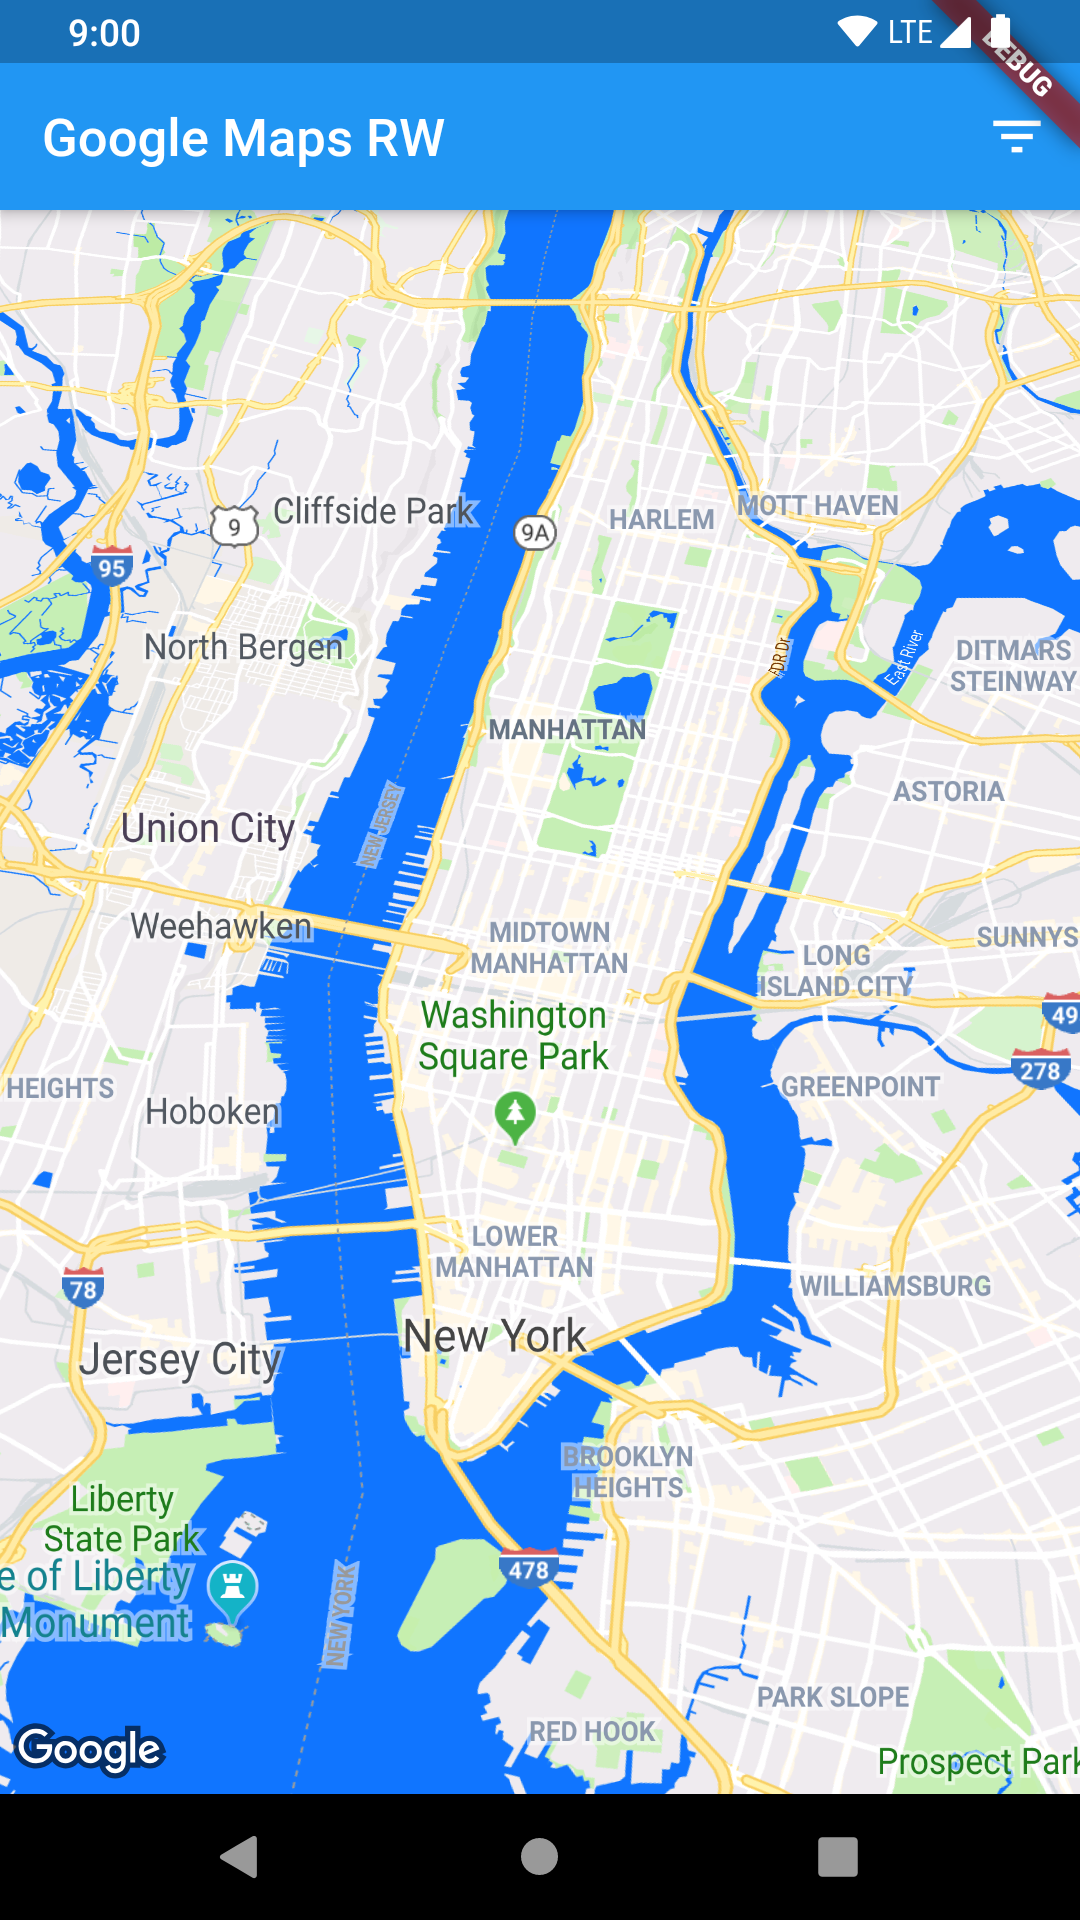
Run the app again to see your new customizations.
Styled map
Places Search Restful API
So this is pretty cool to display a GoogleMap widget, but it isn’t all that useful without adding some places to explore on the map. The widget allows you to do this by using the Places API and adding map Markers.
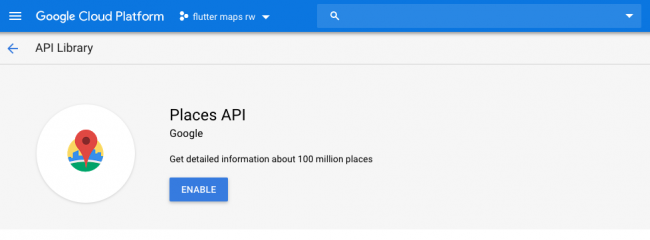
To get started, first head back over to the Google Maps API Console and enable the places API feature for your project. Make sure your Flutter Maps project is selected at the top before clicking Enable.
Enable places API
Once, it is done find and copy your same API key as before. Open places_search_map.dart and back in the _PlacesSearchMapSample class, replace the value of the _API_KEY variable with your API Key:
static const String _API_KEY = '{{YOUR_API_KEY_HERE}}';
You can now use the API key to interact with the Places API!
Next, add the following member variable to the _PlacesSearchMapSample class:
List<Marker> markers = <Marker>[];
This allows you to store and display the markers you’ll create later.
Then, create the searchNearby() function by adding the following code to your _PlacesSearchMapSample class. Make sure you import 'dart:convert' and 'package:http/http.dart' as http, which should already be in the starter project:
// 1
void searchNearby(double latitude, double longitude) async {
  setState(() {
    markers.clear(); // 2
  });
  // 3
  String url =
      '$baseUrl?key=$_API_KEY&location=$latitude,$longitude&radius=10000&keyword=${widget.keyword}';
  print(url);
  // 4
  final response = await http.get(url);
  // 5
  if (response.statusCode == 200) {
    final data = json.decode(response.body);
    _handleResponse(data);
  } else {
    throw Exception('An error occurred getting places nearby');
  }
  setState(() {
    searching = false; // 6
  });
}
Here you have:
- Added the search function.
- Provided a way to clear existing markers.
- Set the REST URL up to perform the request.
- Made an HTTP GET request to the REST endpoint.
- Parsed the response into model data.
- Set the searching flag to false.
Next, you want to add a floating action button to perform the places search:
In the same class, _PlacesSearchMapSample, in your Scaffold widget add the floatingActionButton:
// 1
floatingActionButton: FloatingActionButton.extended(
  onPressed: () {
    searchNearby(latitude, longitude); // 2
  },
  label: Text('Places Nearby'), // 3
  icon: Icon(Icons.place), // 4
),
Here you have:
- Added the
FloatingActionButtonto yourScaffoldwidget. - Provided the function to search nearby using latitude and longitude.
- Added a label for the button.
- Added an icon for the button.
Run the app to see your new button. Nothing will happen when you click it yet, but that is next.
Styled map with floating action button

Great job! Now you need to actually create the markers to display on the map!
Showing Map Markers for Search Results
First, navigate to the _handleResponse(data) method and paste in the following code inside the else if block checking data[status] == "OK". Use 'data/place_response.dart' for the required import:
// 1
setState(() {
  // 2
  places = PlaceResponse.parseResults(data['results']);
  // 3
  for (int i = 0; i < places.length; i++) {
    // 4
    markers.add(
      Marker(
        markerId: MarkerId(places[i].placeId),
        position: LatLng(places[i].geometry.location.lat,
            places[i].geometry.location.long),
        infoWindow: InfoWindow(
            title: places[i].name, snippet: places[i].vicinity),
        onTap: () {},
      ),
    );
  }
});
Here you have:
- Set the state in the
Statefulwidget. - Parsed the places results into a list.
- Looped over the places response list.
- Added a map
Markerfor each entry in the places list.
To complete the setup, add the markers attribute inside your GoogleMap widget following the onMapCreated attribute:
markers: Set<Marker>.of(markers),
Here you have specified the markers attribute of the GoogleMap widget.
Now you can run your app, press the Places Nearby button, and see some nearby places!
Map Markers on a styled map

Congratulations on completing a full Google Maps app in Flutter!
Where to Go From Here?
You can download the final project using the Download Materials button at the top or bottom of this tutorial. If you had trouble following along, run and install the finished version of the application.
Browse around the finished project to see the code all at once. Make sure to add your API key to places_search_map.dart, AndroidManifest.xml and AppDelegate.m as explained in the tutorial before you try to run it!
Google Maps are a lot of fun to work with and can provide useful features for your application's users. To enhance the application, instead of passing in a fixed latitude and longitude, try accessing the device's current location and passing that into the search request.
You can learn more about what you can do by looking at the GitHub for Google Maps for Flutter and the deleloper page for Google Maps.
I hope you enjoyed this tutorial on Google Maps with Flutter! Thanks for reading and if you have any questions or comments, please leave a rating and join the forum discussion below.