Creating Reusable Characters With Blender and Unity
Characters in video games are often as memorable as the accompanying gameplay and music. In this tutorial, you’ll learn how to prepare a humanoid model using Blender and how to bring it into Unity. By Eric Van de Kerckhove.
Using the Character
To add the character, drag the CuteCharacter model from the Models folder into the Hierarchy.
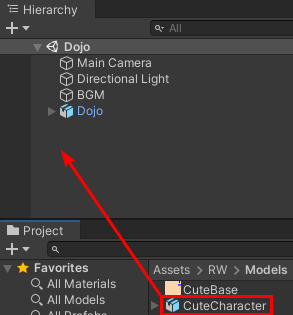
Now set the rotation of CuteCharacter to (X:0, Y:180, Z:0), so it’s facing towards the camera. Next, create a new animation controller by right-clicking the RW\Animations folder and selecting Create > Animation Controller.
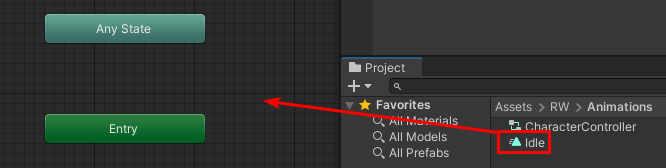
Name it CharacterController and double-click it to open the Animator window. Now drag the Idle animation from the RW\Animations folder onto the Animator grid to make it the default animation.
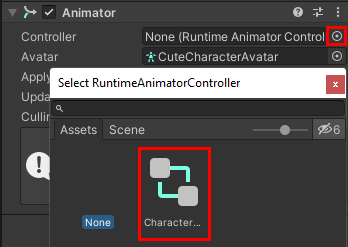
Next, select CuteCharacter in the Hierarchy and click the selector button next to the Controller field. Select CharacterController in the selection window.
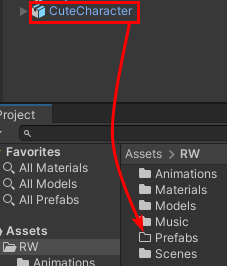
As a final step, you’ll need to attach the weapon the character’s right hand. To do this, start off by make the character into a prefab by creating a new Prefabs folder in the Assets/RW folder and dragging CuteCharacter to it.
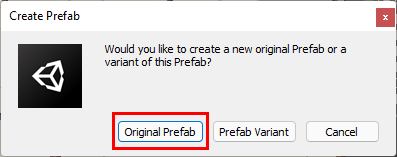
A popup will appear asking you what type of prefab you want to create, select Original Prefab here.
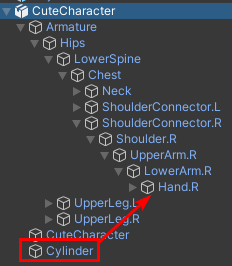
Now double click the CuteCharacter prefab you just created to open it in Prefab Mode. Expand CuteCharacter in the Hierarchy and drag Cylinder to Hand_R to parent it. This is the limitation of adding a separate object as I discussed earlier. Not doing this will result in the weapon just floating around the character.
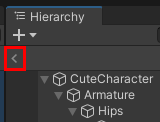
Now exit Prefab Mode by clicking the arrow button below the + button at the top left of the Hierarchy.
That’s it! Press the play button to see the character in motion.
Now press the play button again to stop the scene and press CTRL + S to save the changes you’ve made.
Where to Go From Here?
Congratulations on finishing this tutorial. You can download the final project using the link at the top or bottom of this tutorial.
In this tutorial, you learned how to:
- Create an armature (skeleton) for a character and rig it
- Modify the character with accessories and objects
- Export to FBX
- Import Blender models
- Create and tweak a humanoid avatar
- Attach objects to a character
- Animate a humanoid in Unity
To use the knowledge you’ve gained, you can create some accessories yourself and give them a different color or pattern. If you know some modeling, you can also create a character from scratch and rig it.
To learn more about Blender, check out these tutorials:
To learn more about Mecanim and the Avatar system, read this blog post by Unity.
Thanks so much for reading this tutorial to the end. If you have any questions or comments, feel free to join the discussion below.