How To Make an eBook with iBooks Author Tutorial
In this iBooks Author tutorial, you’ll learn how to create a book in iBooks Author from scratch – complete with embedded video, interactive quizzes, and more. You’ll see how easy it is, and will be making your own book in no time! By .
Lights! Camera! Action! — Viewing your iBook Live
If you own an iPad with iBooks 3.0 installed on it, you can preview your in-progress iBook directly on your iPad. Connect your iPad to your Macintosh and open the iBooks app:

In iBooks Author, click the Preview button on the top of the screen, as seen here:
Check out your iPad — there’s your book in action!
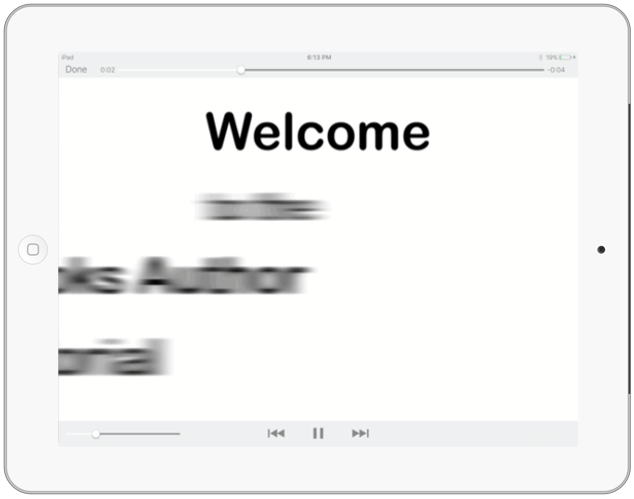
After only a few mouse clicks and some dropping and dragging, you’ve created a working iBook! Huzzah!
However, aside from the cover and the Intro Media, there’s not much content to your book!
You’ll now add some more content to your iBook — and what better place to start than the Table of Contents?
What’s in Here? — Fleshing out the Table of Contents
Head back to iBooks Author and select Table of Contents in the Book pane. Then in your Media folder, find chapter1.png and drag it onto the Table of Contents screen — just as you did with your cover image. This spices up the Table of Contents screen with some background artwork, like so:

Now that you have a chapter defined in your table of contents, you can add some images and text to it.
Select Chapter 1 in the Books pane and drag the same image file you used above — chapter1.png — from the Media folder onto the page. Change the chapter title to “Introduction to iBooks Author” and change the body text to “iBooks Author is a great tool to make your own iBooks that you can sell on the iBooks Store. It also has the ability to export PDF files if you’d like to sell your work as a PDF”
It should like as follows:

You can easily add and remove whole pages, and even sections, from your iBook — the next section talks about just that!
Keeping the Lawyers Happy — Adding a Copyright Notice
You want to make sure that no one is going to steal your content and make millions off of your hard work, so you’ll need a copyright page in your iBook.
Select Section 1 in the Book pane — you’ll be adding in a new section later on with a much nicer layout, anyway:

With Section 1 highlighted, press delete on your keyboard. That takes care of the unwanted page, but what about a copyright notice?
Navigate to Insert\Pages\Section\Copyright:

Now that you have a copyright page inserted, you’ll need to move it somewhere logical; it’s going to look a little out of place in the middle of your book. Select the new Untitled page in the Books pane, as so:

Drag the new page above the Chapter 1 page:

That’s all there is to adding pages and rearranging them in your book!
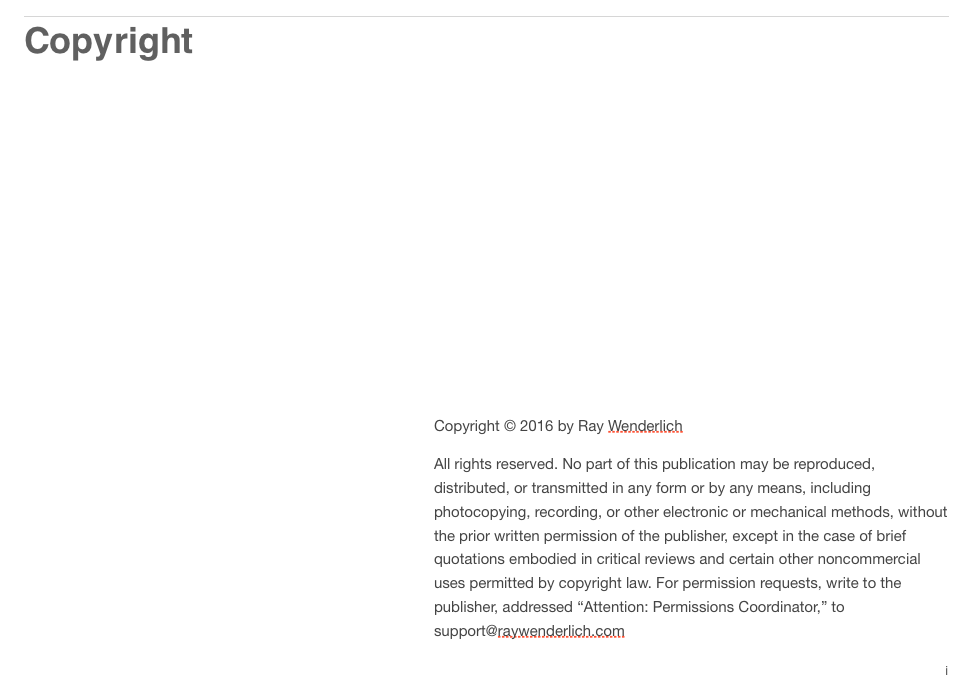
Change the title of the page to read: Copyright. Change the body to:
Copyright © 2016 by Ray Wenderlich
All rights reserved. No part of this publication may be reproduced, distributed, or transmitted in any form or by any means, including photocopying, recording, or other electronic or mechanical methods, without the prior written permission of the publisher, except in the case of brief quotations embodied in critical reviews and certain other noncommercial uses permitted by copyright law. For permission requests, write to the publisher, addressed “Attention: Permissions Coordinator,” to support@raywenderlich.com
The page should look as follows:
A cover and copyright page hardly constitute a book, so it’s time to add some more sections to your chapters and flesh them out!
In the Beginning — Adding a Section to Your Chapter
With Chapter 1 selected in the Books pane, insert a new section to replace the one you deleted in the previous part.
Navigate to Insert\Pages\Section\Section Text:

Now that your new Section Text page is in place, folder, locate topBar.png in your Media folder and drag it into the header of your page to replace the starry red background.
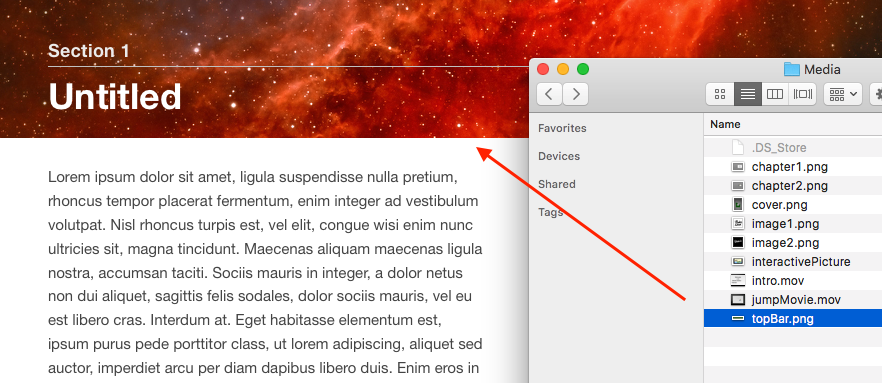
Be careful here: you don’t want to drag the image to either of the text fields, but only to the background image!
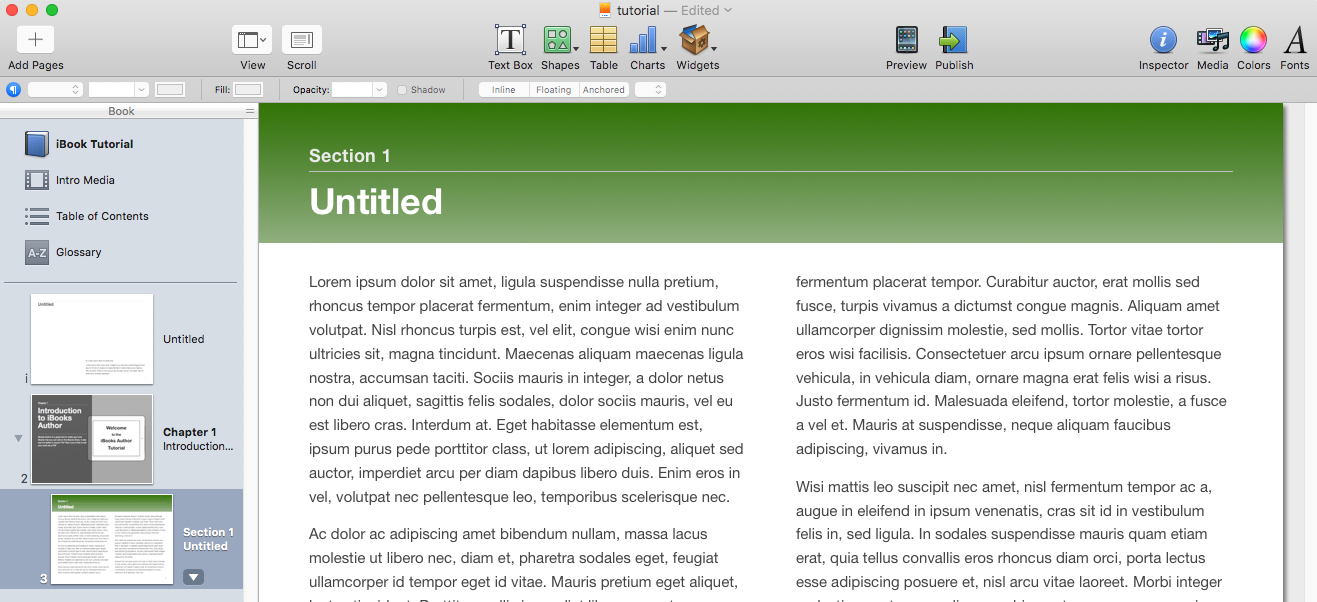
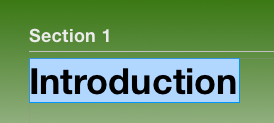
Click on the section title text box that says “Untitled” and change the text to “Introduction“. You can also change the properties of the text fields, such as font, style, alignment, and color using the adjustment toolbar, as shown below:

Change the font color to black.
Save your work (you are saving regularly, aren’t you? :]) and click Preview to admire your work on your iPad. It’s a good idea to preview your iBook occasionally on your device to make sure things are looking the way you want!
Now change the page text to the following:
Here you will insert your as well as other media elements.
Your page should look like so:

What if you want to add some basic shapes – arrows, speech bubbles, and the like – to your book?
You could open up drawing or photo editing software and create them there — or you could use the handy tools built right into iBooks Author!
Don’t Get Bent Out of Shape — Adding Basic Shapes
The benefit of using the built-in tools for adding basic shapes to your book is that everything is in one place and you don’t have to create your image somewhere else, export it, and then import it into iBooks Author each time you need to make a change.
You’re a budding author who is about to become famous — you don’t have time to waste on things like that!
So let’s try out adding an an arrow to your page. In the iBooks Author toolbar, click Shapes and then select the regular arrow (second shape from the top), like this:
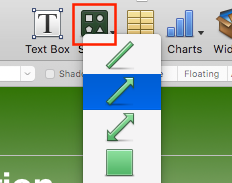
This will insert an arrow right in the middle of the current page. You’ll see that the arrow itself is pretty small.

You can change the look of the arrow from the properties panel or the inspector. Set the size to 10pt, color to black, and using the handles on the arrow, reposition it so that it is pointing downwards.

Well, basic shapes are neat, but you are creating an interactive book for your fans, not a static one. How do you add things that people can play with?
iBooks Author has you covered with Widgets!