OpenGL ES Particle System Tutorial: Part 2/3
In this second part of our OpenGL ES particle system tutorial series, learn how to implement a generic particle system that deals with some “explosive” concepts! By Ricardo Rendon Cepeda.
Adding Textures
Your explosion is looking good, but you're not going to settle for "good" — you want it to look "great". A simple texture is all you need to turn your chunky squares into tiny little sparks. Point sprites FTW!
You already added some texture files when you added the resources to your project. Now, you just need to tell your fragment shader to expect a texture and how to process it.
Open Emitter.fsh and add the following uniform:
uniform sampler2D u_Texture;
Still working in Emitter.fsh, add the following line to the beginning of main:
highp vec4 texture = texture2D(u_Texture, gl_PointCoord);
Again in Emitter.fsh, change the gl_FragColor output line as shown below:
gl_FragColor = texture * color;
As before, you need an Objective-C bridge to finish this task off. Open EmitterShader.h and add the following property:
@property (readwrite) GLint u_Texture;
Finalize the implementation by opening EmitterShader.m and adding the following line to the bottom of loadShader:
self.u_Texture = glGetUniformLocation(self.program, "u_Texture");
Now, open EmitterObject.m and add the following method just above the @end statement at the bottom of the file:
- (void)loadTexture:(NSString *)fileName
{
    NSDictionary* options = [NSDictionary dictionaryWithObjectsAndKeys:
                             [NSNumber numberWithBool:YES],
                             GLKTextureLoaderOriginBottomLeft,
                             nil];

    NSError* error;
    NSString* path = [[NSBundle mainBundle] pathForResource:fileName ofType:nil];
    GLKTextureInfo* texture = [GLKTextureLoader textureWithContentsOfFile:path options:options error:&error];
    if(texture == nil)
    {
        NSLog(@"Error loading file: %@", [error localizedDescription]);
    }

    glBindTexture(GL_TEXTURE_2D, texture.name);
}
This is the same method that you used in Part 1, which leverages Apple’s new GLKTextureLoader to load your texture data. But before you can call this new method, you need to do just a tiny bit of refactoring.
Open EmitterObject.h and replace the following line:
- (id)initEmitterObject;
with:
- (id)initWithTexture:(NSString *)fileName;
Likewise, inside EmitterObject.m, replace the following line:
- (id)initEmitterObject
with:
- (id)initWithTexture:(NSString*)fileName
This small change lets you pass a texture filename into the initializer.
Also in EmitterObject.m, add the following code just after you load your shader but before you load your particle system:
// Load Texture
[self loadTexture:fileName];
This simply calls the newly created loadTexture method from within initWithTexture:. At this stage you haven’t actually sent a texture file to this method - you'll do that in the very next step.
Open up MainViewController.m and replace the following line in viewDidLoad:
self.emitter = [[EmitterObject alloc] initEmitterObject];
with:
self.emitter = [[EmitterObject alloc] initWithTexture:@"texture_64.png"];
Now that your EmitterObject has a new initializer, you call it here with the name of the texture to use.
Open up EmitterObject.m and add the following line to the end of the uniform block in renderWithProjection::
glUniform1i(self.shader.u_Texture, 0);
This actually sends the texture to your shader.
Finally, you need to enable blending and set the appropriate function in your rendering loop.
Open up MainViewController.m and add the following lines to glkView:drawInRect, just after glClearColor and glClear:
// Set the blending function (normal w/ premultiplied alpha)
glEnable(GL_BLEND);
glBlendFunc(GL_SRC_ALPHA, GL_ONE_MINUS_SRC_ALPHA);
This sets the same blend modes as in part 1, so the textures render properly with transparency.
Build and run your app — you should see the nicely textured explosion as illustrated below:
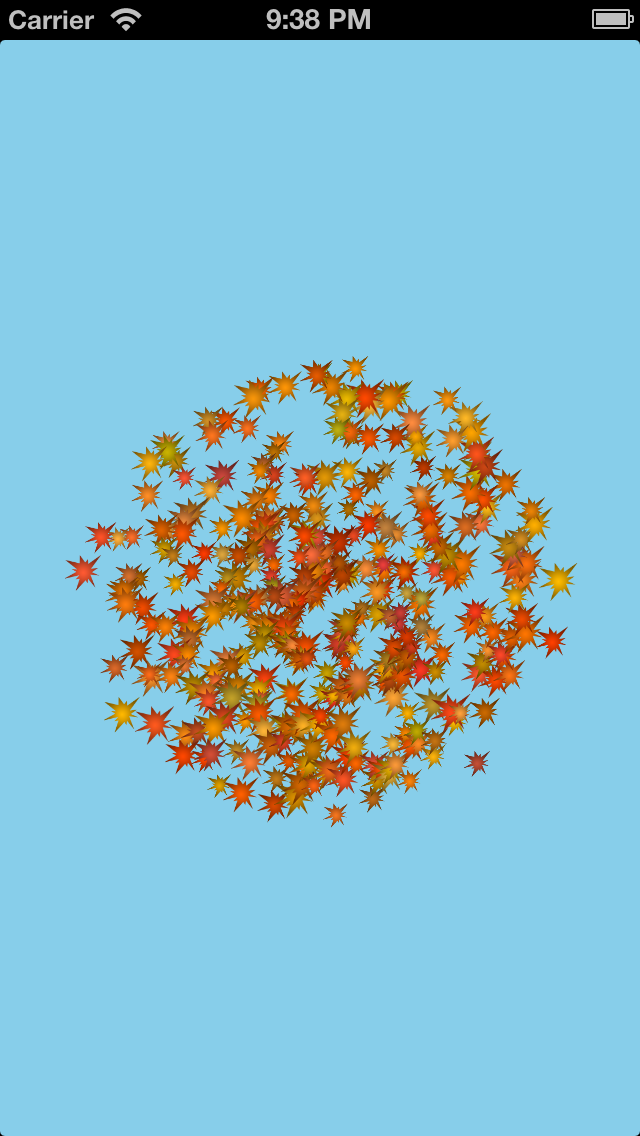
Your particle-emitter system just keeps looking better and better. But what if you could create an explosion wherever you wanted on the screen? Read on to find out how!
Adding Multiple Emitters
Recall that you constructed your emitter class to facilitate multiple emitters. This next stage will create a new explosion wherever you tap the screen.
First, you'll need to enable a position field for your emitter objects. Open EmitterObject.m and add the following line to your Emitter structure:
GLKVector2 ePosition;
Now open Emitter.vsh and add the following uniform to the rest of the uniforms:
uniform vec2 u_ePosition;
Still working in Emitter.vsh, replace the following line that sets gl_Position in main:
gl_Position = u_ProjectionMatrix * vec4(x, y, 0.0, 1.0);
with these two lines:
vec2 position = vec2(x,y) + u_ePosition;
gl_Position = u_ProjectionMatrix * vec4(position, 0.0, 1.0);
These lines translate the points you already calculated to emit from the position you will provide in u_ePosition.
Now, complete the shader bridge by adding the following property to EmitterShader.h:
@property (readwrite) GLint u_ePosition;
Now, add the following line to EmitterShader.m, at the very end of loadShader:
self.u_ePosition = glGetUniformLocation(self.program, "u_ePosition");
This finds the location of the u_ePosition uniform in the shader and stores its id/name in a property.
Now you need to do a little refactoring to prepare for the new position input. Open up EmitterObject.h and replace the following line:
- (id)initWithTexture:(NSString *)fileName;
with:
- (id)initWithTexture:(NSString *)fileName at:(GLKVector2)position;
Likewise, inside EmitterObject.m, replace the following line:
- (id)initWithTexture:(NSString*)fileName
with:
- (id)initWithTexture:(NSString *)fileName at:(GLKVector2)position
Also in EmitterObject.m, replace the method signature:
- (void)loadParticleSystem
with:
- (void)loadParticleSystem:(GLKVector2)position
Now loadParticleSystem: takes a position as an argument.
Still working in EmitterObject.m, add the following code to loadParticleSystem:, just below the line that starts with newEmitter.eColorEnd = ...:
newEmitter.ePosition = position; // Source position
This simply sets the position of the emitter to the position that is passed in.
Now you need to send this data to your shader. Again in EmitterObject.m add the following line to renderWithProjection: immediately after the other calls to glUniform...:
glUniform2f(self.shader.u_ePosition, self.emitter.ePosition.x, self.emitter.ePosition.y);
Don't go anywhere — you're still working in EmitterObject.m. Return to initWithTexture:at and replace the following line:
[self loadParticleSystem];
with:
[self loadParticleSystem:position];
Replace the following line in EmitterObject.h:
- (void)updateLifeCycle:(float)timeElapsed;
with:
- (BOOL)updateLifeCycle:(float)timeElapsed;
This halts the rendering of an explosion once it has ceased.
Now return to EmitterObject.m and replace updateLifeCycle: with the following:
- (BOOL)updateLifeCycle:(float)timeElapsed
{
    _time += timeElapsed;

    if(_time < _life)
        return YES;
    else
        return NO;
}
This new version of updateLifeCycle: doesn't reset _time to 0 when the emitter reaches the end of its life. Instead, it returns NO, which will cause the emitter to stop. You've effectively turned the looping animation into a one-shot explosion.
There's still two unanswered questions, though — where does the position come from, and where will you check the boolean condition above? The answer to both is: your GLKit View Controller.
Once again, time for some refactoring.
Open MainViewController.m and replace the following single emitter property:
@property (strong) EmitterObject* emitter;
with the following property that stores an array of emitters:
@property (strong) NSMutableArray* emitters;
Also in MainViewController.m, change the lines that set the emitter in viewDidLoad from this:
// Set up Emitter
self.emitter = [[EmitterObject alloc] initWithTexture:@"texture_64.png"];
to this:
// Set up Emitters
self.emitters = [NSMutableArray array];
In this new version, you aren't creating any actual EmitterObjects yet — you're just creating an NSMutableArray in which to store them later. You're using a mutable array because you'll be adding an EmitterObject for each tap and removing the object later on when the emitter is done.
Now that you have an array of EmitterObjects instead of just one, you need to change your rendering loop.
In MainViewController.m, replace the following line in glkView:drawInRect::
// Render Emitter
[self.emitter renderWithProjection:projectionMatrix];
with:
// Render Emitters
if([self.emitters count] != 0)
{
  for(EmitterObject* emitter in self.emitters)
  {
      [emitter renderWithProjection:projectionMatrix];
  }
}
This loops through all the EmitterObjects that currently exist and calls each emitter's renderWithProjection: to draw them on screen.
Now replace your implementation of update in MainViewController.m with the following code:
- (void)update
{
    // Update Emitters
    if([self.emitters count] != 0)
    {
        NSMutableArray* deadEmitters = [NSMutableArray array];

        for(EmitterObject* emitter in self.emitters)
        {
            BOOL alive = [emitter updateLifeCycle:self.timeSinceLastUpdate];

            if(!alive)
                [deadEmitters addObject:emitter];
        }

        for(EmitterObject* emitter in deadEmitters)
            [self.emitters removeObject:emitter];
    }
}
This new version of update checks each existing explosion to see if it's alive or dead. If the explosion has reached the end of its life cycle, as indicated by returning NO from updateLifeCycle:, it is removed from the emitter array.
You are now managing multiple emitter objects, but you need a way to create them when you tap on the screen!
Add the following method to MainViewController.m, just above the @end statement at the bottom of the file:
- (void)touchesBegan:(NSSet *)touches withEvent:(UIEvent *)event
{
// 1
// Get touch point and screen information
CGPoint touchPoint = [touches.anyObject locationInView:self.view];
CGPoint glPoint = CGPointMake(touchPoint.x/self.view.frame.size.width, touchPoint.y/self.view.frame.size.height);
// 2
// Convert touch point to GL position
float aspectRatio = self.view.frame.size.width / self.view.frame.size.height;
float x = (glPoint.x * 2.0f) - 1.0f;
float y = ((glPoint.y * 2.0f) - 1.0f) * (-1.0f/aspectRatio);
// 3
// Create a new emitter object
EmitterObject* emitter = [[EmitterObject alloc] initWithTexture:@"texture_64.png" at:GLKVector2Make(x, y)];
[self.emitters addObject:emitter];
}
This logic in the above code is as follows:
- An explosion will occur on every tap, so you need some information about this event — specifically, the touch point and screen aspect ratio.
- In this tutorial, your OpenGL ES 2.0 coordinates range from -1 to +1, so you need to convert the UI touch point to an OpenGL ES 2.0 position.
- With this information, you can now create a new emitter object and add it to your emitter array.
Build and run your app, and tap on the screen to release your destructive powers! You should see multiple explosions on the screen, as shown below:
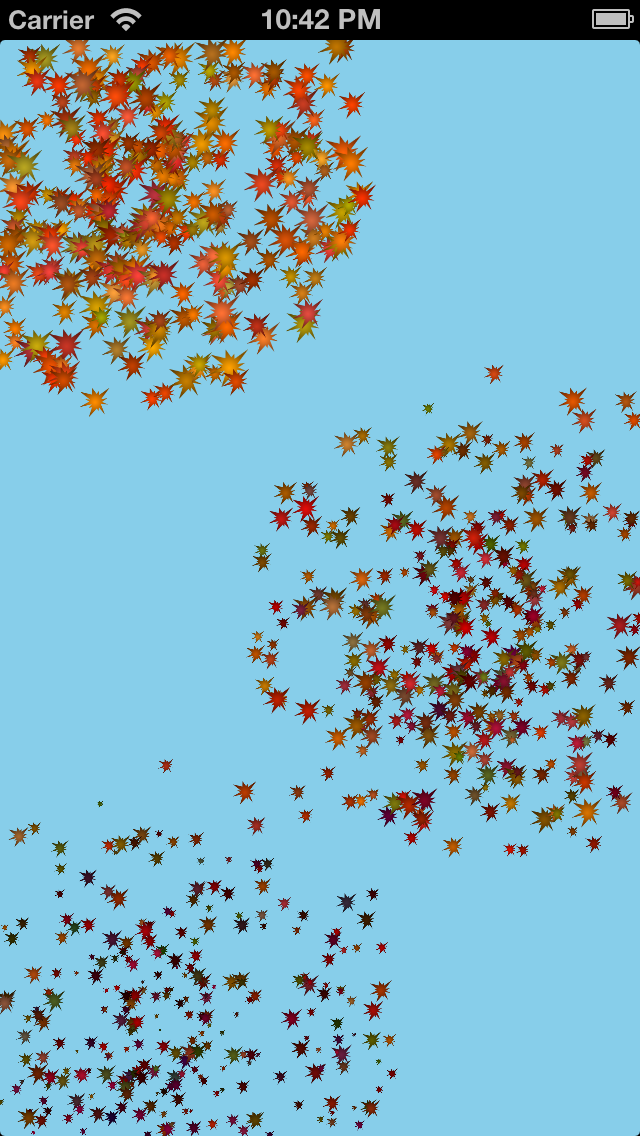
After you’ve tired yourself out blowing up everything in sight, give yourself a big pat on the back — you’ve nearly completed your very own generic and interactive particle system!
Note: If you run your app in the simulator, you may see an unnerving pause in the rendering each time you click the simulator's screen. Running on an actual device will give you the smooth performance you'd expect in your app.