Compose for Desktop: Get Your Weather!
Build a desktop weather app with Compose for Desktop! You’ll get user input, fetch network data and display it all with the Compose UI toolkit. By Roberto Orgiu.
Showing the Error State
The last component you need to implement is the UI for when everything goes south. You’ll display an error message in this case. The app performs the search when a user presses the search button, so you don’t really need a retry option.
Add this import at the top of WeatherScreen.kt:
<code>androidx.compose.ui.text.style.TextAlign</code>
Now, add function at the end of WeatherScreen.kt:
@Composable
fun ErrorUI() {
  Box(modifier = Modifier.fillMaxSize()) {
    Text(
      text = "Something went wrong, try again in a few minutes. ¯\\_(ツ)_/¯",
      modifier = Modifier
        .fillMaxSize()
        .padding(horizontal = 72.dp, vertical = 72.dp),
      textAlign = TextAlign.Center,
      style = MaterialTheme.typography.h6,
      color = MaterialTheme.colors.error,
    )
  }
}
This code is adding a Text that displays an error message when an error occurs.
Now, you need to link this function to the choice in WeatherScreen. Scroll up to WeatherScreen() and find the when statement that handles the different states. Update Error to show your newly added UI:
is Lce.Error -> ErrorUI()
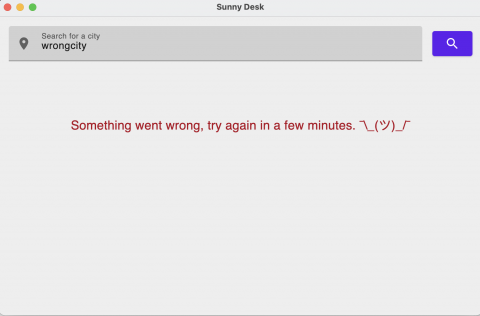
You’re done! Build and run. Then, search for a non-existent city. You’ll see your error message popping up.
Lastly, you’ll learn how to publish your app.
Publishing Your App
Creating an app that leverages Compose for Desktop means you also get out-of-the-box Gradle tasks to create packages of the app, based on the operating system. You can run packageDmg to create a macOS installer, or run packageMsi to create an installer that runs on Windows. You can even create a .deb package with packageDeb.
This process, though, has a little caveat attached. Since the packaging process uses jpackage, you need to be running a minimum JDK version of 15. Otherwise, the tasks will fail.
Where to Go From Here?
Download the completed project files by tapping Download Materials at the top or bottom of the tutorial.
Now you know how to get started on Compose for Desktop, and you got a glimpse of some of the core parts of building an app, like making network calls. In this tutorial, you used Ktor, which you can learn how to use on Android in the Ktor: REST API for Mobile tutorial.
Make sure to also check out the Android Networking: Fundamentals video course for information on how to get started with Android networking, or follow along with Android Networking With Kotlin Tutorial: Getting Started, which targets Kotlin specifically.
To learn more about coroutines, you can grab the Kotlin Coroutines by Tutorials book, or read Kotlin Coroutines Tutorial for Android: Getting Started.
Hopefully, you enjoyed this tutorial. If you have any questions or comments, please join the forum discussion below!