How to Create Both a Paid and Lite Version of an iPhone App
Learn how to create both a paid and lite version of an iPhone app in the same project, using Xcode build settings. By Dani Arnaout.
Adding a Macro to Differentiate the Versions
Now that you have your two targets on the same codebase, you need to make some changes to enable paid features on the paid version. For example, you need the maximum number of allowed questions to be set to 10 in the paid version, rather than the 5 used for Free.
Running on a single codebase, you're going to need some programatic way to determine which product (target) is currently running so you can make decisions like this appropriately.
This is where a Preprocessor Macro comes into play. Macros are the small fragments of code that you're used to seeing in #define statements. You've probably used them before for something like defining a custom RGB color:
#define GREEN [UIColor colorWithRed:126.0/255.0 green:176.0/255.0 blue:122.0/255.0 alpha:1.0]
The key here is that you can define a preprocessor macro in the configuration of a target. This way, you can define a flag that identifies the product version and make decisions in your code based on that. To set this up, start off by selecting your project form the navigator:
Select your InterviewQuestionsFree target and then go to the Build Settings tab.

Filter on the word “macro” and you'll find a place to enter preprocessor macros:

You’ll see the Debug build already has a macro called DEBUG=1 here. You want to add something similar to both the Debug and Release profiles to signify this target is tied to the Free product. Double click the values for these, then hit the '+' button and enter a macro called FREE=1:

Once complete, your macros for the InterviewQuestionsFree target should look like this:

Now you can use this macro in your code to differentiate between your two targets!
Test this out by changing the navigation item title according to different targets. Open IQViewController.m and replace the following line in setupQuiz:
self.navigationItem.title = @"Free Version";
with this:
#ifdef FREE
    self.navigationItem.title = @"Free Version";
#else
    self.navigationItem.title = @"Paid Version";
#endif
The #ifdef simply confirms if there is a macro called FREE defined. Because you defined this on the free version only, this allows you to handle the two versions differently.
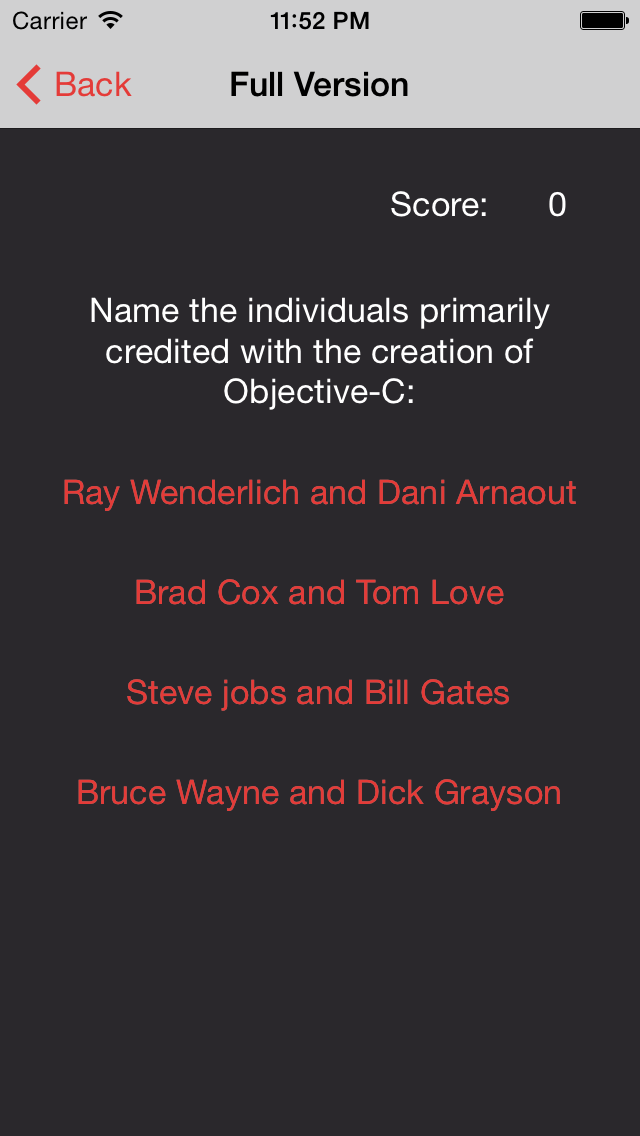
Run your app using the IntervewQuestionsFull scheme, and click Test my skills. You'll see that the navigation item title has changed to "Full Version".

If you go back and run with the InterviewQuestionsFree scheme, you'll see it's still displaying "Free Version" as you'd expect.
You can use this same technique to make other changes between the two versions. Let's make the maximum allowed questions to 5 for the Free target and 10 for Full, and remove ads for the full version.
To do this, still in setupQuiz, find the following lines:
#ifdef FREE
    self.navigationItem.title = @"Free Version";
#else
    self.navigationItem.title = @"Paid Version";
#endif

  self.maxAllowedQuestions = 5;
  [self setupAds];
Modify this code to look like the following:
#ifdef FREE
  self.navigationItem.title = @"Free Version";
  self.maxAllowedQuestions = 5;
  [self setupAds];
#else
  self.navigationItem.title = @"Full Version";
  self.maxAllowedQuestions = 10;
#endif
Run your application with each schema to see the differences. You'll now be able to see all 10 questions for the full version, and rejoice - no more ads!
Adding the Skip Button for the Full Version
As a bonus, let's add a new feature to the full version: the ability to allow the users to skip a question.
To do this, add some code to set up this new button only in the full version by pasting the below inside the #else block in setupQuiz:
  self.skipQuestionButton = [UIButton buttonWithType:UIButtonTypeRoundedRect];
  [self.skipQuestionButton setFrame:CGRectMake(20, 80, 100, 44)];
  [self.skipQuestionButton setTitle:@"Skip Question" forState:UIControlStateNormal];
  [self.skipQuestionButton addTarget:self
                              action:@selector(skipButtonPressed)
                    forControlEvents:UIControlEventTouchUpInside];
  [self.view addSubview:self.skipQuestionButton];
Your else statement will now look like this:
#else
  self.navigationItem.title = @"Full Version";
  self.maxAllowedQuestions = 10;
  self.skipQuestionButton = [UIButton buttonWithType:UIButtonTypeRoundedRect];
  [self.skipQuestionButton setFrame:CGRectMake(20, 80, 100, 44)];
  [self.skipQuestionButton setTitle:@"Skip Question" forState:UIControlStateNormal];
  [self.skipQuestionButton addTarget:self
                              action:@selector(skipButtonPressed)
                    forControlEvents:UIControlEventTouchUpInside];
  [self.view addSubview:self.skipQuestionButton];
#endif
Nothing fancy here. The skip button was created and set to trigger skipButtonPressed when pressed. Now move to the stubbed out skipButtonPressed and replace it with the following:
- (void)skipButtonPressed {
  //1
  self.score++;
  self.scoreLabel.text = [NSString stringWithFormat:@"%ld",(long)self.score];

  //2
  self.currentQuestionIndex++;
  [self showNextQuestion];

  //3
  self.skipQuestionButton.hidden = YES;
}
This does the following.
1. Gives the user a point and refreshes the displayed score.
2. Display the next question.
3. Hide the skip button, as it's only allowed once per quiz.
Run your app and test out the Skip Button functionality.

At this point, you've got two uniquely functioning versions of the app. Test them well by running different schemes to ensure that all is going great.
Where To Go From Here?
Here is the example project that you developed in this tutorial.
Congratulations - you now have a project that uses two targets with the same code-base, so now if you hit a bug that impacts both versions of your app, you only have to make that fix in one place. So once again, the day is saved. Thanks to the power rangers... oh wait... thanks to targets!
Targets are one of the features that are usually ignored by developers. With this new knowledge in hand, you’ll be able to create powerful products.
For example, you might create a template news app with different targets for each of your clients. Each target could have its own colors, resources, and minor changes in the code. This way you’ll be able to build a totally new app in just few clicks. Sell that to different clients and you’ll become rich in no time... just don't forget my commission $$$! :]
I hope you enjoyed this tutorial, and if you have any questions or comments please join the forum discussion below!