How to Create Both a Paid and Lite Version of an iPhone App
Learn how to create both a paid and lite version of an iPhone app in the same project, using Xcode build settings. By Dani Arnaout.
Creating a New Target for the Paid Version
Now that you're familiar with the project and the functionality of the free version, it's time to implement the paid version using the same project and codebase. The key to accomplishing this is the creation of a second target. This will enable two important things:
- You'll be able add files (such as icon images) to the project that are tied specifically to this new target.
- You'll be able to configure each target with a different Preprocessor Macro (more on this later), which you'll use to identify the currently running app version in your code.
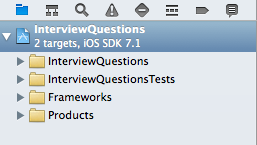
Creating a new target is easiest if you duplicate an existing target and make some modifications. This saves a lot of time versus configuring a target from scratch. Start by selecting your project from the navigator:
Now right click your target InterviewQuestionsFree, and choose duplicate:

Choose Duplicate Only on the popup:

Note: The reason this dialog exists is to provide you with an easy way to create both iPhone and iPad versions of an app within a single project, using two different targets. If this is what you wanted to do, you could select "Duplicate and Transition to iPad".
However, before you go down this route you should consider making your app universal rather than making separate iPhone and iPad versions of your apps - IMHO it's a nicer experience for users because they don't have to buy your app twice. For more information on creating a universal app, check out this tutorial.
You want to be able to easily identify this new target as the paid app version target - so you have some renaming to do! First, select the new target, hit return, and rename it to InterviewQuestionsFull:

Next there's a naming issue to fix. If you look up at the top part of XCode where you usually choose the device you want to run your app on, you'll find something called a scheme just to the left of that:

You'll use the scheme in just a bit to select with target you want to build. Currently you have InterviewQuestionsFree selected, but if you expand the popup, you'll find a terrible thing:

The other scheme is called InterviewQuestionsFree copy. You'll want to rename that. Press on the current InterviewQuestionsFree to present the popup, then select manage schemes.

Click on InterviewQuestionsFree copy, hit return to make it editable then rename it to InterviewQuestionsFull. Hit enter once more and then press OK.

Everything looks neat now. I can sleep soundly tonight!
Modifying the Paid Target's Plist
You might have noticed that after you created the new target for the full version, a new plist was added to your project:

This plist has a problem. Its name isn't consistent with our target name anymore!
Rename it to InterviewQuestionsFull.plist and move it just under the InterviewQuestionsFree.plist by dragging it in the navigator.

Now open your newly renamed InterviewQuestionsFull.plist. Update the Bundle display name - which is the app's name that you see under it's icon on the Springboard - to Interview:

You've made a small mistake. What was it? Select your project from the navigator then select your InterviewQuestionsFull target:

Your target was pointing to the old plist name, and now that you renamed it, the target has no plist! You need to link it back to the target. Press on Choose Info.plist File and choose InterviewQuestionsFull.plist from the popup:

For the final piece of renaming fun, hop over to the Build Settings for this target. In the Packaging section, update Product Name to be InterviewQuestionsFull. Although you've already set a display name in the plist, the product name will appear in the bundle identifier, and you should update it for consistency.

It’s time to finally run the app, and test this new target. To identify which product (free or paid) you want to run, you need to select the appropriate scheme followed by a choice of your favorite device. In this case, select the InterviewQuestionsFull scheme so that you can try our new target.

Build and run. You'll see that the new target is running, and as you might expect it looks identical to the free target you duplicated:

Now press the home button on your sim (or select Hardware->Home from the sim menu). You’ll notice you now have two installs - one with the Bundle display name you chose for Full (Interview), and the other with the default set for Free (Interview Free).This is because each target has its own Bundle Identifier, making it a unique app.
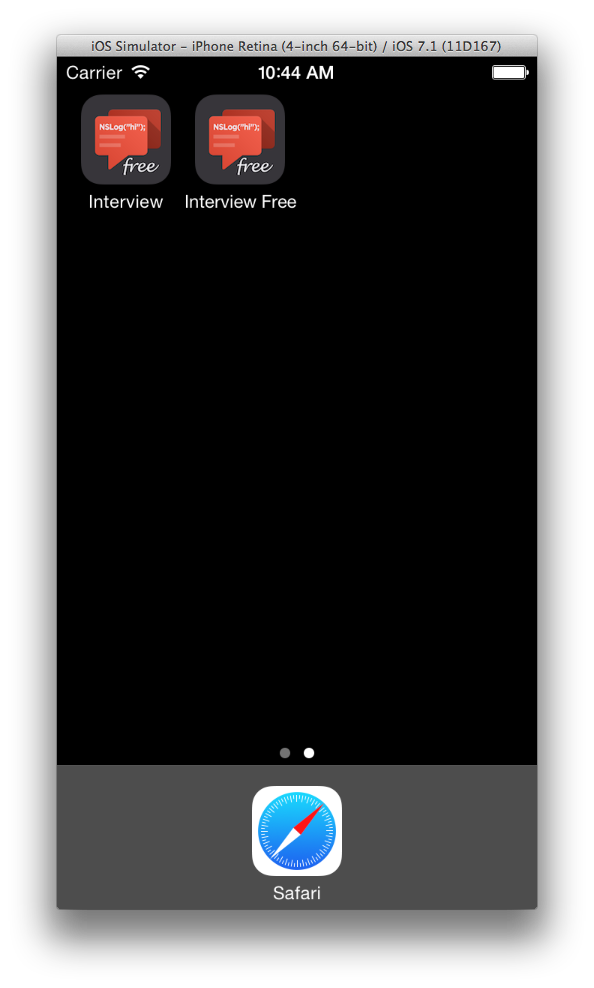
This means your second target is working properly, and you're now building two distinct apps out of this project.
Adding the Paid Version Resources
Right now the apps are exactly the same, so let's start adding some differentiation. You'll start by giving the paid version its own icon and splash screen that don't say "Free" on them.
Go to your project's folder in the Finder and navigate to Interview Questions Starter/InterviewQuestions/InterviewQuestions/Images/Full. You'll find assets for the paid version that haven't yet been added to the project.
Drag them to your XCode project and place them in the paid folder that you'll find in Supporting Files/Images, but don't click finish yet!
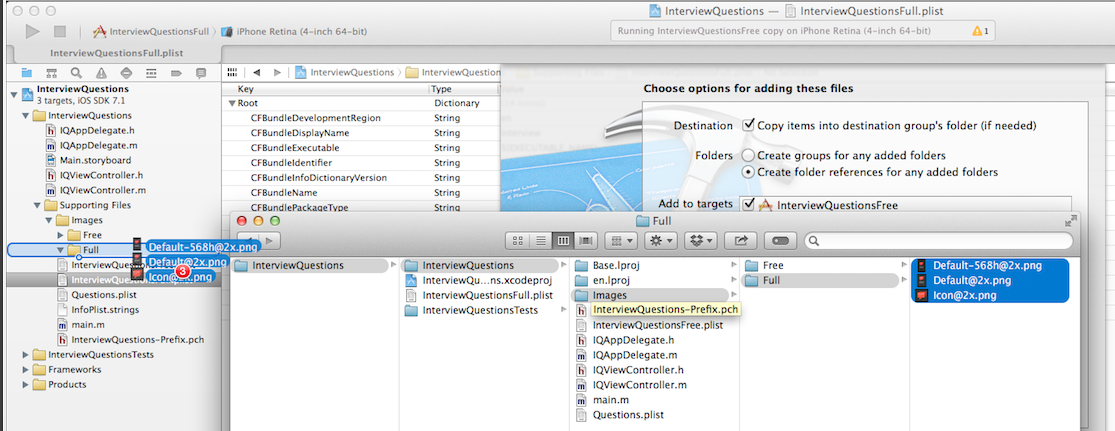
Pay attention to this tricky part:

The bottom half of the popup has a section labeled Add to targets that you may have ignored when adding resources to a single target project. Now it's time to start paying attention. These added images will only be used in the paid target, so check the InterviewQuestionsFull target and uncheck the InterviewQuestionsFree target before hitting Finish.
If you go back to your navigator, you'll notice you now have 3 files in your paid folder that appear with the same names in the Free folder. Go ahead and select the InterviewQuestionsFull scheme, then build and run. While the project still runs, you'll see XCode throwing some warnings if you look at the Issue Navigator:
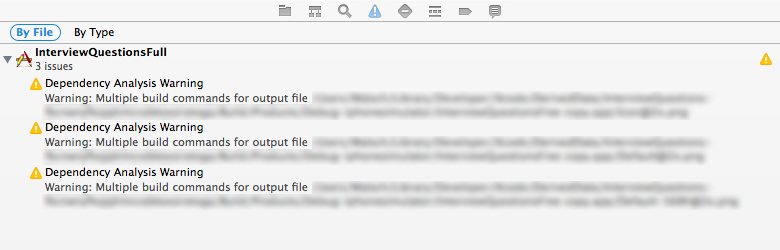
XCode is pointing out that you're trying to copy the same file into your product bundle twice - something it cannot do because the bundle is a flat structure. This happened because you copied the paid images to the InterviewQuestionsFull target while the Free versions of the files were already there from when you duplicated the Free target.
Time to fix it! In the Project Explorer, select the 3 images under the Free folder, and then direct your attention to the File Inspector tab of the Utility Pane on the right:

Looking closer at the File Inspector, you'll see a list of checkboxes under Target Membership:

Uncheck the InterviewQuestionsFull target for these three resources, as you only want them associated with the Free target:

Build with the InterviewQuestionsFull scheme again and you'll get a successful build without any warnings about duplicate files.
Even more exciting is that you can now see unique splash and icon images for the two targets. Take a look at your icons:

Now only your free product has the word "free" in it's icon, and you've successfully learned how to tie unique assets to different targets within a project.
That was easy, but what about changes that require code modification?