How to Make Great App Store Screenshots
Learn how to make your app store screenshots stand out! By .
Installing Photoshop
If you’re not already a Photoshop user, sign up for an Adobe account and download a trial version of Photoshop CC here by clicking Try under Photoshop and Lightroom.
Bring up the installation wizard and follow the steps install Photoshop CC and Adobe Creative Cloud. Creative Cloud lets you install software and save files to their cloud server, should you decide to do so. The feature also makes updates much less disruptive, so it’s good to leave Creative Cloud running in the background so it can do its thing.

Flappy Felipe Flying in Photoshop
The first enhanced screenshot you’ll create in Photoshop is for the Flappy Felipe game. You’re going to take a screenshot of the game and add some graphics for fun.
To give you a head start, download the Flappy Felipe artwork folder Felipe_START. Save and unzip the Felipe_START folder to your Desktop.
Locate a folder called 8bit_wonder in the Felipe_START folder. You’ll use this font in the Felipe screenshot project, so you need to install that onto your system.
You may also download it from here. For Mac users, double-click the 8-BIT WONDER.TTF file and then click Install. Windows users, if you’re unsure how to install fonts, check out this link.
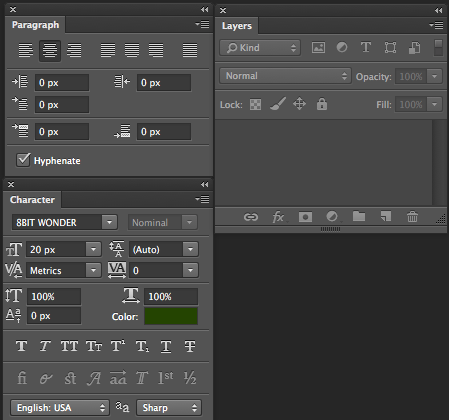
Open Photoshop once installation finishes. Click on the Window menu option and make sure that your Layers, Paragraph and Characters window panels are open.
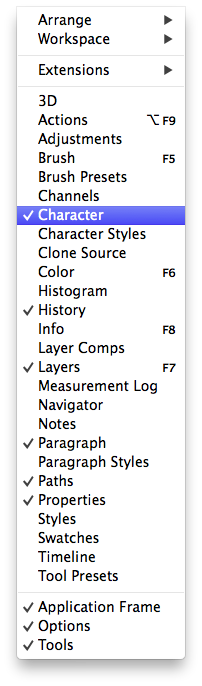
Sometimes your windows can get lost amongst the different panes and options in Photoshop. If you ever lose a window, you can always open it and bring it to focus by selecting it in the Window menu.
There are two easy ways to open artwork in Photoshop. The first way is to navigate to File > Open… in Photoshop and then browse for your artwork.
The second way, which is my preferred method, is to simply drag-and-drop the artwork to the Photoshop icon in the dock/toolbar.

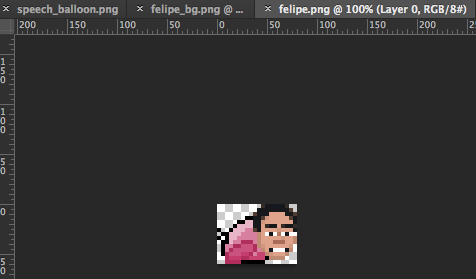
Using whichever method you like, open felipe_bg.png, felipe.png and speech_balloon.png in Photoshop.
Each image will open in Photoshop in its own tab. Click on the felipe.png tab, Select All (Cmd+A / Ctrl+A), and Copy (Cmd+C / Ctrl+C).
Next, click on the felipe_bg.png tab and Paste (Cmd+V / Ctrl+V). Now you have your Felipe mascot on the screenshot!

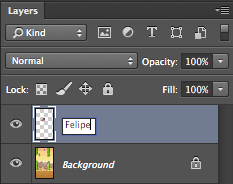
Every time you add an element to your image, the program creates a new layer in the Layers panel. This goes for text, shapes, pasted images, etc.
It is wise to get into the habit of naming all of your layers.
Double-click on the text of Layer 1 in the Layers panel and name it Felipe. Now you’ll know where to find Felipe when you need him (besides on RayWenderlich.com, of course).
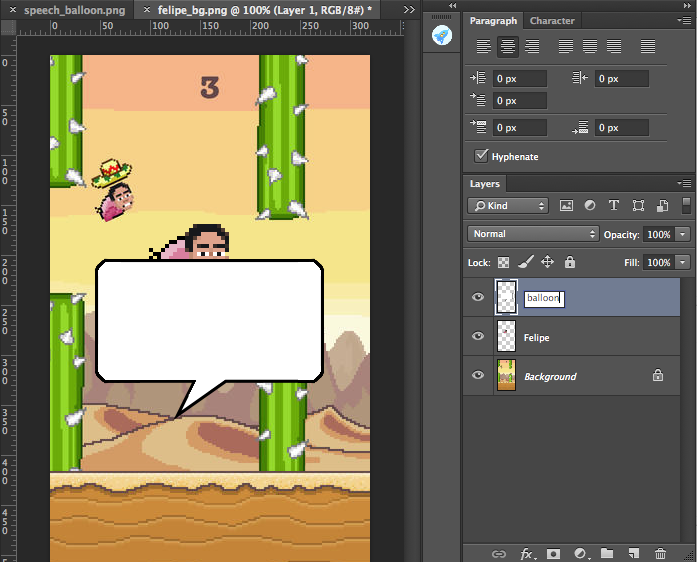
Using the same steps as before, click on the speech_balloon.png tab, Select All (Cmd+A / Ctrl+A) and Copy (Cmd+C / Ctrl+C).
Click back on the felipe_bg.png tab and Paste (Cmd+V / Ctrl+V). Double-click the text of Layer 1 in the Layers panel and name it balloon.
So now you know the basics of opening images in Photoshop and combining them into one project, and it’s easy enough.
There’s still one very important step, though. You need to save your project. In fact, save as often as you can. Although Photoshop CC is pretty stable, it would be a shame to lose your work.
Use Cmd+S / Ctrl+S or File/Save to save your new project as felipe_bg.psd in the Felipe_START folder. Your file will now have a .PSD extension (Photoshop Document) which will save the project in its entirety, including the layers.
Now that you have all of the pieces you need, it’s time to arrange and add layer styles. In the Photoshop Tools Panel, select the Move Tool (V). If you don’t see the Tools Panel, you can find it by navigating to Window/ Tools.

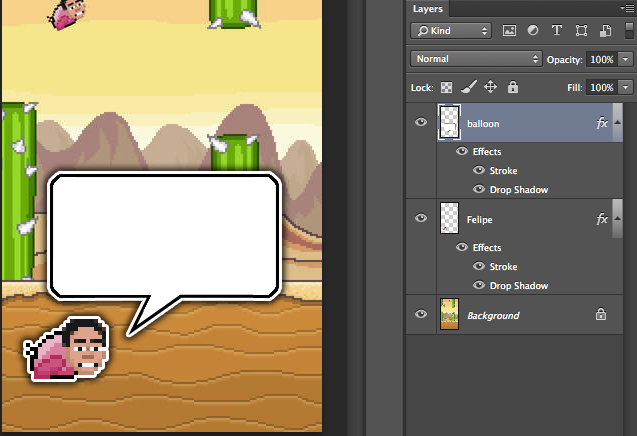
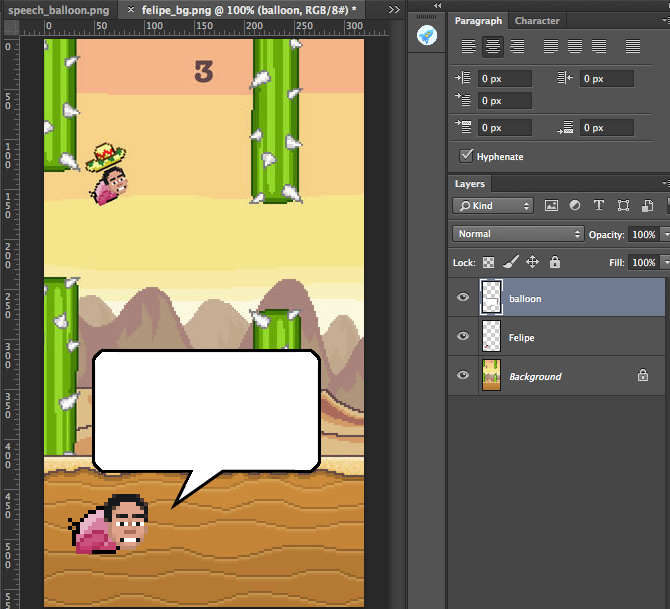
Select the Felipe layer in the Layers panel and move him into the lower-left corner of the project by clicking and dragging in your workspace.
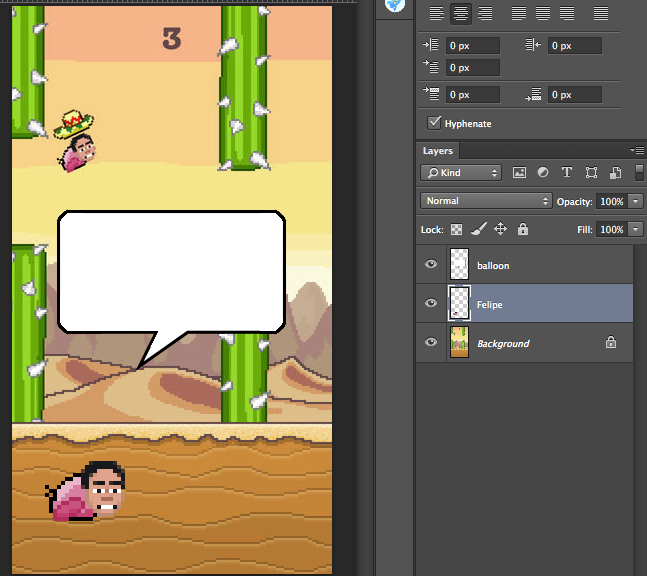
Now select the balloon layer in the Layers panel and move it down by Felipe.
Select the Move Tool to fine-tune your layer positioning using the arrow keys on your keyboard. Holding Shift while pressing the arrows creates large movements and just the arrow keys move the layer in small increments.
Add Some Style
One of Photoshop’s most notable features is the ability to add different styles to layers. For this project, you’re going to make the Felipe mascot and his speech balloon stand out from the background image. Double-click the Felipe layer in the Layers panel and the Layer Style window will appear.

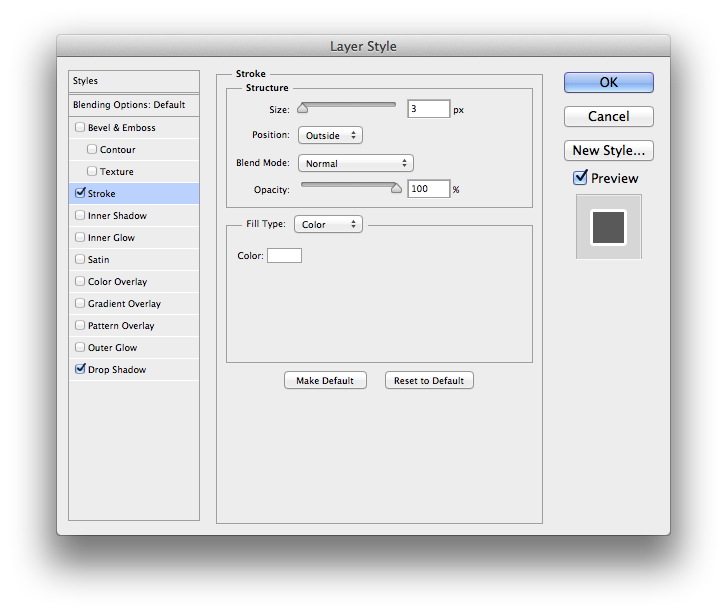
Click the checkboxes next to Stroke and Drop Shadow. As you may have guessed, this will add a line stroke and drop shadow effect to the Felipe mascot. However, you’ll need to customize the effects.
Click on the Stroke tab and set:
- Size to ‘3’
- Position to ‘Outside’
- Blend Mode to ‘Normal’
- Opacity to ‘100’
- Fill Type to ‘Color’ and Color to ‘White’
To change the color to white, click the box next to Color, which will bring up the Color Picker window. Here you can drag the circle on the left to the upper-left corner and then click OK.

Now click the Drop Shadow tab and set
- Blend Mode to ‘Multiply’
- Opacity to ’75’
- Angle to ‘120’
- Distance to ‘0’
- Spread to ’45’
- Size to ’13’
- Noise to ‘0’

Click OK and now you’ll see Felipe outlined in white with a drop shadow and a list of effects under his layer. Looking good, Felipe!

Now you’ll apply the same layer effect to the balloon layer, but this time you only need to make a couple of clicks. Right-click on the Felipe layer in the Layers window and select Copy Layer Style.

Now right-click the balloon layer and select Paste Layer Style.

Voila! Now the speech balloon has the same layer style as Felipe, and it was as easy as copying and pasting.