Video Streaming Tutorial for iOS: Getting Started
Learn how to build a video streaming app using AVKit and AVFoundation frameworks. By Saeed Taheri.
Trying Not to Steal the Show
If you’re going to make an app that has videos, it’s important to think about how your app will affect your users.
Yeah, that sounds blindingly obvious. But how many times have you been using an app that starts a silent video but turns off your music?
If you’ve never experienced this first-world travesty, plug in your headphones… Oh, sorry, present-day version: Bluetooth-connect your headphones. Turn on some music and then run the app. When you do, you’ll notice that your music is off even though the video looper isn’t making any noise!
As a considerate app developer, you should allow your user to turn off their own music instead of boldly assuming that your app should trump all others. Lucky for you, this isn’t very hard to fix by tweaking AVAudioSession‘s settings.
Head to AppMain.swift and add the following import to the top of the file:
import AVFoundation
Next, implement the default initializer with the following line:
init() {
  setMixWithOthersPlaybackCategory()
}
Don’t forget to implement the method you just used:
private func setMixWithOthersPlaybackCategory() {
  try? AVAudioSession.sharedInstance().setCategory(
    AVAudioSession.Category.ambient,
    mode: AVAudioSession.Mode.moviePlayback,
    options: [.mixWithOthers])
}
Here, you’re telling the shared AVAudioSession that you would like your audio to be in the ambient category. The default is AVAudioSession.Category.soloAmbient, which explains shutting off the audio from other apps.
You’re also specifying that your app is using audio for “movie playback” and that you’re fine with the sound mixing with sound from other sources.
Build and run, start your music back up and launch the app one more time.

You now have a video app that gives you the freedom to be the captain of your own ship. :]
Bonus: Adding Picture-in-Picture
What if you could continue watching the videos while doing other things on your device?
You’ll add the picture-in-picture (PiP) feature to the app.
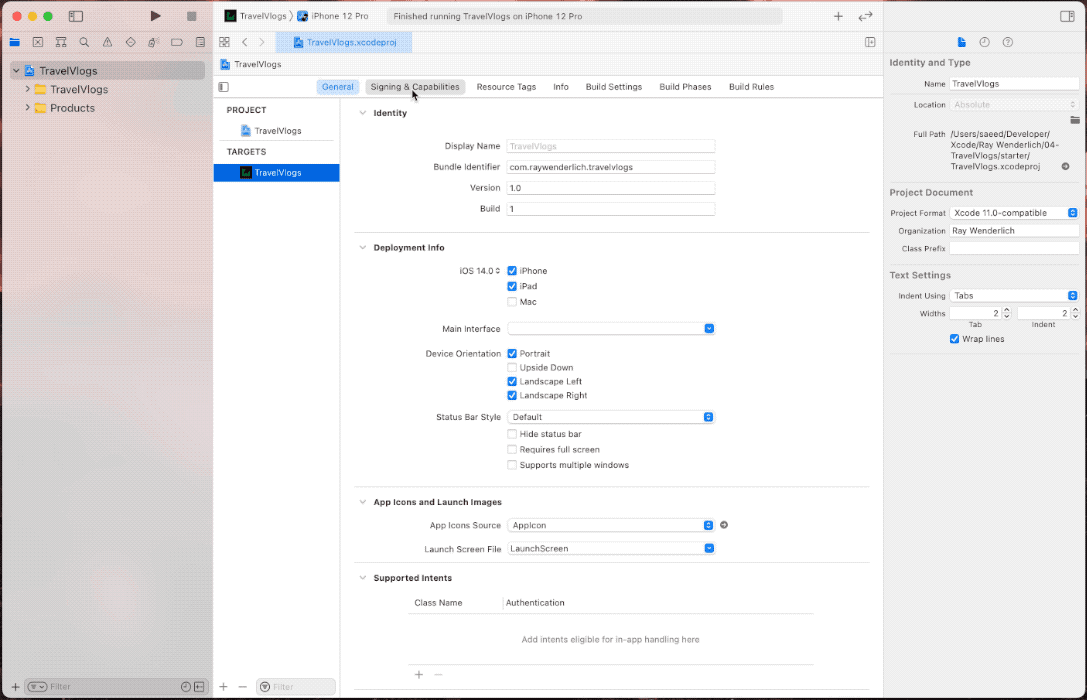
First, you need to declare this compatibility for the app. In the Signing & Capabilities section for the app target, add Audio, AirPlay, and Picture in Picture background mode.
Next, you need to change the audio session category. PiP video doesn’t play in ambient mode. Open AppMain.swift and add this method:
private func setVideoPlaybackCategory() {
  try? AVAudioSession.sharedInstance().setCategory(.playback)
}
In the initializer, make sure to call this method instead of the old one:
init() {
  setVideoPlaybackCategory()
}
Build and run, then tap one of the list items to open the full-screen player. You’ll see the PiP button in the top left corner… or you won’t!

The downside is that, as of writing this article when iOS 14.5 is the latest version available, VideoPlayer‘s view of SwiftUI doesn’t show the PiP button. If you want to use PiP, you need to use AVPlayerViewController, which belongs to UIKit. The upside is that you know how to create a bridge between SwiftUI and UIKit.
Create a file named VideoPlayerView.swift and replace its content with the following:
import SwiftUI
// 1
import AVKit

// 2
struct VideoPlayerView: UIViewControllerRepresentable {
  // 3
  let player: AVPlayer?

  func makeUIViewController(context: Context) -> AVPlayerViewController {
    // 4
    let controller = AVPlayerViewController()
    controller.player = player
    return controller
  }

  func updateUIViewController(_ uiViewController: AVPlayerViewController, context: Context) {}
}
- You import
AVKitsinceAVPlayerViewControlleris inside this module. - You define a struct conforming to
UIViewControllerRepresentableto be able to useAVPlayerViewControllerin SwiftUI. - As with all ways of playing videos you’ve seen up to now,
AVPlayerViewControllerneeds aplayeras well. - You create an instance of
AVPlayerViewController, set its player and return the instance.
That’s it for the bridge. Go back to VideoFeedView.swift and replace VideoPlayer(player: avPlayer) in makeFullScreenVideoPlayer(for:) with this:
VideoPlayerView(player: avPlayer)
Build and run, open a full-screen video and watch the PiP button appear in the top-left corner.

You can also add PiP support to the LoopingPlayerView. For the sake of brevity of this article, the code to do that is included inside the final project.
Where to Go From Here?
You can download the final project using the Download Materials button at the top or bottom of this video streaming tutorial for iOS.
You’ve successfully put together an app that can play both local and remote videos. It also efficiently shows off a highlight reel of all the coolest videos on the platform.
If you’re looking to learn more about video playback, this is only the tip of the iceberg. AVFoundation is a vast framework that can handle things such as:
- Capturing video with the built-in camera.
- Transcoding between video formats.
- Applying filters to a video stream in real time.
As always, looking at the WWDC video archive when trying to learn more about a particular subject is a no-brainer.
One thing in particular not covered in this tutorial is reacting to AVPlayerItem‘s status property. Observing the status of remote videos will tell you about network conditions and the playback quality of streaming video.
Also, there’s a lot more to learn about livestreaming with HLS. If it’s something that interests you, check out Apple’s documentation. This page contains a nice list of links to other resources you can use to learn more.
You can also take a look at raywenderlich.com Forums and ask your questions there.
As always, thanks for reading, and let me know if you have any questions in the comments!