UICollectionView Tutorial: Headers, Selection and Reordering
Learn how to implement reusable views for UICollectionView section headers, select cells and reorder with drag and drop. By Fabrizio Brancati.
Interacting With Cells
In this section, you’ll learn some ways to interact with cells including selecting single and multiple cells and using drag-and-drop to reorder cells.
First up is learning how to respond to selecting a cell. You’ll make the UICollectionView animate a layout change when the user selects an item.
Open FlickrPhotosViewController.swift and add the following computed property to the top of FlickrPhotosViewController:
// 1
var largePhotoIndexPath: IndexPath? {
  didSet {
    // 2
    var indexPaths: [IndexPath] = []
    if let largePhotoIndexPath = largePhotoIndexPath {
      indexPaths.append(largePhotoIndexPath)
    }

    if let oldValue = oldValue {
      indexPaths.append(oldValue)
    }

    // 3
    collectionView.performBatchUpdates({
      self.collectionView.reloadItems(at: indexPaths)
    }, completion: { _ in
      // 4
      if let largePhotoIndexPath = self.largePhotoIndexPath {
        self.collectionView.scrollToItem(
          at: largePhotoIndexPath,
          at: .centeredVertically,
          animated: true)
      }
    })
  }
}
Here’s what is going on in the code above:
-
largePhotoIndexPathholds the index path of the currently selected photo item. It’s an optional because there may not be a selection. - When this property changes, you must also update the collection view.
didSetis an easy way to manage this. You might have two cells that need to be reloaded if the user had previously selected a different cell or tapped the same cell a second time to deselect it. -
performBatchUpdates(_:completion:)animates changes to the collection view. - Once the animation completes, scroll the selected cell to the middle of the screen.
Next, click File ▸ New ▸ File then select Swift File and click Next. Name the file FlickrPhotosViewController+UICollectionViewDelegate and click Create. Then replace the contents of the file with the following:
import UIKit

extension FlickrPhotosViewController {
  override func collectionView(
    _ collectionView: UICollectionView,
    shouldSelectItemAt indexPath: IndexPath
  ) -> Bool {
    // 1
    if largePhotoIndexPath == indexPath {
      largePhotoIndexPath = nil
    } else {
      largePhotoIndexPath = indexPath
    }

    // 2
    return false
  }
}
This method is pretty simple. It implements one of the UICollectionViewDelegate methods which is called when an item is selected. Here’s what the method does:
- If the
IndexPathof the cell the user tapped is already selected, setlargePhotoIndexPathtonilto indicate deselection. Otherwise, set it to the current value ofindexPath. This will fire thedidSetproperty observer you just implemented. - Return
falseso that the collection view doesn’t set its own flag on which cell is selected. You handle selection yourself and you don’t want the collection view interfering.
Now, open FlickrPhotosViewController+UICollectionViewDelegateFlowLayout.swift and find collectionView(_:layout:sizeForItemAt:). Add the following code to the beginning of the method:
if indexPath == largePhotoIndexPath {
  let flickrPhoto = photo(for: indexPath)
  var size = collectionView.bounds.size
  size.height -= (FlickrConstants.sectionInsets.top +
    FlickrConstants.sectionInsets.right)
  size.width -= (FlickrConstants.sectionInsets.left +
    FlickrConstants.sectionInsets.right)
  return flickrPhoto.sizeToFillWidth(of: size)
}
This makes the size of the currently selected cell fill the width of the collection view while maintaining the image’s aspect ratio.
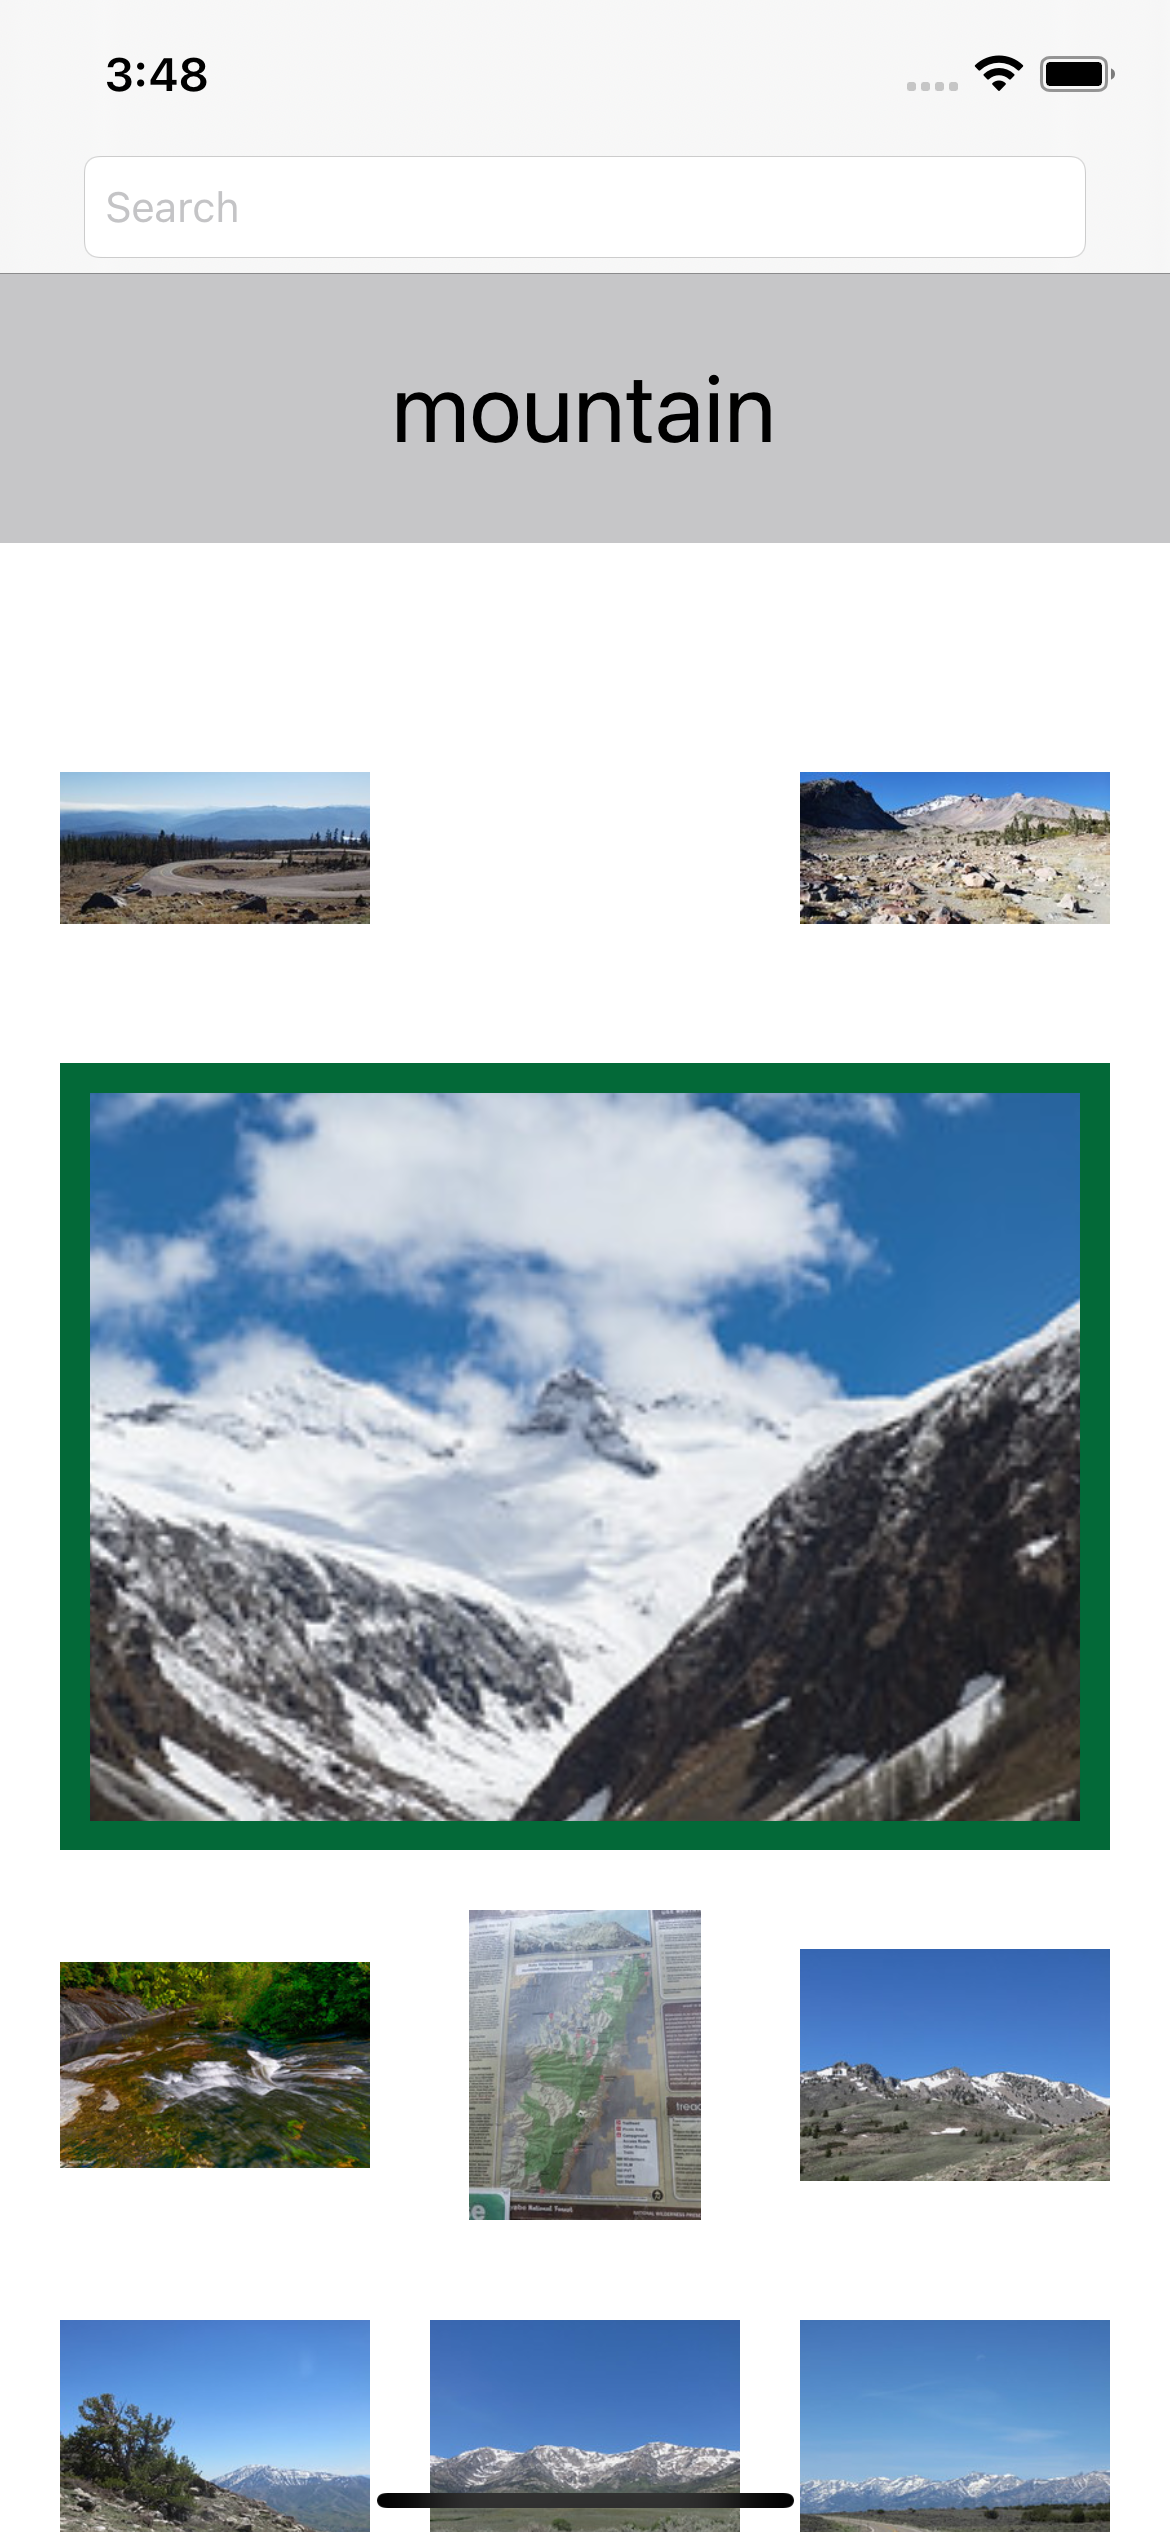
Build and run. Make a search and tap one of the images.

You did it! :]
Now, because you’re increasing the size of the cell, you need a larger image to make it look good. Your next task is to download the larger image upon request.
Providing Selection Feedback
You’ll want to show a spinner while the larger image downloads. Do that first.
Open Main.storyboard and open you the object library with Command-Shift-L. Drag an activity indicator onto the image view in the collection view cell.
Open the Attributes inspector, set the style to Large and check Hides When Stopped.
Using the layout guides, drag the indicator to the center of the ImageView, then use the Align menu to set constraints to center the indicator horizontally and vertically.

Open FlickrPhotoCell.swift in an additional editor pane and then Control-drag from the activity indicator onto FlickrPhotoCell. Name the outlet activityIndicator. It will add the following code to the class:
@IBOutlet weak var activityIndicator: UIActivityIndicatorView!
While in FlickrPhotoCell.swift, add the following methods:
override var isSelected: Bool {
  didSet {
    imageView.layer.borderWidth = isSelected ? 10 : 0
  }
}

override func awakeFromNib() {
  super.awakeFromNib()
  imageView.layer.borderColor = themeColor.cgColor
  isSelected = false
}
This simply changes the border of the image whether the cell is selected or not.
It’s time to download that large image!
Loading the Large Image
Now, open FlickrPhotosViewController+Helper.swift and add a convenience method in the extension to download the large version of a Flickr image:
func performLargeImageFetch(
  for indexPath: IndexPath,
  flickrPhoto: FlickrPhoto,
  cell: FlickrPhotoCell
) {
  // 1
  cell.activityIndicator.startAnimating()

  // 2
  flickrPhoto.loadLargeImage { [weak self] result in
    cell.activityIndicator.stopAnimating()

    // 3
    guard let self = self else {
      return
    }

    switch result {
    // 4
    case .success(let photo):
      if indexPath == self.largePhotoIndexPath {
        cell.imageView.image = photo.largeImage
      }
    case .failure:
      return
    }
  }
}
Here’s a step-by-step explanation of the code above:
- Start the activity indicator to show that something is happening.
- Use the convenience method on
FlickrPhototo start downloading the large image. Once that load completes, you need to stop the activity indicator, which will also hide it. - Because you’re in a closure that captures
selfweakly, ensure the view controller still exists. - If successful and if the indexPath matches the current
largePhotoIndexPath, set theimageViewof the cell tolargeImage. If the image download failed, simply do nothing.
Finally, in FlickrPhotosViewController+UICollectionViewDataSource.swift, replace collectionView(_:cellForItemAt:) with the following:
override func collectionView(
  _ collectionView: UICollectionView,
  cellForItemAt indexPath: IndexPath
) -> UICollectionViewCell {
  guard let cell = collectionView.dequeueReusableCell(
    withReuseIdentifier: FlickrConstants.reuseIdentifier,
    for: indexPath) as? FlickrPhotoCell
  else {
    preconditionFailure("Invalid cell type")
  }

  let flickrPhoto = photo(for: indexPath)

  // 1
  cell.activityIndicator.stopAnimating()

  // 2
  guard indexPath == largePhotoIndexPath else {
    cell.imageView.image = flickrPhoto.thumbnail
    return cell
  }

  // 3
  cell.isSelected = true
  guard flickrPhoto.largeImage == nil else {
    cell.imageView.image = flickrPhoto.largeImage
    return cell
  }

  // 4
  cell.imageView.image = flickrPhoto.thumbnail

  // 5
  performLargeImageFetch(for: indexPath, flickrPhoto: flickrPhoto, cell: cell)

  return cell
}
Here’s an explanation of the code above:
- Stop the activity indicator in case it was currently active. This cell might be reused from a cell that was loading an image and had the activity spinner active.
- Check if the cell is for a non-selected index path. If
largePhotoIndexPathdoesn’t match the indexPath of the current cell, set the image to the thumbnail version and return. - At this point, you can be sure of having a non-empty
largePhotoIndexPathvalue that is also the user selected index path. So, you check if the large image is already downloaded for the selected index and then set the image to the large image and return. - Finally, the case when
largePhotoIndexPathis the same as the selected index path and thelargeImageis not already loaded. You set thethumbnailfirst. - Then, call the convenience method you created above to fetch the large image version and return the cell.
Now’s a great time to build and run to check your work. Perform a search, then select an image cell. You can see it scales up and animates to the center of the screen. Tapping it again animates it back to its original state.
Excellent work! Next, you’ll implement multiple selections and sharing.