LiquidFun Tutorial with Metal and Swift – Part 2
In this LiquidFun tutorial, you’ll learn how to simulate water on iOS using LiquidFun, and render it on screen with Metal and Swift. By Allen Tan.
Producing More Water
Now you can go crazy by adding more particles. But with a bounding box constraining your particles to the screen, you don’t want to add too many, or you’ll risk having an unstable simulation.
Open LiquidFun.h and declare the following method:
+ (void)setParticleLimitForSystem:(void *)particleSystem maxParticles:(int)maxParticles;
Switch to LiquidFun.mm and add the method’s implementation:
+ (void)setParticleLimitForSystem:(void *)particleSystem maxParticles:(int)maxParticles {
  ((b2ParticleSystem *)particleSystem)->SetDestructionByAge(true);
  ((b2ParticleSystem *)particleSystem)->SetMaxParticleCount(maxParticles);
}
This method sets a maximum particle limit for a particle system. You enable SetDestructionByAge so that the oldest particles get destroyed first when you exceed the amount of allowable particles in SetMaxParticleCount.
Next, switch to ViewController.swift and add the following line in viewDidLoad, right after the call to LiquidFun.createParticleSystemWithRadius:
LiquidFun.setParticleLimitForSystem(particleSystem, maxParticles: 1500)
This line sets a limit for the particle system you created so that you won’t be able to create more than 1500 particles at any given time.
Now add this method to handle touches:
override func touchesBegan(touches: Set<NSObject>, withEvent event: UIEvent) {
  for touchObject in touches {
    if let touch = touchObject as? UITouch {
      let touchLocation = touch.locationInView(view)
      let position = Vector2D(x: Float(touchLocation.x) / ptmRatio,
        y: Float(view.bounds.height - touchLocation.y) / ptmRatio)
      let size = Size2D(width: 100 / ptmRatio, height: 100 / ptmRatio)
      LiquidFun.createParticleBoxForSystem(particleSystem, position: position, size: size)
    }
  }
}
Here you implement touchesBegan, the method that gets called when the user taps the screen. When called, the method creates a particle box that is 100 points wide by 100 points high at the location of the touch.
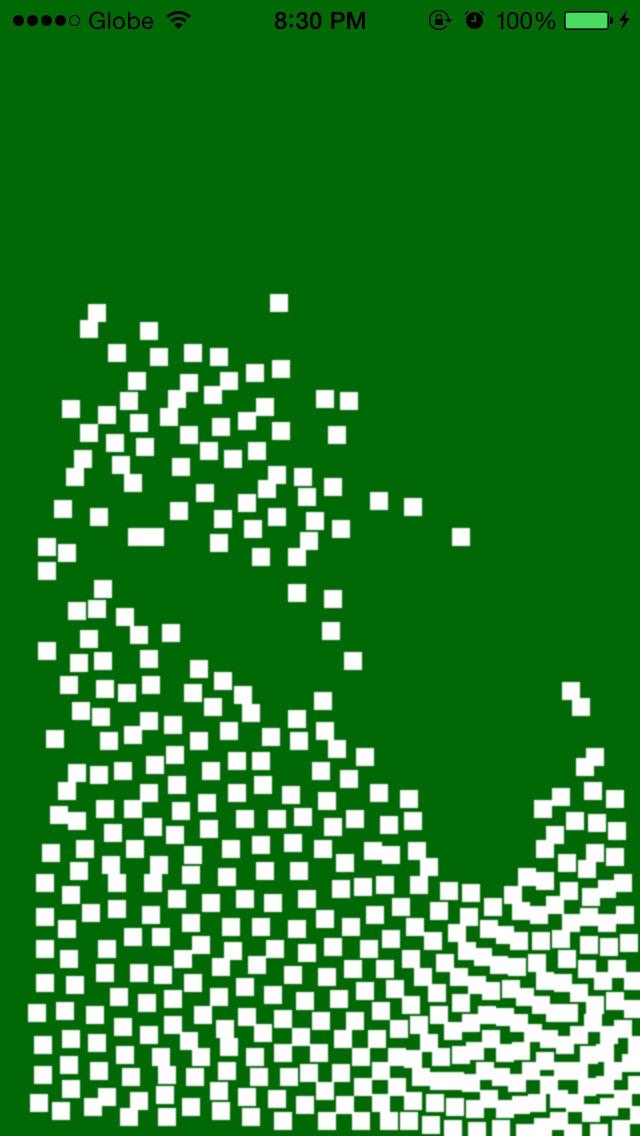
Build and run, and tap the screen repeatedly to produce more particles:
Have fun!
Cleaning up After Yourself
Since LiquidFun runs on C++ and isn’t covered by Swift’s automatic reference counting, you have to make sure to clean up your world object after you’re done with it. This can be done in a few easy steps. As usual, you start with some LiquidFun wrapper methods.
Open LiquidFun.h and declare this method:
+ (void)destroyWorld;
Quickly switch to LiquidFun.mm and add the following code:
+ (void)destroyWorld {
  delete world;
  world = NULL;
}
You’re adding a method that deletes the world object you create in createWorldWithGravity. All accompanying particle systems and physics bodies inside the world will be deleted along with it.
You need to call this method the moment you no longer need your physics simulation to run. For now, since the whole simulation is running in ViewController, you’ll delete it only when ViewController ceases to exist.
Open ViewController.swift and add this method:
deinit {
  LiquidFun.destroyWorld()
}
Swift automatically deallocates the ViewController instance when it’s no longer needed. When this happens, Swift calls its deinitializer method, deinit. This is the perfect place to do some additional clean up yourself, so you clean up the physics world using the wrapper method you just added.
Where to Go From Here?
Here is the final sample project from this tutorial series.
Congratulations! You’ve just learned how to simulate water using LiquidFun. Not only that—you’ve learned how to render your own particle system using Metal and Swift. I’m not sure if you feel the same way, but I’m left with a thirst (pun intended) for more learning!
From here, you can work on improving your simulation further by implementing more of LiquidFun’s features. Here are some of the fun things you can still do:
- Implement and show particle colors and multiple particle systems.
- Mix the colors of particles that collide, similar to the behavior in LiquidSketch.
- Map textures to your particle system.
- Add advanced shader effects for better-looking water.
Do let me know if you’d like to see more tutorials in this series covering the advanced topics above. In the meantime, you can head over to the LiquidFun Programmer’s Guide to learn more.
If you have questions, comments or suggestions on the tutorial, please join the forum discussion below!