Kotlin Enums Tutorial for Android: Getting Started
In this tutorial, you’ll build an Android app, using the full potential of Kotlin Enums to handle a list of cartoon avatars and help your users easily create their profiles. By Caio Fukelmann Landau.
Benefits of Enums
When you use enums to define a set of constants, you get extra help from the IDE. Auto-complete can easily understand all the possible cases of CartoonAvatar and suggest code for you.
Additionally, it’s possible to validate that code is exhaustive. What that means is, since you predefine all enum cases, it’s easy to automatically detect if your when() expression doesn’t handle them all.
Give it a try: Remove one of the lines in when(). Android Studio will instantly complain that your expression isn’t exhaustive. Very handy! Add that line back now, of course.
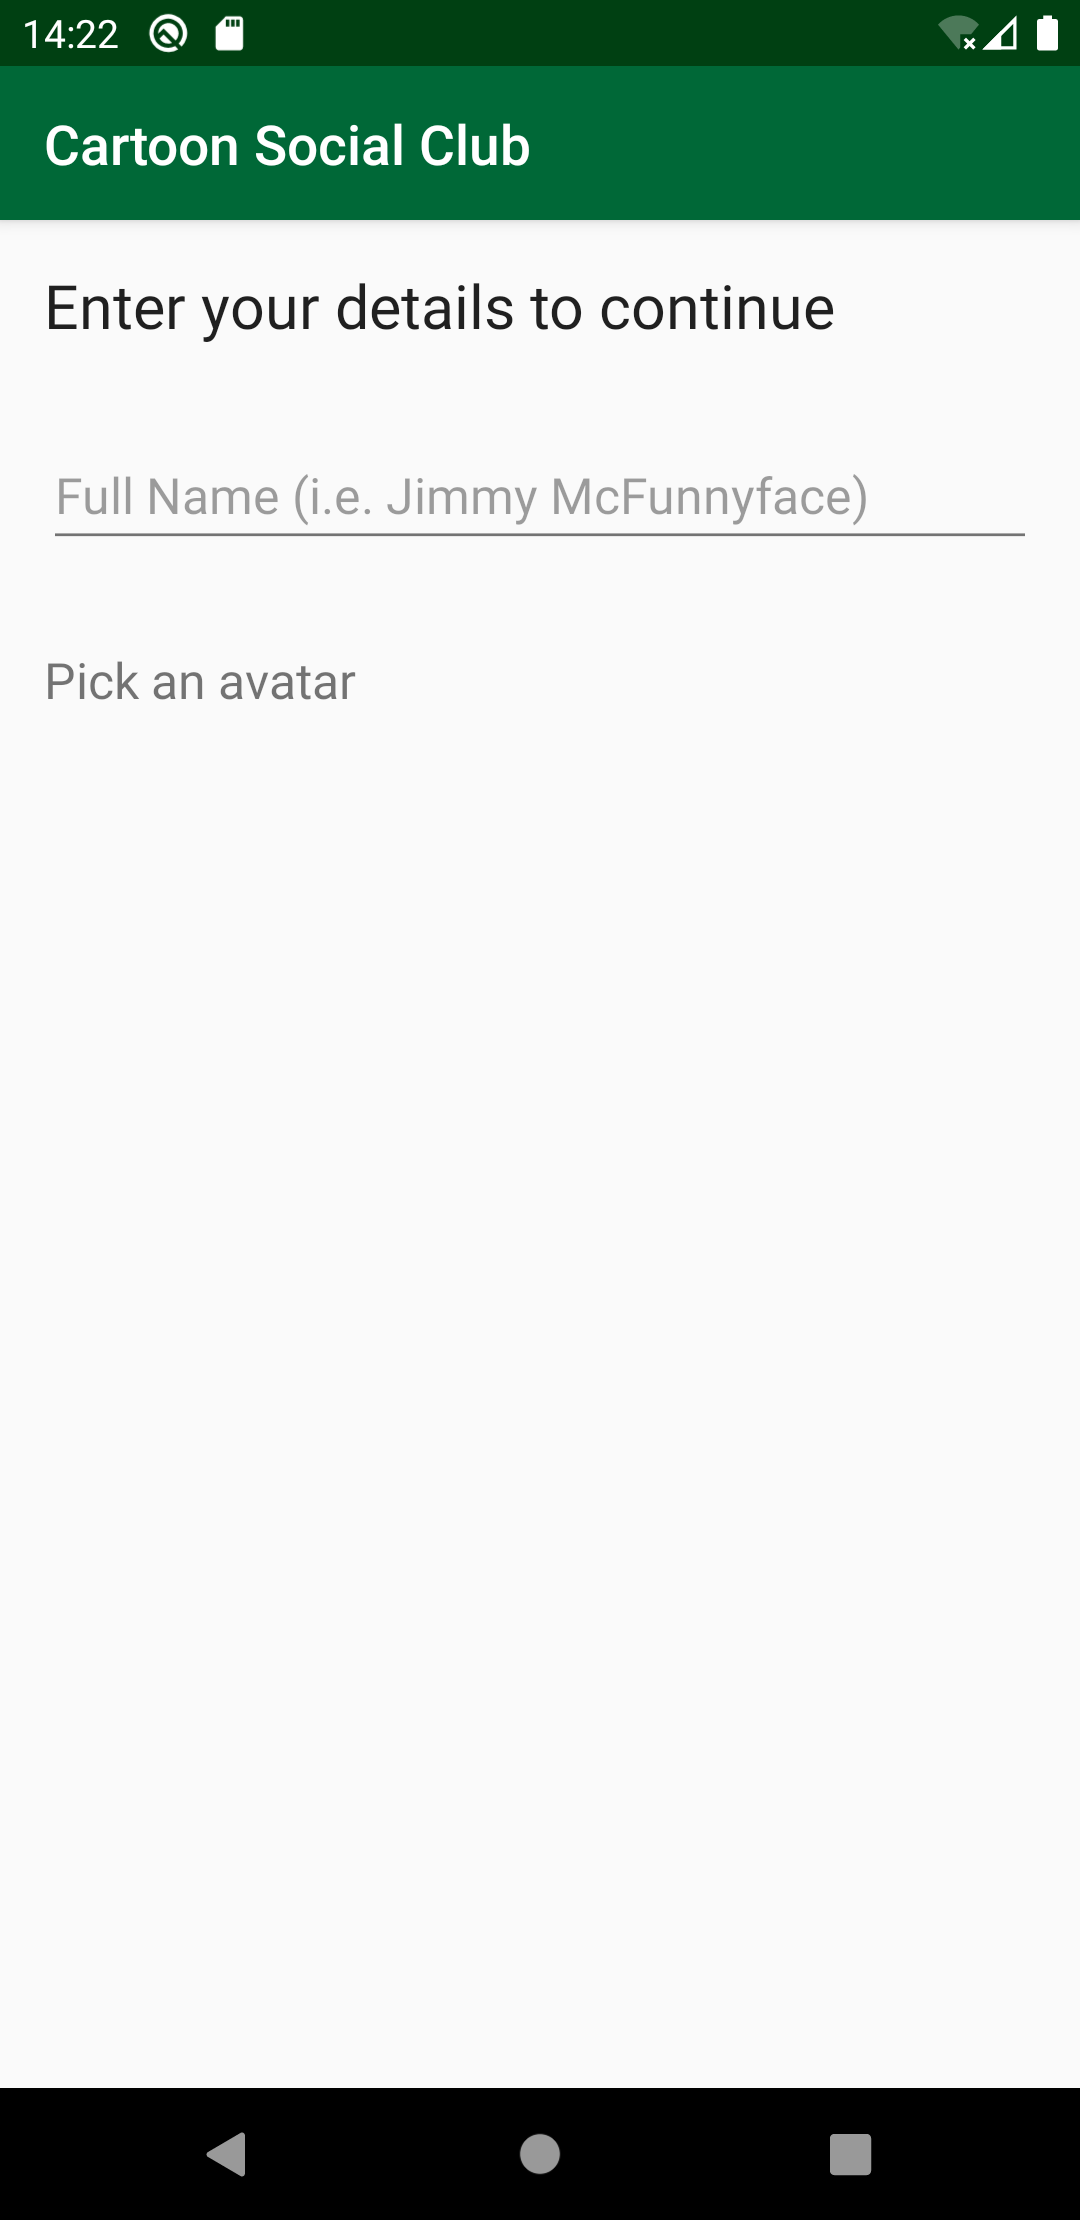
Build and run. You’ll see the same screen as before; nothing has changed yet:
But now it’s time to start mixing things up!
Displaying an Avatar for Each Enum Case
So far, all those changes you did had no effect on how the app looks. This is about to change.
Open MainActivity.kt and populate avatarChoices by replacing emptyList<Item>() below // TODO 2 with the following:
CartoonAvatar.values().map {
  Item(avatar = it, isSelected = false)
}
The code above uses values() to get an array of all CartoonAvatar cases. This method is present in all Kotlin enums. Then, you call map() in this array to convert it to a list of Item, which is what the adapter takes. [TODO: Is Item correct or should it be Items?] Since the adapter is set up using this property further down in MainActivity, it now has a list of all possible cartoon avatars a user can select. You can see that isSelected is set to false by default.
Build and run. You’ll now see a screen with a selection of avatar options:
![]()
Next, you’ll start adding data to your enums.
Add Extra Data to Enums
Enum constants can also have data attached to them. This is helpful for cases where you need to translate an enum case to a different type. Each cartoon character has a respective drawable resource, so you’ll use this enum feature instead of when() to simplify your code even more.
Open CartoonAvatar.kt and replace the class with the code below:
import androidx.annotation.DrawableRes

enum class CartoonAvatar(@DrawableRes val drawableRes: Int) {
  DOG(R.mipmap.avatar_dog),
  MONSTER(R.mipmap.avatar_monster),
  OCTOPUS(R.mipmap.avatar_octopus),
  NONE(R.mipmap.avatar_none)
}
In the code above, you added drawableRes to CartoonAvatar. All those values are constant, so each case has a predefined drawableRes defined. With this, you’re now able to map each enum case to its respective drawable resource.
Replace when() With Enum Property
Go back to CartoonAvatarAdapter. Inside Item, replace the entire imageResource property with the following:
@DrawableRes
var imageResource = avatar.drawableRes
The code above is using the drawableRes you just defined in the enum to replace the when() expression. Your adapter code is now a little simpler.
Build and run. It’ll look the same as before:
![]()
But you’ll change that.
Enums Automatically Implement Equality
Your app isn’t reacting to changes yet. When the user types their name and selects an avatar, a button should show up to let them move to the next step. You’ll implement that logic now.
Open MainActivity.kt and add the following property below // TODO 3:
private var selectedAvatar: CartoonAvatar? = null
Here, you created a property that will hold the selected avatar when the user taps one.
Next, find selectAvatar() and add the following lines below // TODO 4:
// 1
selectedAvatar = avatar.avatar

// 2
avatarChoices.forEach { it.isSelected = it.avatar == selectedAvatar }
cartoonAvatarAdapter.notifyDataSetChanged()
The adapter calls the method above when the user selects an avatar option. This logic has been set up for you in setupRecyclerView() in the starter project.
Here’s what the code above is doing:
- Updates the value of
selectedAvatarwith the new selection. - Updates
avatarChoicesin the activity to setisSelectedtotruein the newly selected item. Here, you’re using another useful feature of Kotlin enums: They implement equality automatically. That’s why you can use==to compare them insideforEach. After you update the list to setisSelected,cartoonAvatarAdapter.notifyDataSetChanged()takes care of updating the adapter. The adpter will then reflect the changes in the view.
Build and run. Now select one of the avatar options and the view will reflect it:
![]()
See the selected avatar?
Using the Name of an Enum Case
When your user selects an avatar and types their name, they’ll be ready to move to the next step. To do that, open AvatarSelectedActivity.kt and paste the following code below // TODO 5:
companion object {
  // 1
  private const val EXTRA_FULL_NAME = "com.raywenderlich.android.cartoonsocialclub.FULL_NAME"
  private const val EXTRA_CARTOON = "com.raywenderlich.android.cartoonsocialclub.CARTOON"

  // 2
  fun newIntent(fullName: String, selectedAvatar: CartoonAvatar, context: Context): Intent {
    return Intent(context, AvatarSelectedActivity::class.java).apply {
      putExtra(EXTRA_FULL_NAME, fullName)
      // 3
      putExtra(EXTRA_CARTOON, selectedAvatar.name)
    }
  }
}
You’ve created a companion object with a method called newIntent(). Here’s what the code does in detail:
- Defines two constants that you’ll use to reference
Intentextras later -
newIntent()is an Android convention: It takes the data an activity needs and returns anIntentto start it. - Another enum goodie: Kotlin provides
namefor all enum cases. It’s a string, and using it, you’ll be able to get a reference to that same case later withCartoonAvatar.valueOf(name). This property’s value will be something like"MONSTER".
Next, go back to MainActivity and add the following method below // TODO 6:
private fun setupContinueButton() {
  // 1
  fullNameEditText.doAfterTextChanged { fullName ->
    if (fullName.toString().isNotBlank() && selectedAvatar != null) {
      continueButton.visibility = View.VISIBLE
    } else {
      continueButton.visibility = View.GONE
    }
  }

  // 2
  continueButton.setOnClickListener {
    val selectedAvatar = selectedAvatar ?: return@setOnClickListener
    val firstName = fullNameEditText.text.toString()
    val intent = AvatarSelectedActivity.newIntent(firstName, selectedAvatar, this)
    startActivity(intent)
  }
}
Here’s what the code above does:
- Tells
fullNameEditTextto execute the following logic when its text changes. If the user has typed their full name and selected an avatar, the Continue button is visible. Otherwise, it’s hidden. - Adds an
onClickListenerto the Continue button that starts theAvatarSelectedActivitywhen the user taps it. TheIntentholds the user selections.
Now, add a call to setupContinueButton() at the end of onCreate(), below // TODO 7.
And finally, paste the following lines at the end of selectAvatar():
if (fullNameEditText.text.isNotBlank()) {
  continueButton.visibility = View.VISIBLE
}
The code above makes the Continue button visible when the user selects an avatar if they already typed their name.
Build and run. Type your name, select your avatar and press Continue. The app will take you to the next step:

But before continuing, you’ll learn a bit about name.