Creating a Cross-Platform Multiplayer Game in Unity — Part 1
Learn how to create a cross-platform multiplayer game in Unity in the first of a fourth part tutorial. By Todd Kerpelman.
Adding Testers
There’s just one last step before you can get coding. Click the Testing tab on the left side of the screen to go the Testing panel. In the Testing Access section you should see your email address, and possibly those of your other team members like so:

When Play game services are in an unpublished state, they can only by used by accounts that are listed here. Since you’re going to be testing with a few other Google accounts — for your multiplayer game, you’re going to need at least two — click on the Add testers button and add the addresses you’d like to whitelist:

Give yourself a pat on the back — you’re all done with the Google Play setup! :]

Installing the Unity Plugin
Now you need to install the plugin that lets Unity talk to Play Games. Go to https://github.com/playgameservices/play-games-plugin-for-unity and click the “Download ZIP” button on the right:
This button either means you’re downloading something from the cloud, or it’s raining deadly arrows. Either way, you should probably stay indoors.

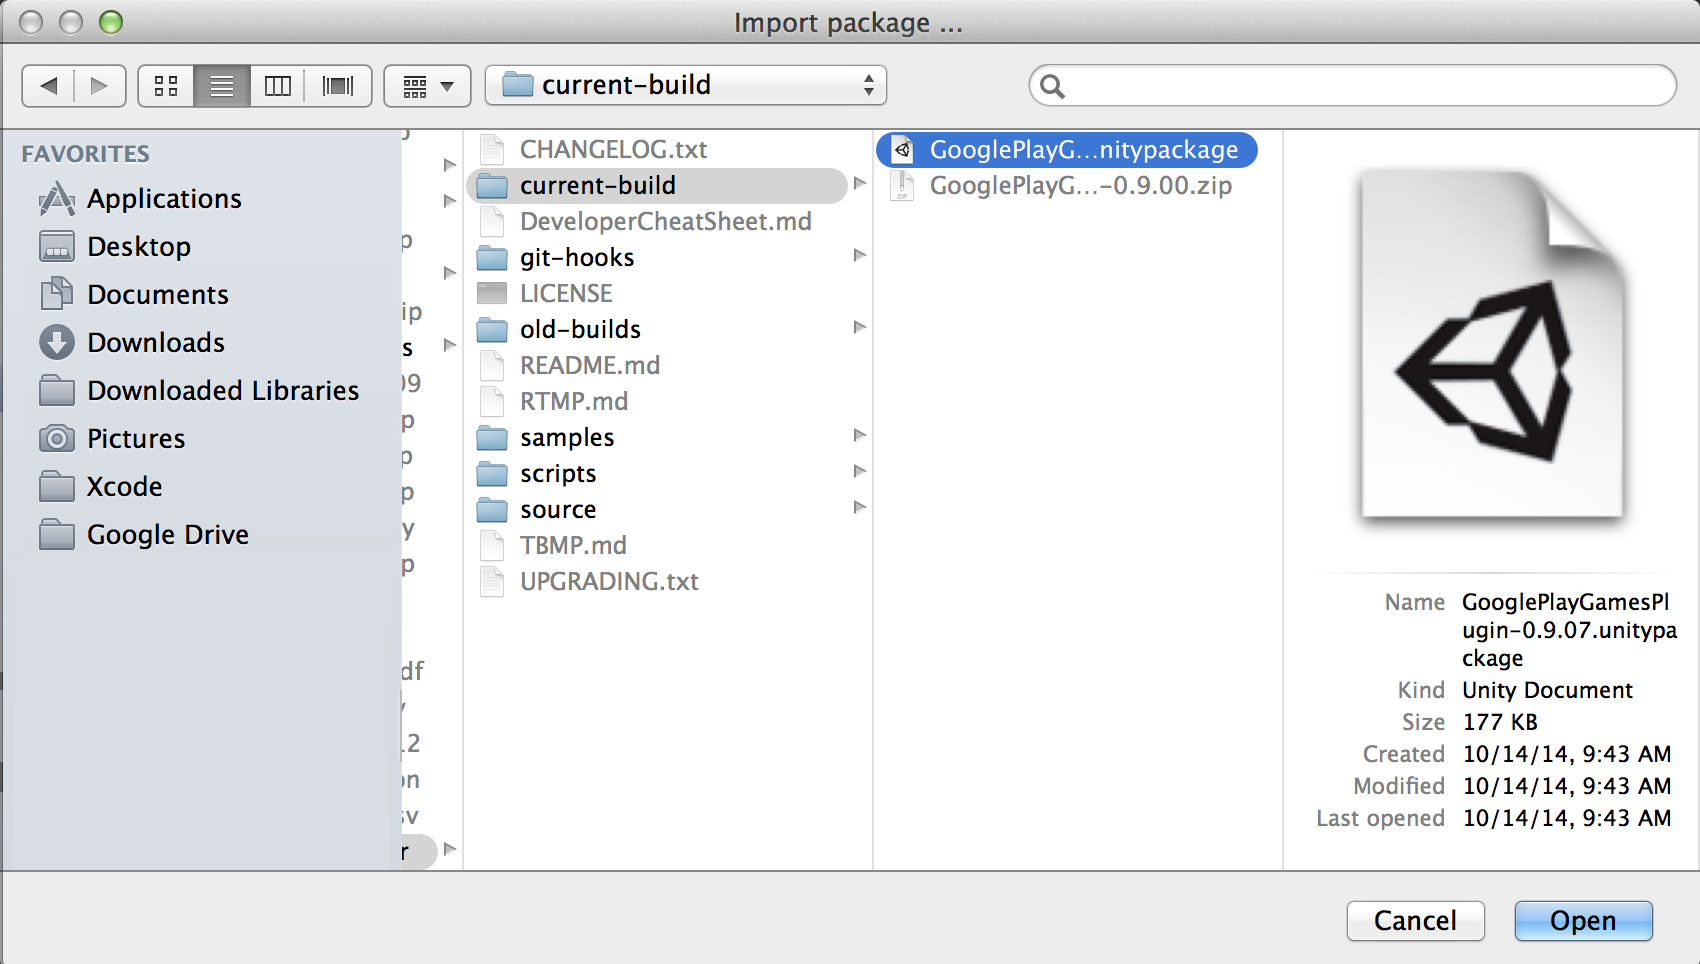
Once that’s done, unzip the package you downloaded and head back to Unity. Hello, Circuit Racer! Did you miss us? :] To install the plugin, select Assets\Import Package\Custom Package as follows:

Browse to the folder you created, then navigate to the contained current-build folder. Select the file that ends with unity package.
You should now see an Importing package dialog box; all options should be already selected, but if not, simply click the All button. Finally, click Import:

You now have a couple of exciting new folders, and a new “Google Play Games” menu item. If you don’t see the menu item, click on the menu bar to force Unity to refresh its contents. Select Google Play Games\iOS Setup from the menu and you’ll see a dialog box where you need to provide two pieces of information:

- The “Client ID” is the big string you copied earlier in this tutorial.
- The “Bundle ID” is the Bundle ID you’ve been using all along.
Enter the two pieces of information into the dialog and click Setup. You should receive an alert that all is well, at which point you can close the dialog.
Oh shoot — did you forget to copy down the Client ID earlier? No problem; here’s how to find your Client ID again:
- Go back to the Play Developer console at https://play.google.com/apps/publish/.
- Click on Game Services (the little controller icon) on the left.
- Click on your game.
- Click on “Linked Apps”.
- Click on the entry for the iOS version.
- At the bottom, you should see your Client ID next to a label that says, OAuth2 Client ID.

- Copy this value to the clipboard and continue on with the tutorial!

Build and run your project in Xcode (Command-B is a handy keyboard shortcut). If everything goes well, Unity will export your application to Xcode, which will then compile and run your application on your device, and..whoops. What happened?

There are a few modifications to make to your Xcode project before you can run your game on a physical device. Fortunately, the post-build script that Unity runs brings up a dialog box that tells you exactly what you need to do to get things working:
That doesn’t look too serious; you’ll tackle them in order.
Adding Missing Frameworks
In Xcode, select the Unity-iPhone project on the left, and then the Unity-iPhone target in the main panel. Go to Build Phases, expand the Link Binary With Libraries section on the right, and then click the + button to bring up the dialog where you can add all the frameworks you need for this project to run:

The dialog box should list the frameworks you need to include, but at the time of this writing, you’ll need to add the following frameworks:
- AddressBook
- AssetsLibrary
- CoreData
- CoreTelephony
- CoreText
- libc++.dylib
- libz.dylib
- Security
To make your life easier, you can hold down the Command button to select several frameworks at once.
Adding More Frameworks
Now you’ll need to download the missing SDKs. Head to https://developers.google.com/games/services/downloads/. Download and unzip both the the Games C++ SDK and the Google+ iOS SDK as shown below:

Note: Be careful: there is an iOS Games SDK listed on the same page. You don’t want that one, even though you’re building an iOS game. You need to download and use the C++ SDK instead.
Also note that clicking the link to download the Google+ iOS SDK takes you to a separate download page where you need to click the Download zip… link at the bottom of the screen, which in turn takes you to another page where you need to click on the Download the iOS+ SDK button to finally download the package. They, uh… really like having you click on things, apparently! :]
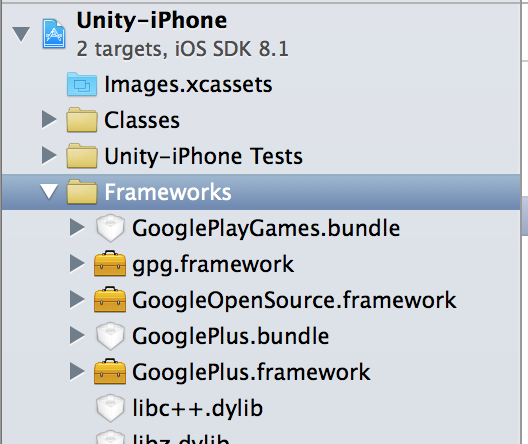
Navigate into the gpg-cpp-sdk folder you just unzipped, go into the iOS subfolder and drag the gpg.framework and GooglePlayGames.bundle files directly into Xcode. In the resulting dialog box, ensure the Unity-iPhone target is checked. It’s up to you whether or not to select the Copy items if needed checkbox; personally, I like doing it, but if you’re the type of person that likes to have all your third-party libraries in one location, you can leave it unchecked.
Next, navigate into the google-plus-ios-sdk folder and drag the GoogleOpenSource.framework, GooglePlus.bundle and GooglePlus.framework files into Xcode where you should see them added to the list of frameworks:
Adding the -ObjC Flag
Finally, head back to XCode and select the Build Settings tab for your target. Find the Other Linker Flags option — it’s in the Linking section. Double click the part that reads: -weak_framework CoreMotion -weak-ISystem, then click the + button at the bottom of the dialog to add the -ObjC flag. Your project should look like this once you’re done:

-ObjC step above; it’s a particularly insidious error because your code will compile and build just fine without it. But when you try to make a call, your project will crash with a mysterious unrecognized selector message.Now you can finally go back and run your game again! Click the Run button, and if all has gone according to plan, you should see your Circuit Racer running on your device.

True, the game looks the same as before — but there’s a whole slew of code and libraries underneath just waiting for you to make use of them! :]