How To Secure iOS User Data: The Keychain and Biometrics — Face ID or Touch ID
Learn how to use the keychain and biometrics to secure your app and use Face ID or Touch ID. By Tim Mitra.
Protecting an app with a login screen is a great way to secure user data – you can use the Keychain, which is built right in to iOS, to ensure their data stays secure. Apple also offers yet another layer of protection with Face ID and Touch ID.
Available since the iPhone 5S, biometric data is stored in a secure enclave in the A7 and newer chips. All of this means you can comfortably hand over the responsibility of handling login information to the Keychain and either Face ID or Touch ID.
In this tutorial you’ll start out with static authentication. Next you’ll be using the Keychain to store and verify login information. Finally, you’ll explore using Touch ID or Face ID in your app.
Getting Started
Download the starter project for this tutorial here.
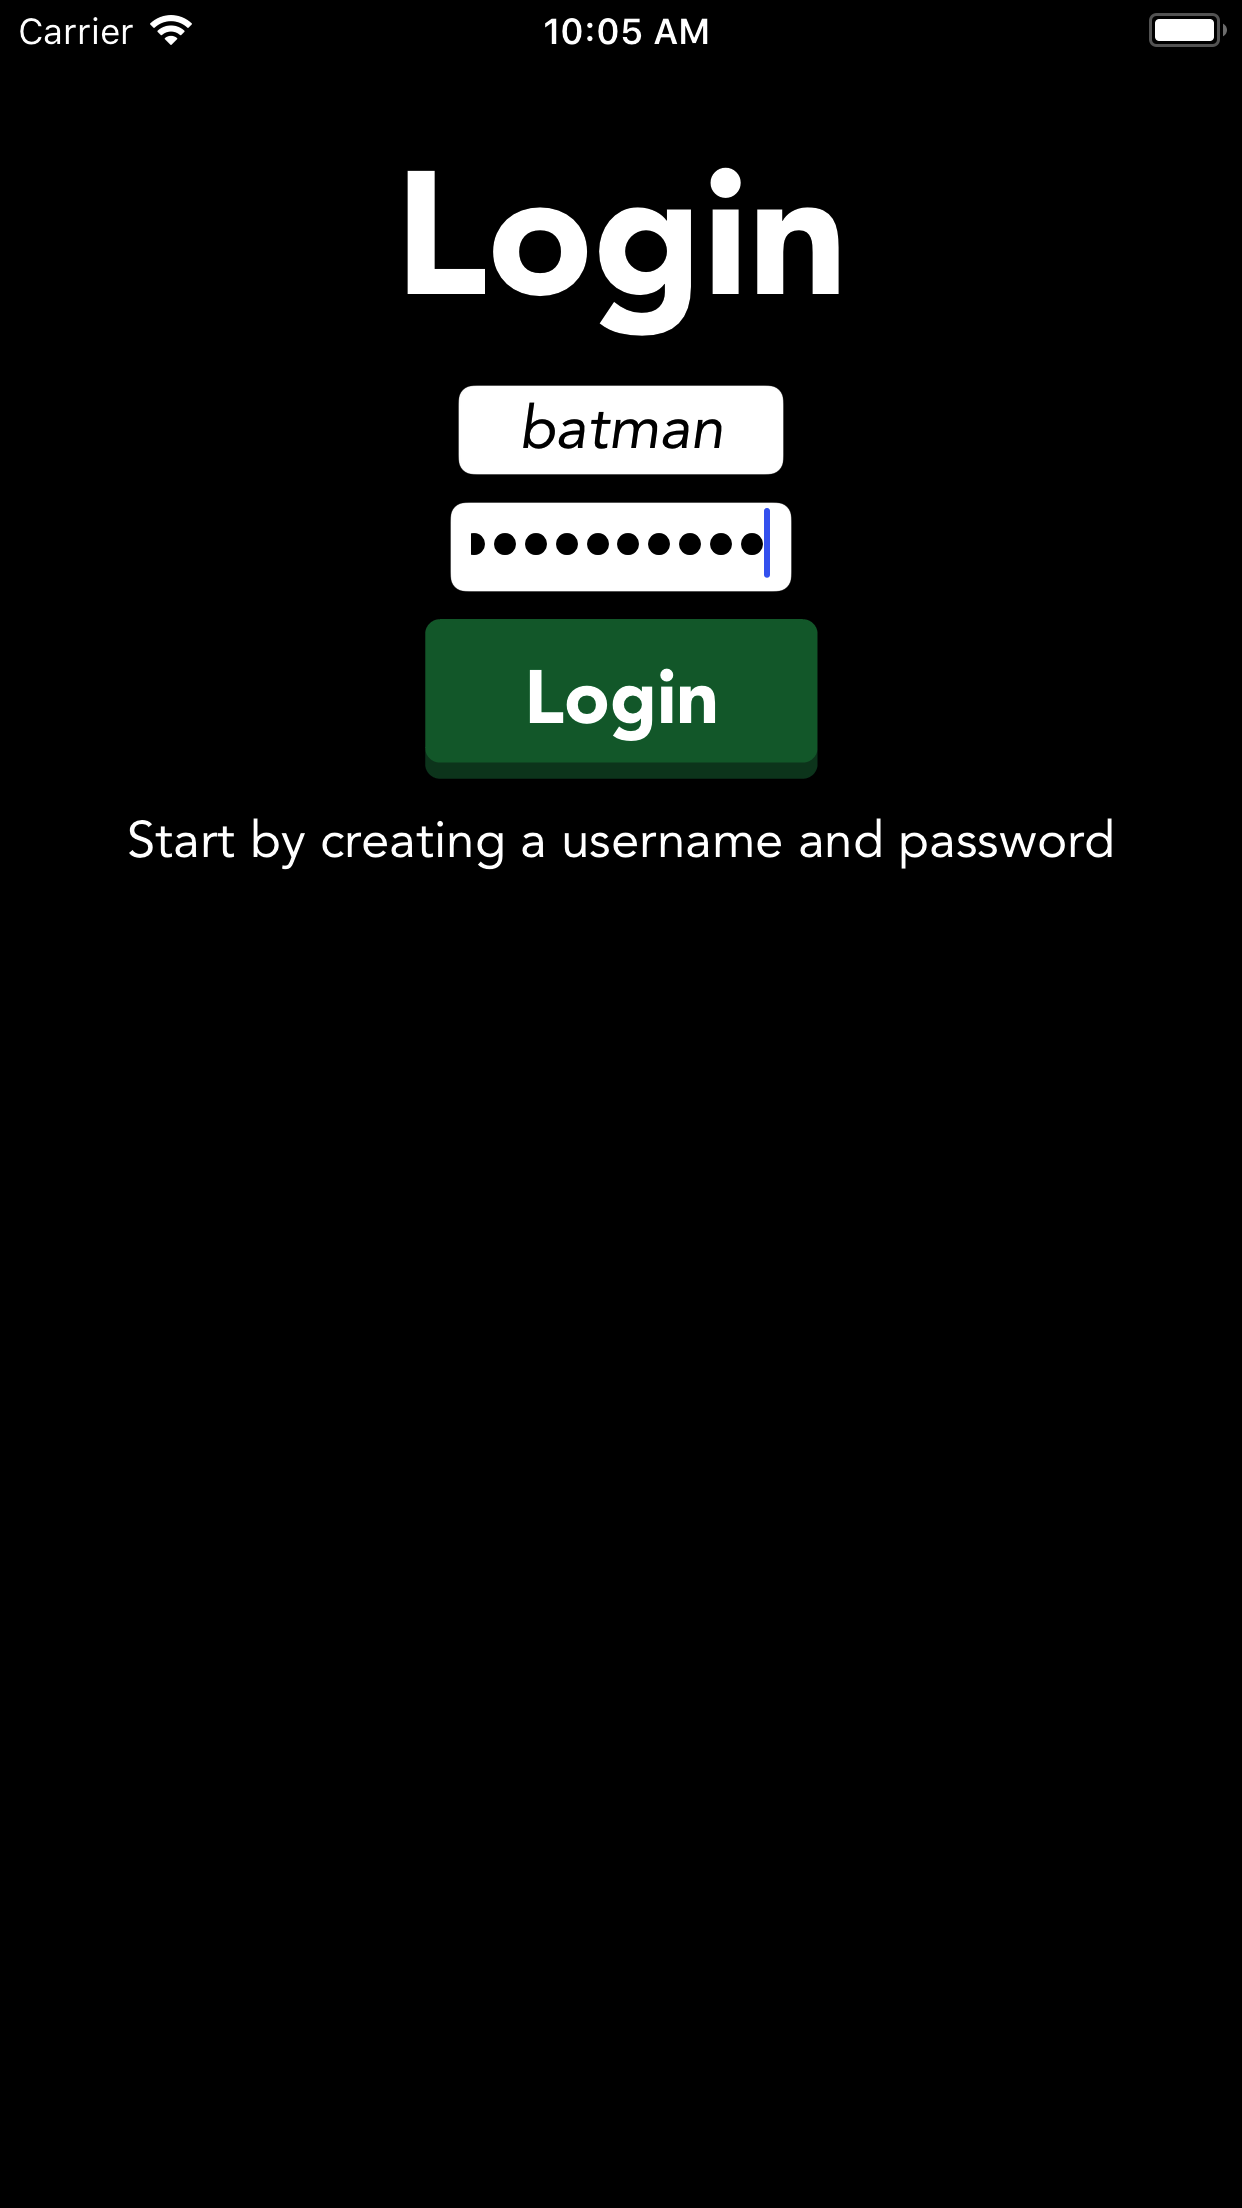
This is a basic note taking app that uses Core Data to store user notes; the storyboard has a login view where users can enter a username and password, and the rest of the app’s views are already connected to each other and ready to use.
Build and run to see what your app looks like in its current state:

Note type missing. It will be autogenerated by Core DataAt this point, tapping the Login button simply dismisses the view and displays a list of notes – you can also create new notes from this screen. Tapping Logout takes you back to the login view. If the app is pushed to the background it will immediately return to the login view; this protects data from being viewed without being logged in.
Before you do anything else, you should change the Bundle Identifier, and assign an appropriate Team.
Select TouchMeIn in the Project navigator, and then select the TouchMeIn target. In the General tab change Bundle Identifier to use your own domain name, in reverse-domain-notation – for example com.raywenderich.TouchMeIn.
Then, from the Team menu, select the team associated with your developer account like so:

With all of the housekeeping done, it’s time to code! :]
Logging? No. Log In.
To get the ball rolling, you’re going to add the ability to check the user-provided credentials against hard-coded values.
Open LoginViewController.swift and add the following constants just below managedObjectContext:
let usernameKey = "Batman"
let passwordKey = "Hello Bruce!"
These are simply the hard-coded username and password you’ll check the user-provided credentials against.
Next, add the following method below loginAction(_:):
func checkLogin(username: String, password: String) -> Bool {
  return username == usernameKey && password == passwordKey
}
Here you check the user-provided credentials against the constants previously defined.
Next, replace the contents of loginAction(_:) with the following:
if checkLogin(username: usernameTextField.text!, password: passwordTextField.text!) {
  performSegue(withIdentifier: "dismissLogin", sender: self)
}
Here you call checkLogin(username:password:), which dismisses the login view only if the credentials are correct.
Build and run. Enter the username Batman and the password Hello Bruce!, and tap the Login button. The login screen should dismiss as expected.
While this simple approach to authentication seems to work, it’s not terribly secure, as credentials stored as strings can easily be compromised by curious hackers with the right tools and training. As a best practice, passwords should NEVER be stored directly in the app. To that end, you’ll employ the Keychain to store the password.
Check out Ryan Ackermann’s Basic iOS Security: Keychain and Hashing tutorial for the lowdown on how the Keychain works as well as password salting.
Rapper? No. Wrapper.
The next step is to add a Keychain wrapper to your app.
Along with the starter project, you downloaded a folder with useful resources. Locate and open the Resources folder in Finder. You’ll see the file KeychainPasswordItem.swift; this class comes from Apple’s sample code GenericKeychain.
Drag the KeychainPasswordItem.swift into the project, like so:

When prompted, make sure Copy items if needed and TouchMeIn target are both checked:

Build and run to make sure you have no errors. All good? Great — now you can leverage the Keychain from within your app.
Keychain, Meet Password. Password, Meet Keychain
To use the Keychain, you first store a username and password in it. Next, you’ll check the user-provided credentials against the Keychain to see if they match.
You’ll track whether the user has already created some credentials so you can change the text on the Login button from “Create” to “Login”. You’ll also store the username in the user defaults so you can perform this check without hitting the Keychain each time.
The Keychain requires some configuration to properly store your app’s information. You’ll provide that configuration in the form of a serviceName and an optional accessGroup. You’ll use a struct to store these values.
Open LoginViewController.swift. Add the following just below the import statements:
// Keychain Configuration
struct KeychainConfiguration {
  static let serviceName = "TouchMeIn"
  static let accessGroup: String? = nil
}
Next, add the following below managedObjectContext:
var passwordItems: [KeychainPasswordItem] = []
let createLoginButtonTag = 0
let loginButtonTag = 1

@IBOutlet weak var loginButton: UIButton!
passwordItems is an empty array of KeychainPasswordItem types you’ll pass into the keychain. You’ll use the next two constants to determine if the Login button is being used to create some credentials, or to log in; you’ll use the loginButton outlet to update the title of the button depending on its state.
Next, you’ll handle the two cases for when the button is tapped: if the user hasn’t yet created their credentials, the button text will show “Create”, otherwise the button will show “Login”.
First you’ll need a way to tell the user if the login fails. Add the following after checkLogin(username:password:):
private func showLoginFailedAlert() {
  let alertView = UIAlertController(title: "Login Problem",
                                    message: "Wrong username or password.",
                                    preferredStyle:. alert)
  let okAction = UIAlertAction(title: "Foiled Again!", style: .default)
  alertView.addAction(okAction)
  present(alertView, animated: true)
}
Now, replace loginAction(sender:) with the following:
@IBAction func loginAction(sender: UIButton) {
  // 1
  // Check that text has been entered into both the username and password fields.
  guard let newAccountName = usernameTextField.text,
    let newPassword = passwordTextField.text,
    !newAccountName.isEmpty,
    !newPassword.isEmpty else {
      showLoginFailedAlert()
      return
  }

  // 2
  usernameTextField.resignFirstResponder()
  passwordTextField.resignFirstResponder()

  // 3
  if sender.tag == createLoginButtonTag {
    // 4
    let hasLoginKey = UserDefaults.standard.bool(forKey: "hasLoginKey")
    if !hasLoginKey && usernameTextField.hasText {
      UserDefaults.standard.setValue(usernameTextField.text, forKey: "username")
    }

    // 5
    do {
      // This is a new account, create a new keychain item with the account name.
      let passwordItem = KeychainPasswordItem(service: KeychainConfiguration.serviceName,
                                              account: newAccountName,
                                              accessGroup: KeychainConfiguration.accessGroup)

      // Save the password for the new item.
      try passwordItem.savePassword(newPassword)
    } catch {
      fatalError("Error updating keychain - \(error)")
    }

    // 6
    UserDefaults.standard.set(true, forKey: "hasLoginKey")
    loginButton.tag = loginButtonTag
    performSegue(withIdentifier: "dismissLogin", sender: self)
  } else if sender.tag == loginButtonTag {
     // 7
    if checkLogin(username: newAccountName, password: newPassword) {
      performSegue(withIdentifier: "dismissLogin", sender: self)
    } else {
      // 8
      showLoginFailedAlert()
    }
  }
}
Here’s what’s happening in the code:
- If either the username or password is empty, you present an alert to the user and return from the method.
- Dismiss the keyboard if it’s visible.
- If the login button’s tag is
createLoginButtonTag, then proceed to create a new login. - Next, you read
hasLoginKeyfromUserDefaultswhich you use to indicate whether a password has been saved to the Keychain. IfhasLoginKeyis false and theusernamefield has any text, then you save that text asusernametoUserDefaults. - You create a
KeychainPasswordItemwith theserviceName,newAccountName(username) andaccessGroup. Using Swift’s error handling, you try to save the password. Thecatchis there if something goes wrong. - You then set
hasLoginKeyinUserDefaultstotrueto indicate a password has been saved to the keychain. You set the login button’s tag tologinButtonTagto change the button’s text, so it will prompt the user to log in the next time they run your app, rather than prompting the user to create a login. Finally, you dismissloginView. - If the user is logging in (as indicated by
loginButtonTag), you callcheckLoginto verify the user-provided credentials; if they match then you dismiss the login view. - If the login authentication fails, then present an alert message to the user.
UserDefaults? That would be a bad idea because values stored in UserDefaults are persisted using a plist file. This is essentially an XML file that resides in the app’s Library folder, and is therefore readable by anyone with physical access to the device. The Keychain, on the other hand, uses the Triple Digital Encryption Standard (3DES) to encrypt its data. Even if somebody gets the data, they won’t be able to read it.Next, replace checkLogin(username:password:) with the following updated implementation:
func checkLogin(username: String, password: String) -> Bool {
  guard username == UserDefaults.standard.value(forKey: "username") as? String else {
    return false
  }

  do {
    let passwordItem = KeychainPasswordItem(service: KeychainConfiguration.serviceName,
                                            account: username,
                                            accessGroup: KeychainConfiguration.accessGroup)
    let keychainPassword = try passwordItem.readPassword()
    return password == keychainPassword
  } catch {
    fatalError("Error reading password from keychain - \(error)")
  }
}
Here you check that the username entered matches the one stored in UserDefaults and that the password matches the one stored in the Keychain.
Next, delete the following lines:
let usernameKey = "Batman"
let passwordKey = "Hello Bruce!"
Now it’s time to set the button title and tags appropriately depending on the state of hasLoginKey.
Add the following code to viewDidLoad(), just below the call to super:
// 1
let hasLogin = UserDefaults.standard.bool(forKey: "hasLoginKey")

// 2
if hasLogin {
  loginButton.setTitle("Login", for: .normal)
  loginButton.tag = loginButtonTag
  createInfoLabel.isHidden = true
} else {
  loginButton.setTitle("Create", for: .normal)
  loginButton.tag = createLoginButtonTag
  createInfoLabel.isHidden = false
}

// 3
if let storedUsername = UserDefaults.standard.value(forKey: "username") as? String {
  usernameTextField.text = storedUsername
}
Taking each numbered comment in turn:
- You first check
hasLoginKeyto see if you’ve already stored a login for this user. - If so, change the button’s title to Login, update its tag to
loginButtonTag, and hidecreateInfoLabel, which contains the informative text “Start by creating a username and password“. In case you don’t have a stored login for this user, you set the button label to Create and displaycreateInfoLabelto the user. - Finally, you set the username field to what is saved in
UserDefaultsto make logging in a little more convenient for the user.
Finally, you need to connect your outlet to the Login button. Open Main.storyboard and select the Login View Controller Scene. Ctrl-drag from the Login View Controller to the Login button, as shown below:

From the resulting popup, choose loginButton:

Build and run. Enter a username and password of your own choosing, then tap Create.
loginButton IBOutlet then you might see the error Fatal error: unexpectedly found nil while unwrapping an Optional value. If you do, connect the outlet as described in the relevant step above.Now tap Logout and attempt to login with the same username and password – you should see the list of notes appear.
Tap Logout and try to log in again; this time, use a different password and then tap Login. You should see the following alert:

Congratulations – you’ve now added authentication use the Keychain. Next up, Touch ID.