Adaptive UI Tutorial for Android with Kotlin
Make your Android app feel at home on any device. Learn how to build an adaptive UI that looks and works well across all devices and screen sizes. By Joe Howard.
Configuration Calculations
Don’t worry, the content in this section isn’t as scary as the title makes it sound. When the user interacts with the application, the layout state changes over time (rows are selected, input fields populated with text etc.). When the layout changes (for example when the orientation changes), the existing layout is thrown away a new layout is inflated. But the system has no way of knowing how to restore the state because the two layouts could be completely different as far as it knows.
To see a live example of this in action, build and run the application. Select a location then change the orientation and notice the location isn’t selected anymore!

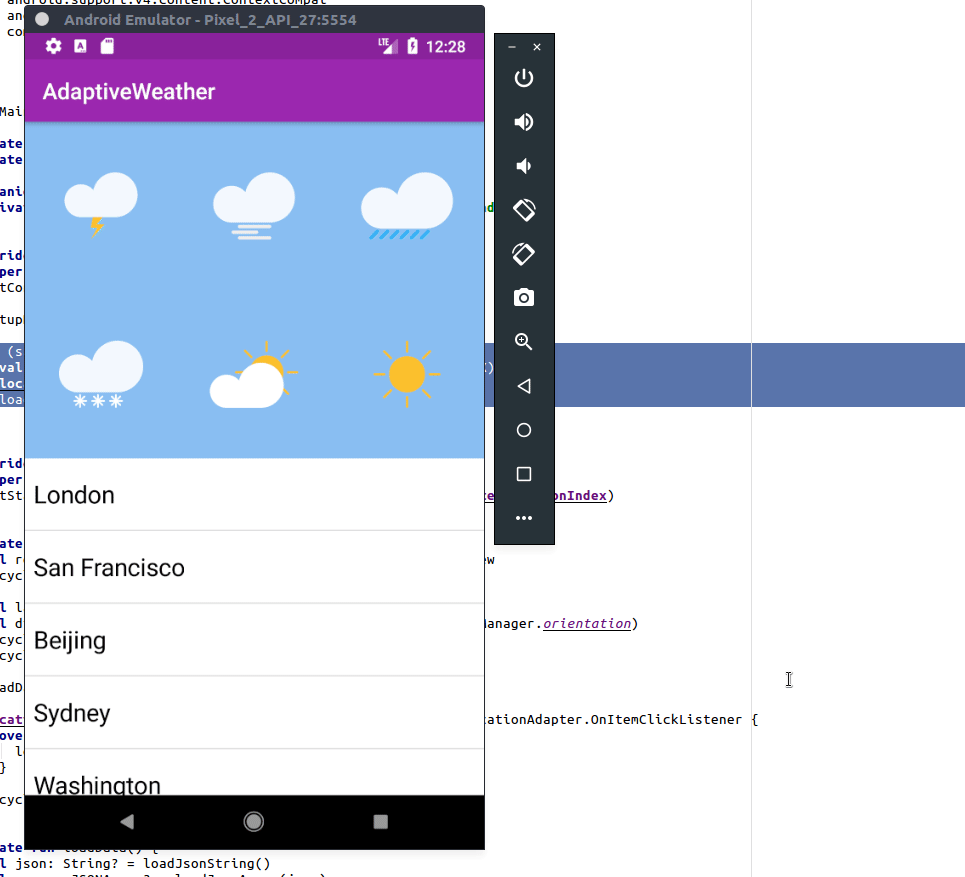
If you are not already surprised that the forecast in London is sunny all week then you may also notice that the selected row was deselected after switching to landscape.
To fix this, you will hook into the activity lifecycle methods to save the selected location to a bundle and retrieve after the screen rotation.
Add the following at the top of MainActivity, below the properties:
companion object {
  private const val SELECTED_LOCATION_INDEX = "selectedLocationIndex"
}
Then add the following method to MainActivity below the onCreate() method:
override fun onSaveInstanceState(outState: Bundle) {
  super.onSaveInstanceState(outState)
  outState.putInt(SELECTED_LOCATION_INDEX, locationAdapter.selectedLocationIndex)
}
Add the following to the end of onCreate():
if (savedInstanceState != null) {
  val index = savedInstanceState.getInt(SELECTED_LOCATION_INDEX)
  if (index >= 0 && index < locations.size) {
    locationAdapter.selectedLocationIndex = index
    loadForecast(locations[index].forecast)
  }
}
Build and run again and this time the location remains selected across configuration changes. Hooray!
Where to Go From Here
Well done! You’ve built your first Android app with adaptive layouts and you learned how activities can make use of multiple layouts. You learned how drawables work with different displays, and how to make your app come to life on practically any Android device.
Of course, there's a lot more to Android than layouts, and no shortage of ways to build on the adaptive UI principles you discovered in this adaptive UI for Android tutorial. To learn more, check out Google's guidelines on the best UI practices. If you want, you can challenge yourself by trying the following:
- Use another available qualifier to have yet another type of layout. For example, what if you'd like to have a different background color based on the locale qualifier?
- Or, try using size qualifier on other resources, such as strings. You could add a TextView which shows a short message, or a longer message with the same name if the screen is in landscape?
Get the full source code for this project as a downloadable zip.
Feel free to share your feedback, findings or ask any questions in the comments below or in the forums. Talk to you soon!