Create a Cool 3D Sidebar Menu Animation
In this tutorial, you’ll learn how to manipulate CALayer properties on views in order to create a cool 3D sidebar animation. By Warren Burton.
Manipulating the Menu Layer
Still within RootViewController.swift, add this extension to the file:
extension RootViewController {
  func transformForFraction(_ fraction: CGFloat, ofWidth width: CGFloat)
    -> CATransform3D {
      //1
      var identity = CATransform3DIdentity
      identity.m34 = -1.0 / 1000.0

      //2
      let angle = -fraction * .pi/2.0
      let xOffset = width/2.0 + width * fraction/4.0

      //3
      let rotateTransform = CATransform3DRotate(identity, angle, 0.0, 1.0, 0.0)
      let translateTransform = CATransform3DMakeTranslation(xOffset, 0.0, 0.0)
      return CATransform3DConcat(rotateTransform, translateTransform)
  }
}
Here’s the play-by-play of transformForFraction(_:ofWidth:):
-
CATransform3DIdentityis a 4×4 matrix with ones on the diagonal and zeros everywhere else. Them34property ofCATransform3DIdentityis the value in row 3, column 4, which controls the amount of perspective in the transform. - The angle and offset are calculated as a function of the input
fraction. The menu will be completely hidden whenfractionis1.0, and completely visible when the it is0.0. - The final transform is calculated.
CATransform3DRotateusesangleto determine the amount of rotation around the y-axis: -90 degrees renders the menu perpendicular to the back of the view and 0 degrees renders the menu parallel with the x-y plane,CATransform3DMakeTranslationmoves the menu to the right of center, andCATransform3DConcatconcatenatestranslateTransformandrotateTransform, so that the menu appears to slide sideways while rotating.
Drawing lines between this viewer and the edges of objects in the plane produces the effect of 3D perspective. As the viewer moves farther away, the perspective is less pronounced. Try changing 1,000 to 500 or 2,000 to see how the menu’s perspective changes.
m34 value is usually calculated as 1 divided by a number that represents the viewer’s position on the z-axis while observing the 2D x-y plane. Negative z-values say that the viewer is in front of the plane, while positive z-values say the viewer is behind the plane.
Next, add this extension to RootViewController.swift:
extension RootViewController {
  //1
  func calculateMenuDisplayFraction(_ scrollview: UIScrollView) -> CGFloat {
    let fraction = scrollview.contentOffset.x/menuWidth
    let clamped = Swift.min(Swift.max(0, fraction), 1.0)
    return clamped
  }
  //2
  func updateViewVisibility(_ container: UIView, fraction: CGFloat) {
    container.layer.anchorPoint = CGPoint(x: 1.0, y: 0.5)
    container.layer.transform = transformForFraction(fraction,
                                                     ofWidth: menuWidth)
    container.alpha = 1.0 - fraction
  }
}
This code provides a few helpers for opening and closing the menu:
-
calculateMenuDisplayFraction(_:)converts the raw horizontal offset into a fraction of 1.0 relative to the menu width. This value is clamped between 0.0 and 1.0. -
updateViewVisibility(_:fraction:)applies the transform generated by the fraction to a views layer. TheanchorPointis the hinge around which the transform applies, soCGPoint(x: 1.0, y: 0.5)means the right hand edge and vertical center.
By setting the alpha, the view also gets darker as the transform progresses.
Now, locate scrollViewDidScroll(_:) and insert these lines at the end of the method:
let fraction = calculateMenuDisplayFraction(scrollView)
updateViewVisibility(menuContainer, fraction: fraction)
Build and run the app. The menu will now appear to be folding under the detail view as you drag the detail view left.
You have permission to make swoosh noises as you move it back and forth. :]
Rotating the Burger Button
The last thing you’ll do in this tutorial is to make the burger button appear to roll across the screen as the scroll view moves.
Open HamburgerView.swift and insert this method into the class:
func setFractionOpen(_ fraction: CGFloat) {
  let angle = fraction * .pi/2.0
  imageView.transform = CGAffineTransform(rotationAngle: angle)
}
This code rotates the view as a function of the fraction. When the menu is fully open, the view rotates 90 degrees.
Return to RootViewController.swift. Locate scrollViewDidScroll(_:) and append this line to the end of the method:
hamburgerView?.setFractionOpen(1.0 - fraction)
This rotates the burger button as the scroll view moves.
Then, because the menu is open when you start the app, add this line to the end of viewDidLoad() to put the menu in the correct initial state:
hamburgerView?.setFractionOpen(1.0)
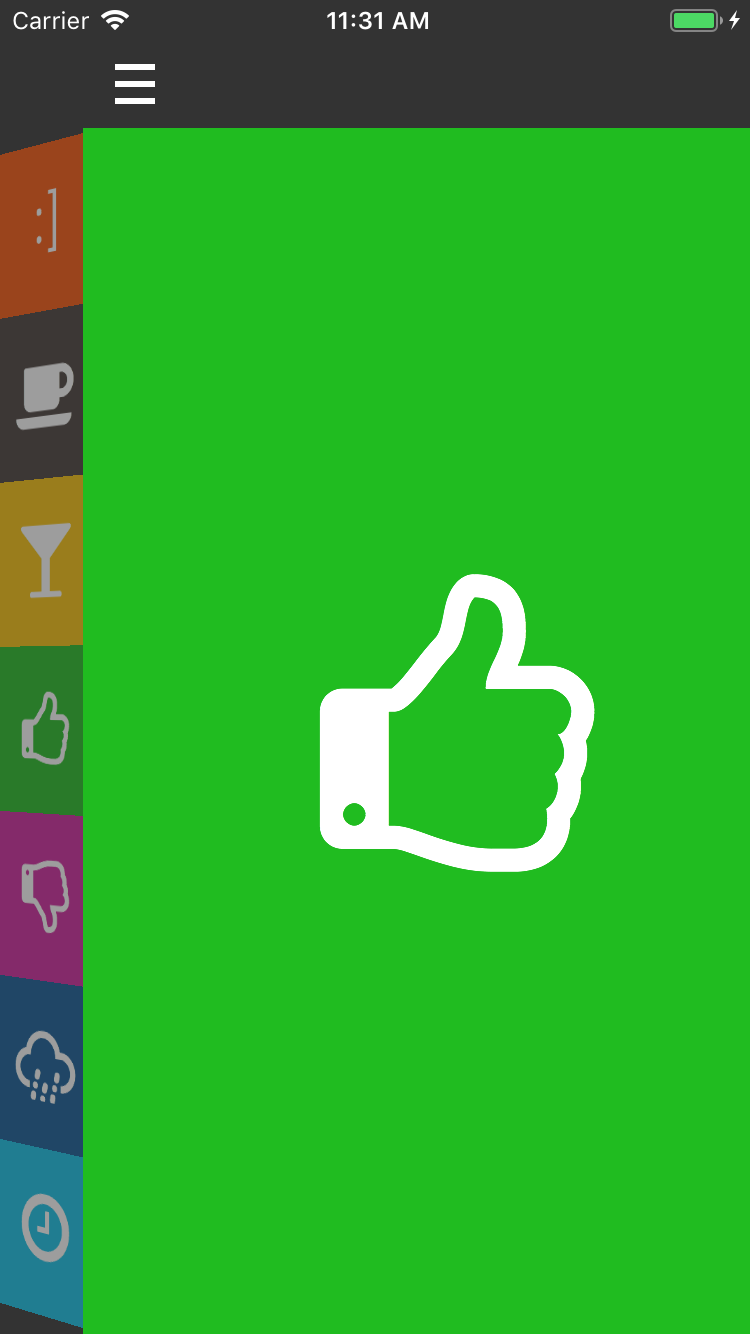
Build and run your app. Swipe and tap the menu to see your 3D sidebar animation in motion and in sync:

You’ve got it. Time for a cocktail. :]
Where to Go From Here?
You can download the final version of the project using the Download Materials button at the top and bottom of this tutorial.
In this tutorial you covered:
- View controller containment.
-
UIScrollViewimplicit content size. - Delegate pattern.
- Perspective changes with
CATransform3Dandm34.
Experiment with the m34 value to see what effect it has on your transformation. If you’d like to know more about m34, read this xdPixel blog post.
Wikipedia’s Perspective page has some good photos explaining the concepts of visual perspective.
Also, think about how you can use this 3D sidebar animation in your own apps to add a little bit of life to user interactions. It’s amazing how a subtle effect on something as simple as a menu can add to the whole user experience.
If you have any questions or comments about this 3D sidebar animation tutorial, please leave them in the comments below, or in the forums!