Forwarding the Background Color
Because you want to use elasticShape as the primary background of your view, you have to override backgroundColor inside ElasticView.
Add the following code to ElasticView.swift:
override var backgroundColor: UIColor? {
  willSet {
    if let newValue = newValue {
      elasticShape.fillColor = newValue.CGColor
      super.backgroundColor = UIColor.clearColor()
    }
  }
}
Before the value is set, willSet is called. You check that a value has been passed, then you set fillColor for elasticShape to the user’s chosen color. Then, you call super and set its background color to clear.
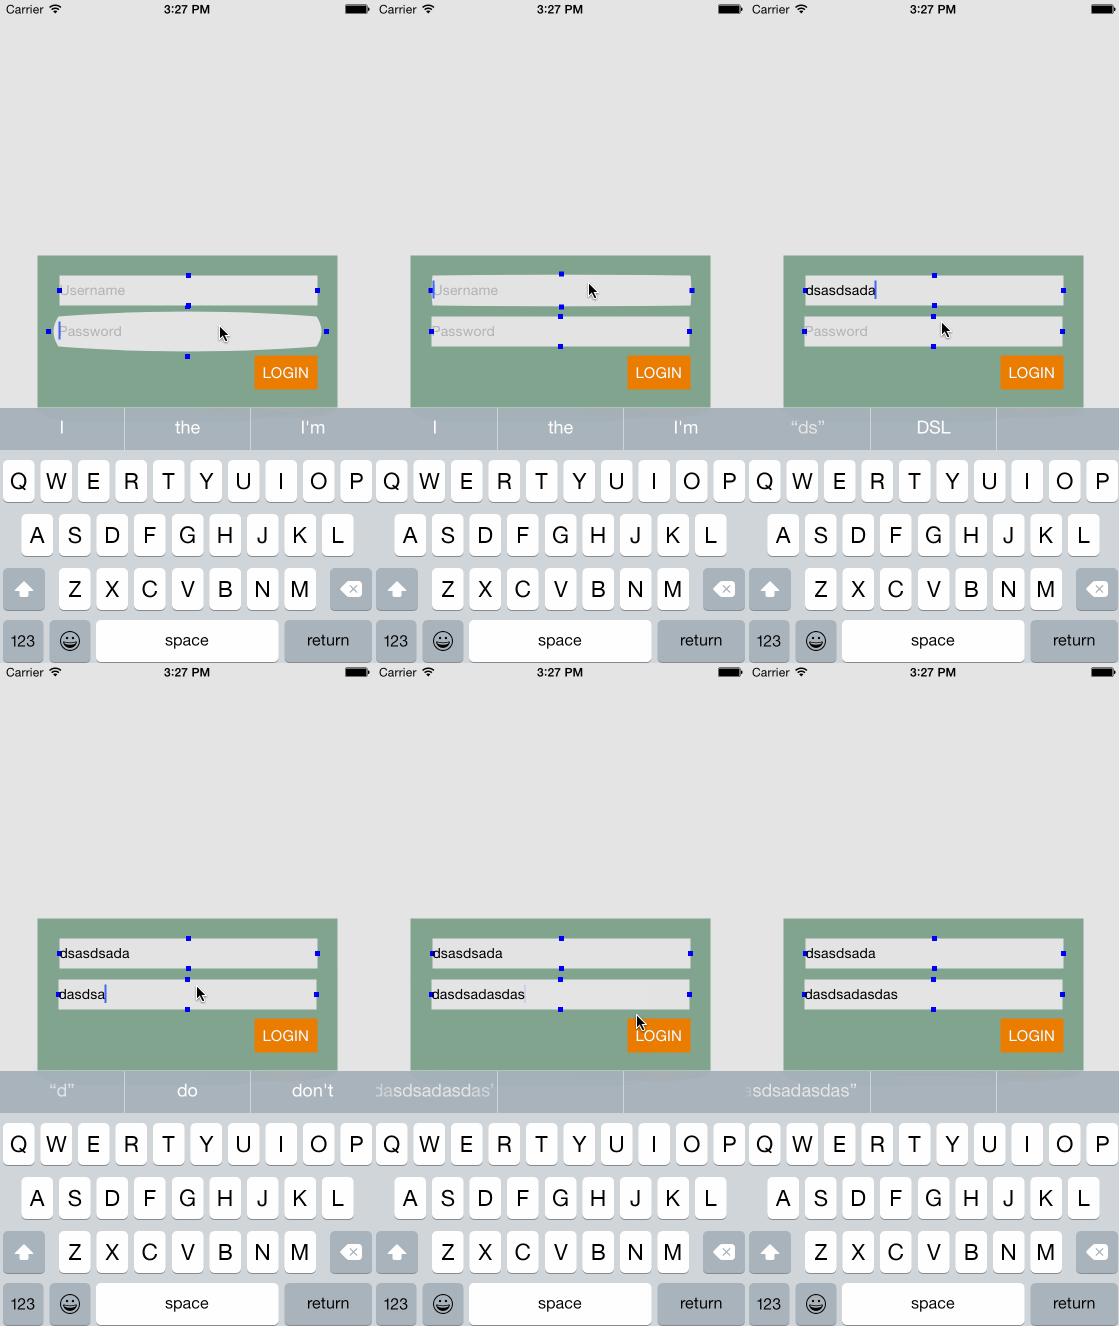
Build and run, and you should have a lovely elastic control. Yippee! :]

Final Tweaks
Notice how close the placeholder text from UITextField is to the left edge. It’s a bit snug, don’t you think? Would you like a go at fixing that on your own?
No hints this time. If you get stuck, feel free to open up the solution below.
[spoiler title=”Solution”]
// Add some padding to the text and editing bounds
override func textRectForBounds(bounds: CGRect) -> CGRect {
  return CGRectInset(bounds, 10, 5)
}

override func editingRectForBounds(bounds: CGRect) -> CGRect {
  return CGRectInset(bounds, 10, 5)
}
[/spoiler]
Removing Debug Information
Open up ElasticView.swift and remove the following from setupComponents.
controlPoint.backgroundColor = UIColor.blueColor()
You should be proud of all the work you’ve done so far! You’ve turned a standard UITextfield into some funky elastic thing and created a custom UIView that can be embedded in all sorts of controls.
Where To Go From Here?
Here’s a link to the completed project.
You have a fully working elastic text field. There are many more controls where you could apply these techniques.
You’ve learned how to use view positions to redraw a custom shape and add bounce to it. With this skill, it could be said that the world is your oyster!
To take it a step or few further, you could play around with some different animations, add more control points for some crazy shapes, etc.
Check out easings.net; it’s great playground for working with different animations that utilize easings.
After you get comfortable with this technique, you could have a go at integrating BCMeshTransformView into your project. It’s a neat library created by Bartosz Ciechanowski that lets you manipulate individual pixels from your view.
Imagine how cool it would be if you could morph pixels into different shapes. :]
It’s been fun to walk you through how to create an elastic UI control with Swift, and I hope that you’ve learned a few things along the way. If you have questions, comments or great ideas about how to animate in Swift, please chime in below. I look forward to hearing from you!
