Firebase Remote Config Tutorial for iOS
In this tutorial, you’ll learn how to make changes to your iOS app immediately without resubmitting to the App Store. By Fabrizio Brancati.
Adding Further Changes to Your App
Open the Firebase Console. Make sure you’re in the Remote Config section, then click Add Parameter. Type navBarBackground for the key and #35AEB1 for the new value, then click Add Parameter. Then do the same thing to set navTintColor to #FFFFFF. Click Publish Changes and confirm in the modal box to publish these changes to your app.
When you’re finished, your console should look like this:

Switch back to Xcode, then build and run.
Tap a planet, and your app should look like this:

Feel free to play around! Change some other values. Mess around with the text. See what kind of stylish — or gaudy — color combinations you can come up with.
But when you’re finished, come back to this tutorial because you have an international crisis to deal with!
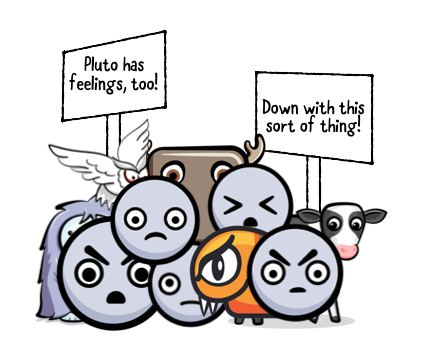
Bringing Back Pluto
Things are rotten in the state of Denmark! Although most of the world has begrudgingly accepted that Pluto isn’t a planet, the Scandinavian Society for Preserving Pluto, a totally-not-made-up society of rabid Pluto fans, has lobbied hard for Pluto to be a planet and, hence, worthy of inclusion in the PlanetTour app. Protests are mounting in the streets of Copenhagen! What can you do?
Another app release, another angry mob…
This seems like a simple job for Remote Config! You could set shouldWeIncludePluto to true. But hang on — that will change this setting for all of your users, not just those in Scandinavia. How can you deliver different settings only to people that speak different languages?
Conditions to the Rescue!
Remote Config’s ability to deliver different sets of data to different users is what makes it more sophisticated than just a simple dictionary in the cloud. Take advantage of this feature to make Pluto a planet again for your Scandinavian users.
First, open the Firebase Console, make sure you’re in the Remote Config panel and click Add Parameter to add a new parameter.
Enter shouldWeIncludePluto as the parameter key.
Next, click the drop-down next to the value field labeled Add value for condition.
Next, select Define New Condition:

In the dialog, give the new condition a name of Pluto Fans.
In the drop-down underneath, select Languages.
From the languages list, select Danish, Finnish, Icelandic, Norwegian and Swedish:

Click Create Condition.
Next, add a value of true in the Value for Pluto Fans field, and a value of false as your Default value:
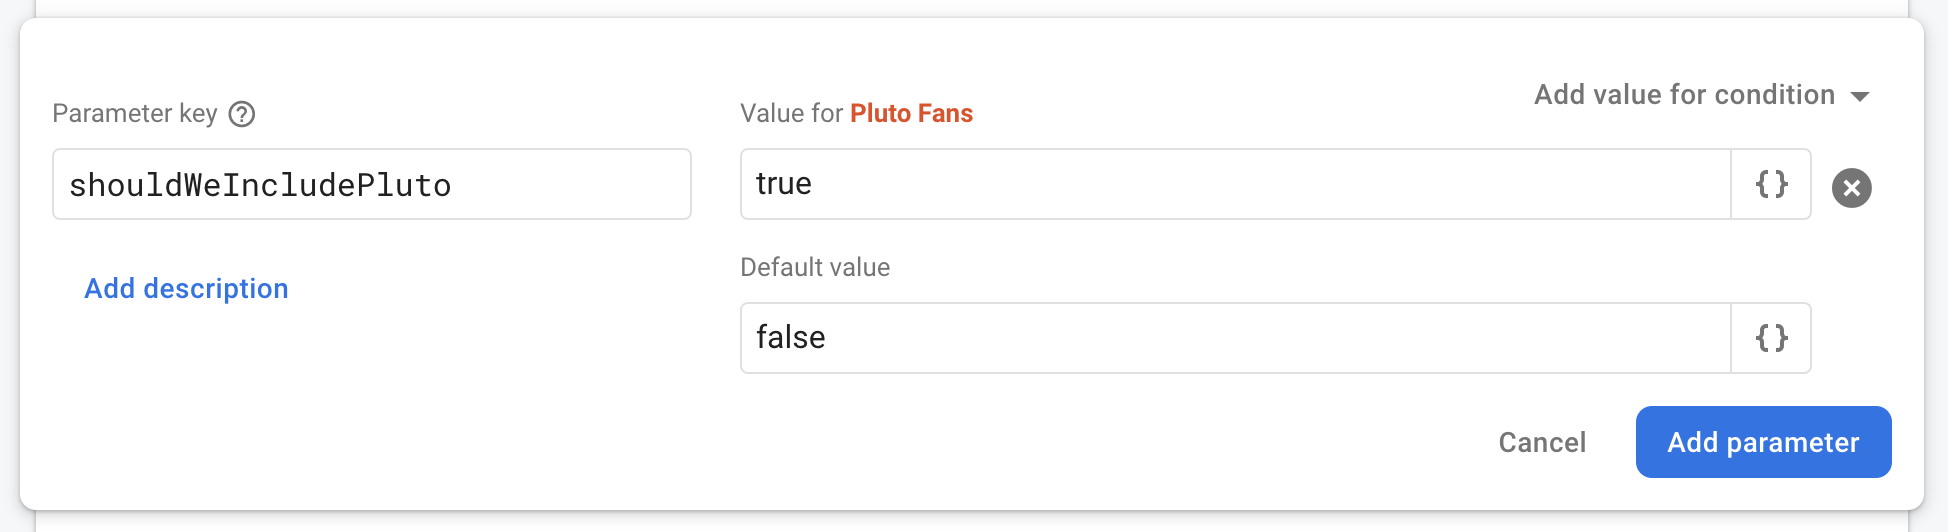
Finally, click Add Parameter and then click Publish Changes to push these changes to the world.
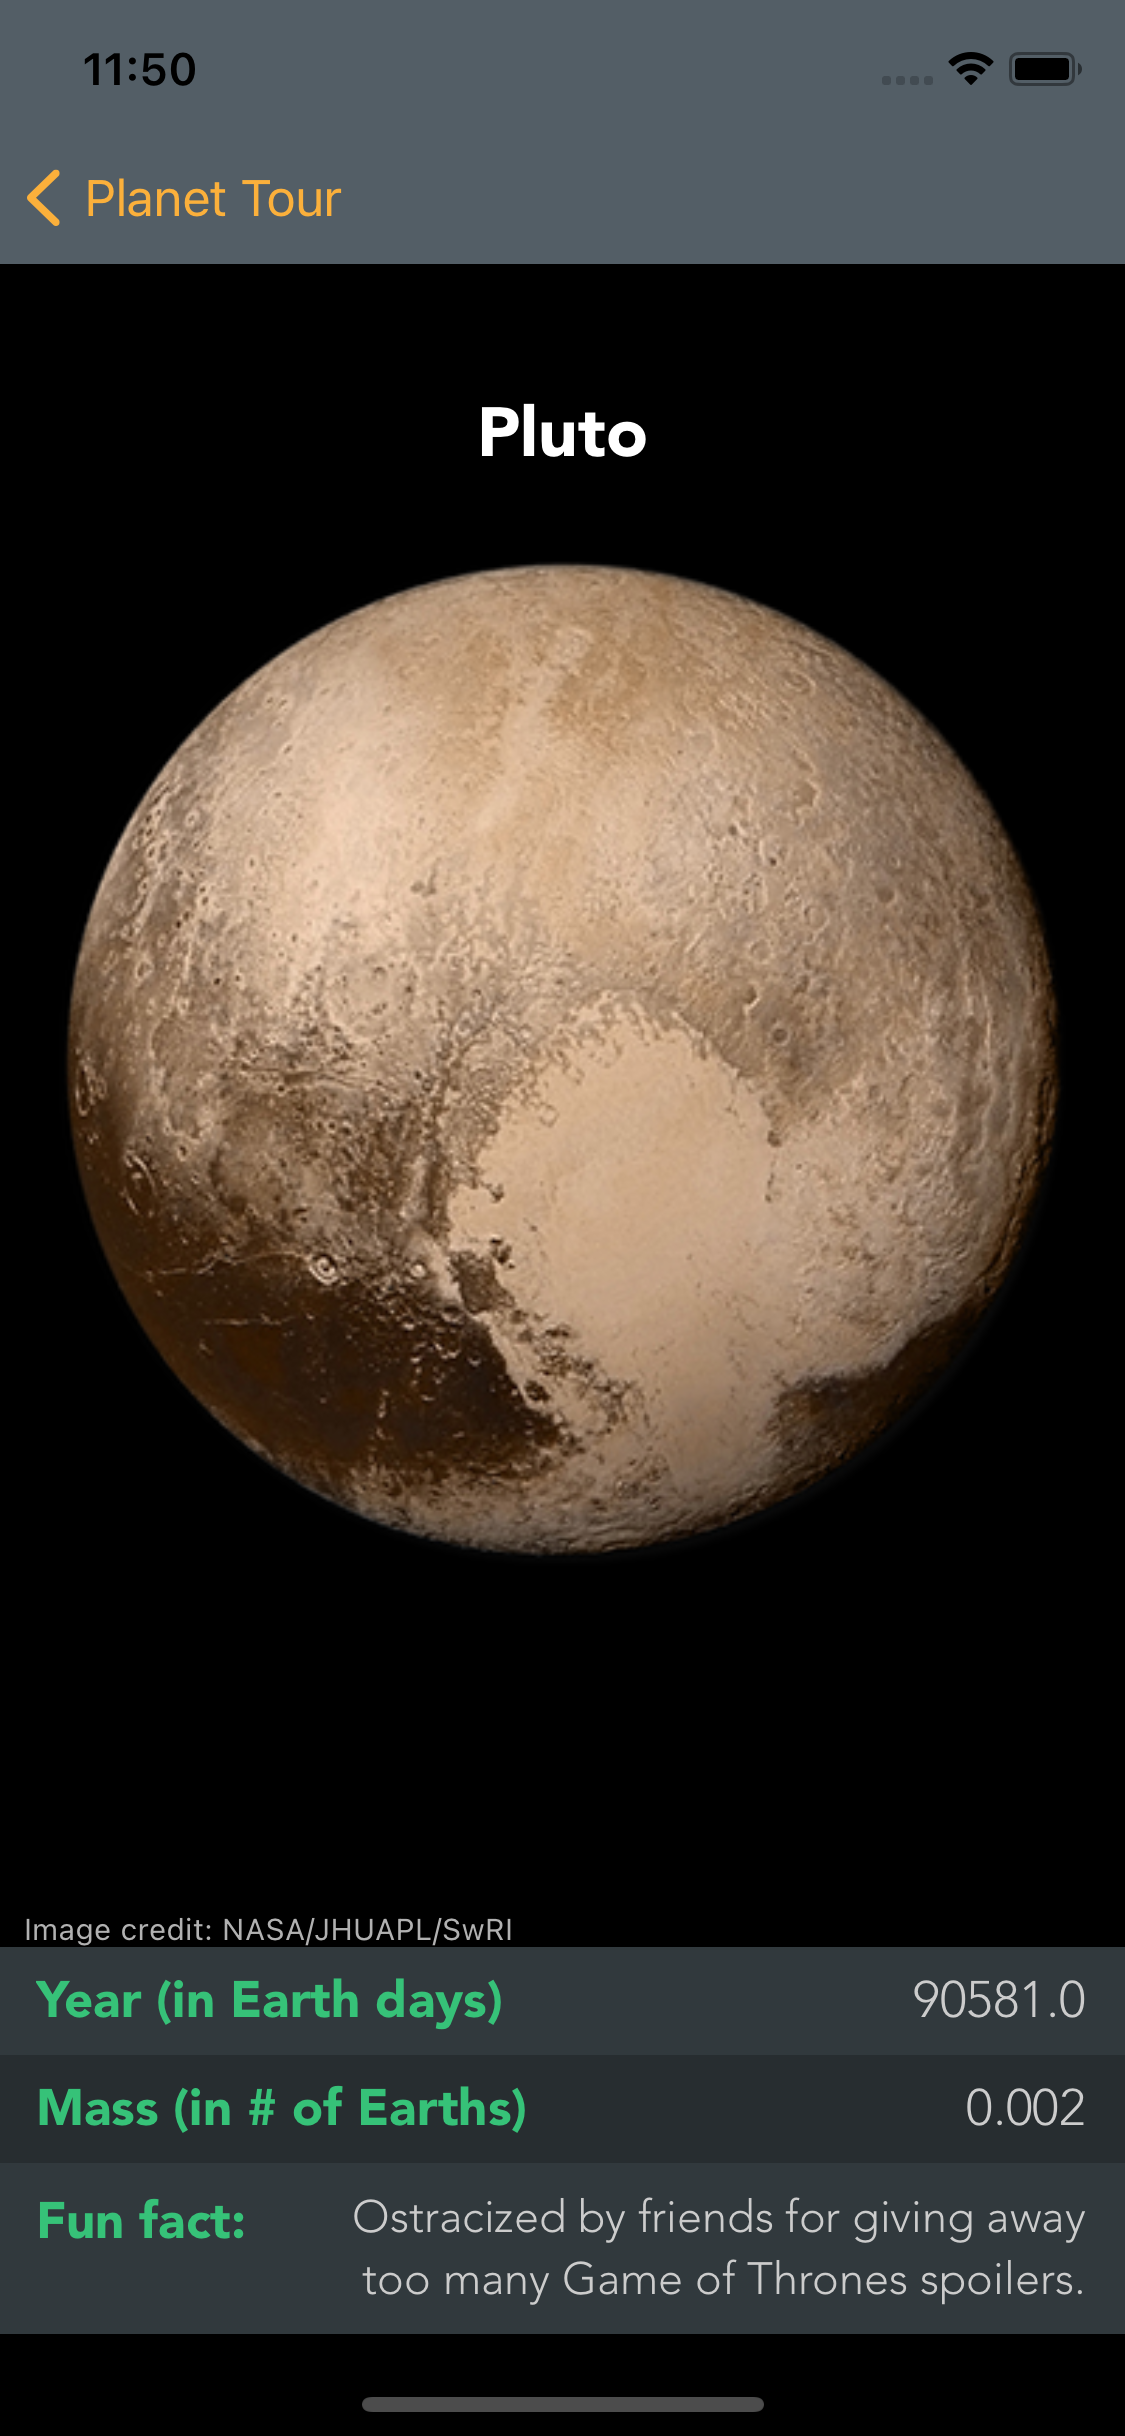
Build and run to see the results.
If you don’t speak one of these northern languages, you won’t see Pluto in your list of planets. If you want to test the experience for your Scandinavian users, I recommend booking a flight to Copenhagen, getting yourself a new Danish iPhone, and then running your app on it — perhaps while enjoying a smoked salmon, open-faced sandwich.

A slightly more thrifty option (potentially involving less jet lag) is to open the Settings app on your device or simulator. Select General > Language & Region > iPhone Language > Dansk — or whatever your favorite Scandinavian language is:
It’s slightly cheaper than a trip to Copenhagen, but also less fun.

Build and run your app. This time, you should see Pluto back where it belongs, among the other planets. The international crisis averted!
Welcome back, Pluto. We missed you!

Where to Go From Here?
You can download the completed project for this tutorial using the Download Materials link at the top or bottom of this tutorial. However, please note that you’ll need to create a project in the Firebase Console and drag in your GoogleServices-info.plist for the project to work.
There are more features you haven’t touched on in this tutorial, too. For example, by delivering values to random groups of users, you can run A/B tests or gradually roll out new features. You can also deliver different data sets to specific groups of people you’ve identified in Firebase Analytics, which gives you some nice customization features. In this tutorial, you used the Language setting on the phone to group users, but you could also group users geographically using their IP address to determine the country they live in. Check out the documentation or the next tutorial on this topic!
Now that you have the foundations, there’s a lot more you can do with Remote Config. If you’re developing any kind of game, it can be a great way to tweak your gameplay if your players are finding it too easy or too hard. It’s also an easy way to create a “Message of the Day” kind of feature. Or you might just use it to experiment with a different button or label text to see what your users react to best. Try it out in your favorite app and see what you can change on the fly!
As always, if you have any questions or comments about this tutorial, please join the forum discussion below!