Core ML and Vision Tutorial: On-device training on iOS
This tutorial introduces you to Core ML and Vision, two cutting-edge iOS frameworks, and how to fine-tune a model on the device. By Christine Abernathy.
Apple released Core ML and Vision in iOS 11. Core ML gives developers a way to bring machine learning models into their apps. This makes it possible to build intelligent features on-device like object detection.
iOS 13 added on-device training in Core ML 3 and unlocked new ways to personalize the user experience.
In this tutorial, you’ll learn how to fine-tune a model on the device using Core ML and Vision Framework. To learn this, you’ll start with Vibes, an app that generates quotes based on the given image. It also allows you to add your favorite emojis using shortcuts after training the model.
Getting Started
To get started, click the Download Materials button at the top or bottom of this tutorial. Inside the zip file, you’ll find two folders: Starter and final. Now double-click Vibes.xcodeproj in the starter project to open it in Xcode.
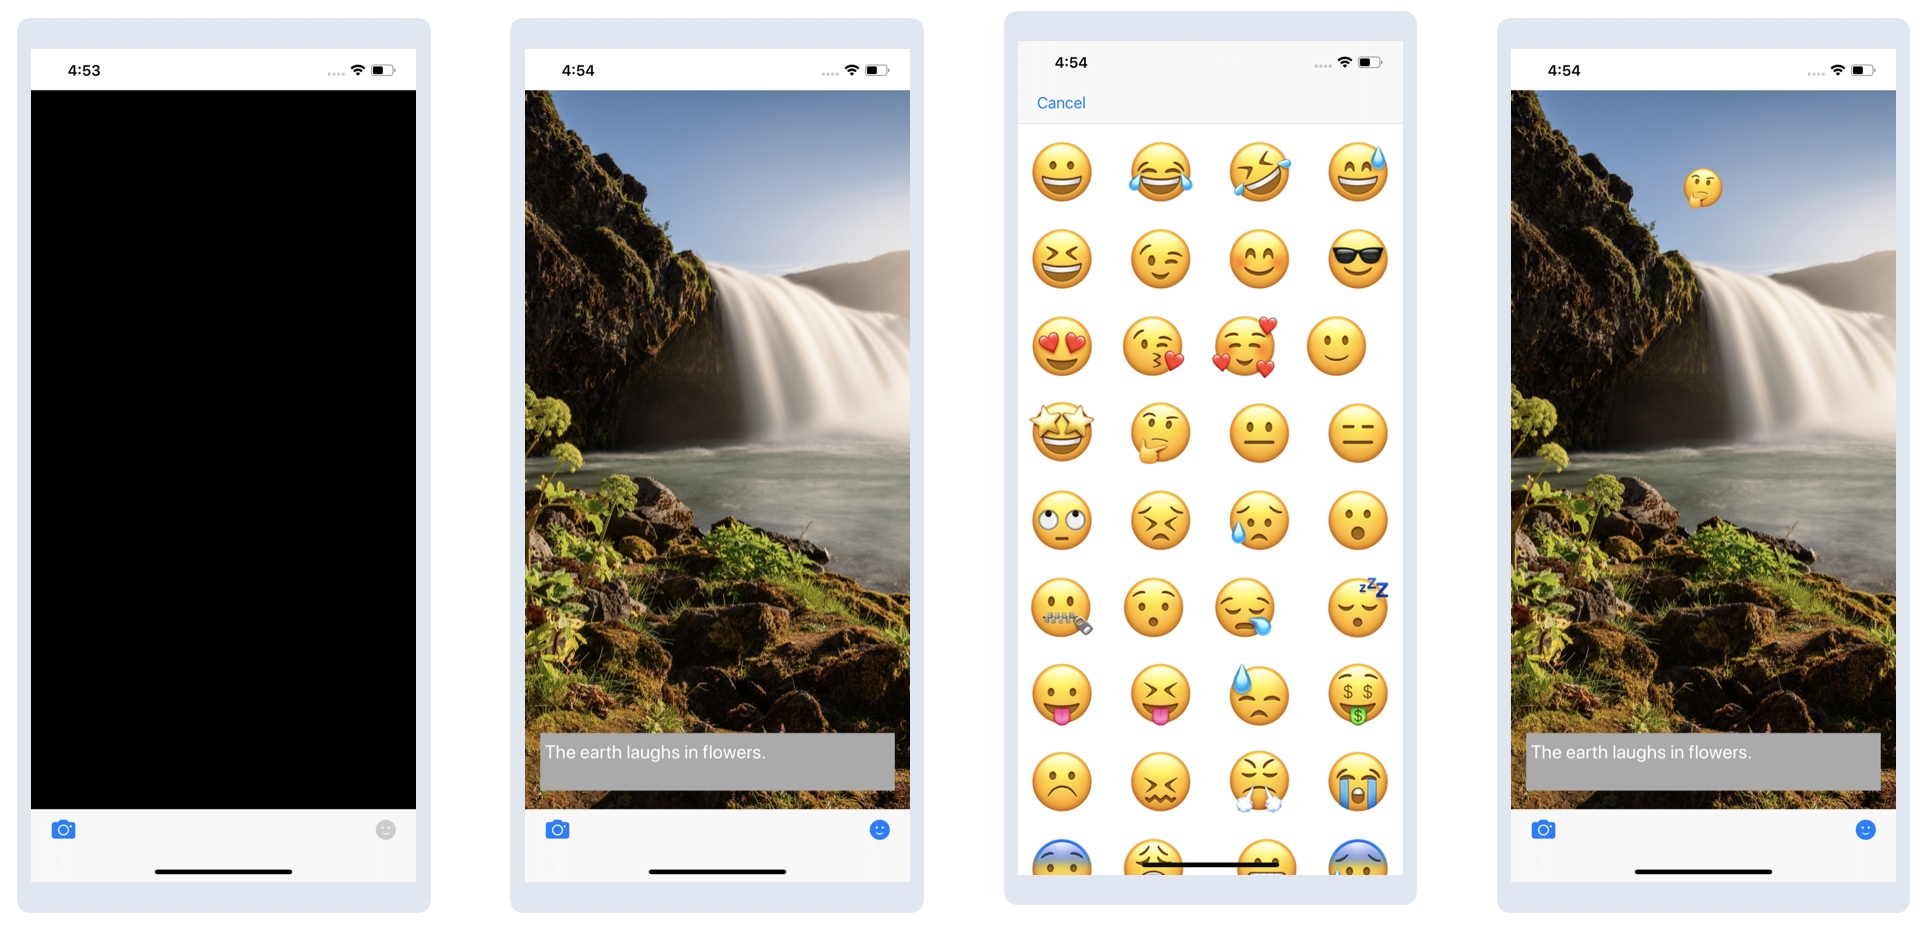
Build and run the project. You’ll see this:

Tap the camera icon and select a photo from the library to view a quote. Next, tap the sticker icon and select a sticker to add to the image. Move the sticker around to any desired location:
There are two things you can improve:

- The quote is randomly selected. How about displaying a quote that’s related to the selected image?
- Adding stickers takes too many steps. What if you could create shortcuts for stickers you use the most?
Your goal in this tutorial is to use machine learning to tackle these two challenges.
What is Machine Learning?
If you’re new to machine learning, it’s time to demystify some common terms.
Artificial Intelligence, or AI, is the power added to a machine programmatically to mimic human actions and thoughts.
Machine Learning, or ML, is a subset of AI that trains machines to perform certain tasks. For example, you can use ML to train a machine to recognize a cat in an image or translate text from one language to another.
Deep Learning is one method of training a machine. This technique mimics the human brain, which consists of neurons organized in a network. Deep Learning trains an artificial neural network from the data provided.

Say you want the machine to recognize a cat in an image. You can feed the machine lots of images that are manually labeled cat and not cat. You then build a model that can make accurate guesses or predictions.
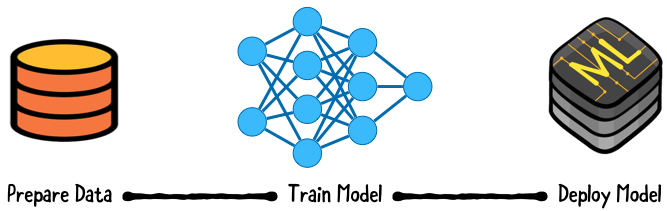
Training With Models
Apple defines a model as “the result of applying a machine-learning algorithm to a set of training data”. Think of a model as a function that takes an input, performs a particular operation to its best on the given input, such as learning and then predicting and classifying, and produces the suitable output.

Training with labeled data is called supervised learning. You want lots of good data to build a good model. What does good mean? It means the data represents the use cases for which you’re building.
If you want your model to recognize all cats but only feed it a specific breed, it may miss others. Training with biased data can lead to undesired outcomes.

Training is compute-intensive and often done on servers. With their parallel computing capabilities, GPUs typically speed things up.
Once training is complete, you can deploy your model to production to run predictions or inferences on real-world data.
Inference isn’t as computationally demanding as training. However, in the past mobile apps had to make remote calls to a server for model inference.
Advances to mobile chip performance have opened the door to on-device inference. The benefits include reduced latency, less network dependency and improved privacy. But you get increases in app size and battery drain due to computational load.
This tutorial showcases Core ML for on-device inference and on-device training.
Apple’s Frameworks and Tools for Machine Learning
Core ML works with domain-specific frameworks such as Vision for image analysis. Vision provides high-level APIs to run computer vision algorithms on images and videos. Vision can classify images using a built-in model that Apple provides or custom Core ML models that you provide.
Core ML is built on top of lower-level primitives: Accelerate with BNNS and Metal Performance Shaders:

Other domain-specific frameworks that Core ML works with include Natural Language for processing text and Sound Analysis for identifying sounds in audio.
Integrating a Core ML Model Into Your App
To integrate with Core ML, you need a model in the Core ML Model format. Apple provides pre-trained models you can use for tasks like image classification. If those don’t work for you, you can look for models created by the community or create your own.
For your first enhancement to Vibes, you need a model that does image classification. Models are available with varying degrees of accuracy and model size. You’ll use SqueezeNet, a small model trained to recognize common objects.
Drag SqueezeNet.mlmodel from the starter Models directory into your Xcode project’s Models folder:

Select SqueezeNet.mlmodel and review the model details in Project navigator:

The Prediction section lists the expected inputs and outputs:
- The
imageinput expects an image of size 227×227. - There are two output types:
classLabelProbsreturns a dictionary with the probabilities for the categories.classLabelreturns the category with the highest probability.
Click the arrow next to the model:

Xcode auto-generates a file for the model that includes classes for the input, output and main class. The main class includes various methods for making predictions.
The standard workflow of Vision framework is:
- First, create Core ML model.
- Then, create one or more requests.
- Finally, create and run a request handler.
You’ve already created your model, SqueezeNet.mlmodel. Next, you’ll create a request.
Creating a Request
Go to CreateQuoteViewController.swift and add the following after the UIKit import:
import CoreML
import Vision
Vision helps work with images, such as converting them to the desired format.
Add the following property:
// 1
private lazy var classificationRequest: VNCoreMLRequest = {
  do {
    // 2
    let model = try VNCoreMLModel(for: SqueezeNet().model)
    // 3
    let request = VNCoreMLRequest(model: model) { request, _ in
        if let classifications =
          request.results as? [VNClassificationObservation] {
          print("Classification results: \(classifications)")
        }
    }
    // 4
    request.imageCropAndScaleOption = .centerCrop
    return request
  } catch {
    // 5
    fatalError("Failed to load Vision ML model: \(error)")
  }
}()
Here’s a breakdown of what’s going on:
- Define an image analysis request that’s created when first accessed.
- Create an instance of the model.
- Instantiate an image analysis request object based on the model. The completion handler receives the classification results and prints them.
- Use Vision to crop the input image to match what the model expects.
- Handle model load errors by killing the app. The model is part of the app bundle so this should never happen.