iOS 9 Multitasking Tutorial
Discover how to get your apps in shape to take advantage of iOS 9’s advanced multitasking functionality with this iOS 9 multitasking tutorial. By Soheil Azarpour.
Adaptive presentation
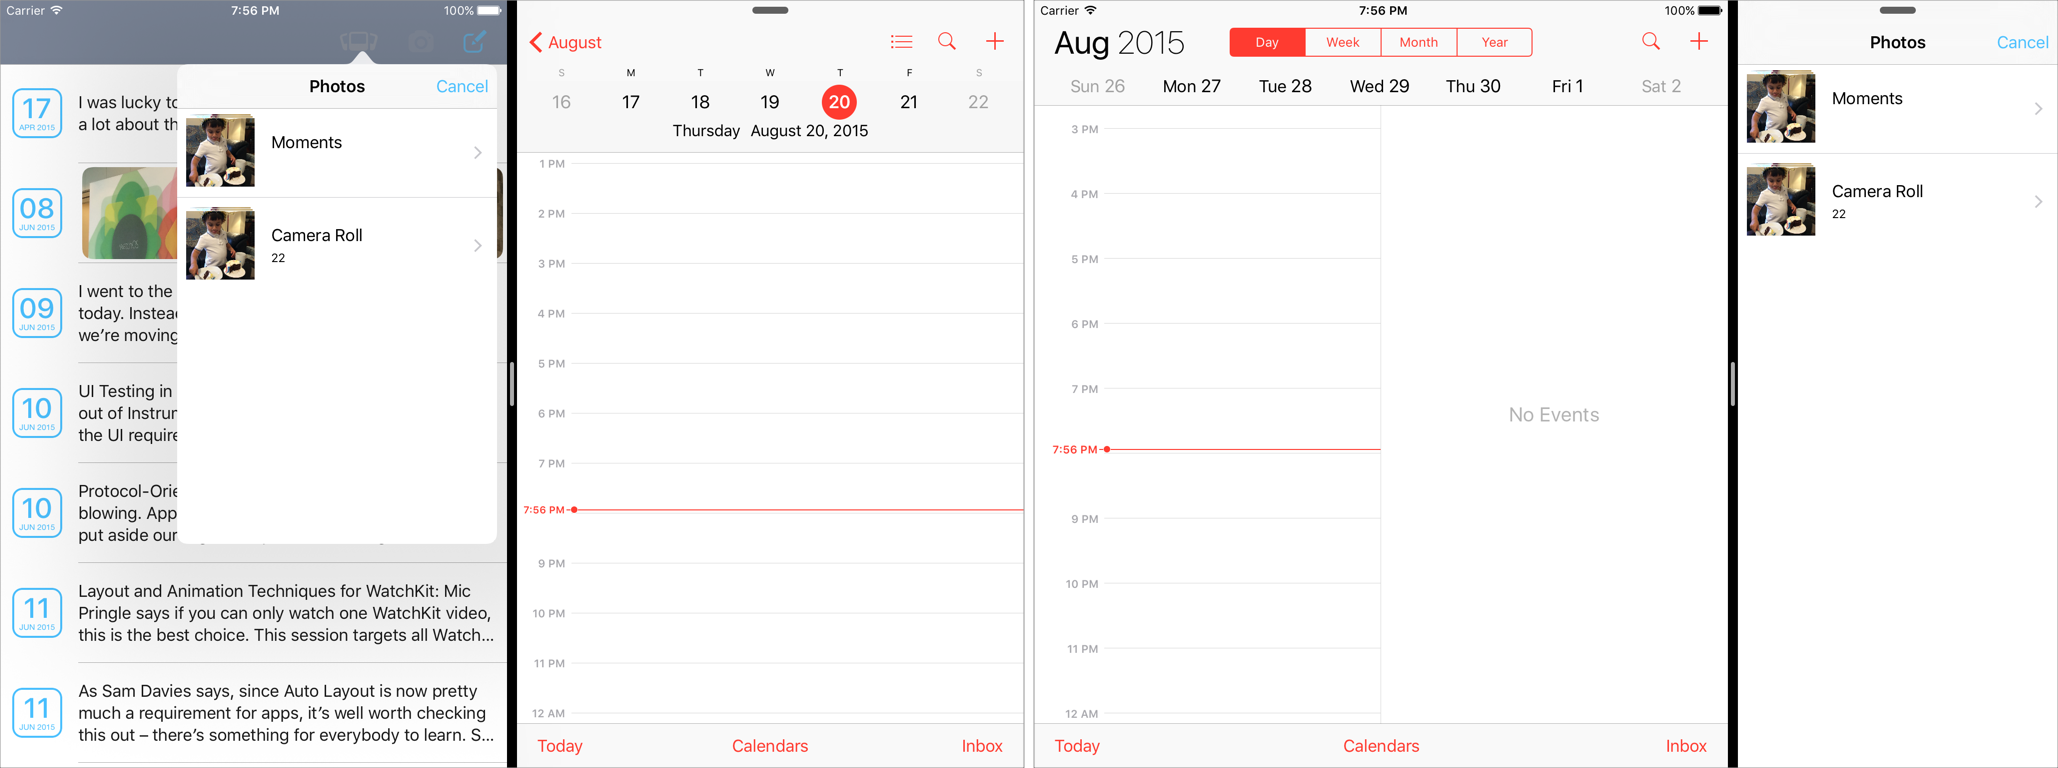
Let's try another scenario: this time with the device in landscape orientation and the Split View at 33%, tap the Photo Library bar button. You'll see the following popover:

With the popover still visible, drag the divider further to the left so the screen is evenly divided between the two apps:

The popover automatically turned into a modal view without any action on your part; dragging the divider to 50% changes the horizontal size class of the app from regular to compact. That's neat, but it's not quite the functionality you're looking for.
Instead, you only want to present the Photo Library in a modal fashion when the app is in Slide Over mode, or when it's the secondary (smaller) app in the 33% Split View mode. When your app is full screen or has 50% width, you'd prefer to present the Photo Library in a popover.
iOS 8 introduced UIPopoverPresentationController to manage the display of the content in a popover; you use it along with the UIModalPresentationPopover presentation style to present popovers. However, you can intercept the presentation and customize it with UIPopoverPresentationControllerDelegate callbacks.
Open LogsViewController.swift and add the following class extension to the end of the file:
extension LogsViewController : UIPopoverPresentationControllerDelegate {

  func adaptivePresentationStyleForPresentationController(controller:
    UIPresentationController,
    traitCollection: UITraitCollection) -> UIModalPresentationStyle {
      //1
      guard traitCollection.userInterfaceIdiom == .Pad else {
        return .FullScreen
      }

      if splitViewController?.view.bounds.width > 320 {
        return .None
      } else {
        return .FullScreen
      }
  }
}
Here's a breakdown of the code:
- Check that the app is running on an iPad; the photo picker should always be presented modally on the iPhone.
- Check that the split view controller is larger than 320 points — the size of the Slide Over / 33% view. If so, return
.Noneto retain the popover, otherwise return.FullScreenfor a modal presentation instead.
Now you can make LogsViewController a delegate of the popover presentation controller.
Find the implementation of presentImagePickerControllerWithSourceType(_:). Read through the implementation and you'll see that when the source type is .PhotoLibrary, UIImagePickerController presents as a popover. Update the implementation by adding presenter?.delegate = self as shown below:
func presentImagePickerControllerWithSourceType(sourceType:
  UIImagePickerControllerSourceType) {
    // some code...
    if sourceType == UIImagePickerControllerSourceType.PhotoLibrary {
      // some code...
      presenter?.delegate = self
    }
    // some code...
}
Build and run your app; verify that the popover transitions to a modal fullscreen view only when your app is in the Slide Over mode or when the Split View pane is sufficiently narrow.
Design Considerations
Beyond coding considerations, you'll need to change your approach to app visual design a little differently:
- Be flexible: Step away from a pixel-perfect design for various platforms and orientations. You need to think about different sizes and how you can have a flexible app that responds appropriately to size changes.
- Use Auto Layout: Remove hardcoded sizes or custom code that resizes elements. It's time to consider Auto Layout and make your code more flexible and future-proof.
- Use size classes: One single layout won't always fit all displays. Use size classes to build a base layout and then customize each specific size class based on individual needs. But don’t treat each size class as a completely separate design; as you saw in this tutorial, your app should easily transition from one size class to another, and you don't want to surprise your user with a dramatic change as they drag the divider.
Where to go from here?
You can download the completed project here.
This iOS 9 multitasking tutorial only touched on the basics of multitasking — it's up to developers like you to help chart the course for accepted multitasking design patterns of the future.
This tutorial was an abbreviated version of Chapter 5, “Multitasking” from iOS 9 by Tutorials. If you’d like to learn more about multitasking and other new features in iOS 9 please check out the book!
In the meantime, if you have any questions or comments about this tutorial or Stack Views in general, please join the forum discussion below!