SpriteKit Tutorial: Create an Interactive Children’s Book with SpriteKit and Swift 3
Learn how to create an interactive book app with very little code by using SpriteKit with Swift 3 to build a children’s book. By Caroline Begbie.
Update 01/20/17: Updated for Swift 3, iOS 10 and Xcode 8 by Caroline Begbie. Original tutorial by Tammy Coron, and previously updated by Jorge Jordán.
With the iPad, it’s never been a better time to be a kid!
Using Apple’s SpriteKit, the iPad allows developers to create beautiful interactive children’s books that simply cannot be replicated in any other medium. For some examples, check out The Monster at the End of This Book, Bobo Explores Light, and Wild Fables.
In this tutorial, you’ll create an interactive children’s book named The Seasons using the SpriteKit framework, where you’ll learn how to add objects to scenes, create animation sequences, allow the reader to interact with the book’s characters and even how to add sound and music to your book!
If you’re a beginner to SpriteKit, you’ll find out how much you can do visually in the SpriteKit scene editor without writing any code at all. When you do have to write some code, you’ll discover how easy it is to build on top of your scene.
This tutorial also uses music from Kevin MacLeod and sound effects from FreeSound. These are both great resources for your project, but you must provide attribution. See attribution.txt in the project bundle for more details.
Getting Started
First, download the starter project for this tutorial. Extract the project to a convenient location on your drive, then open it up in Xcode.
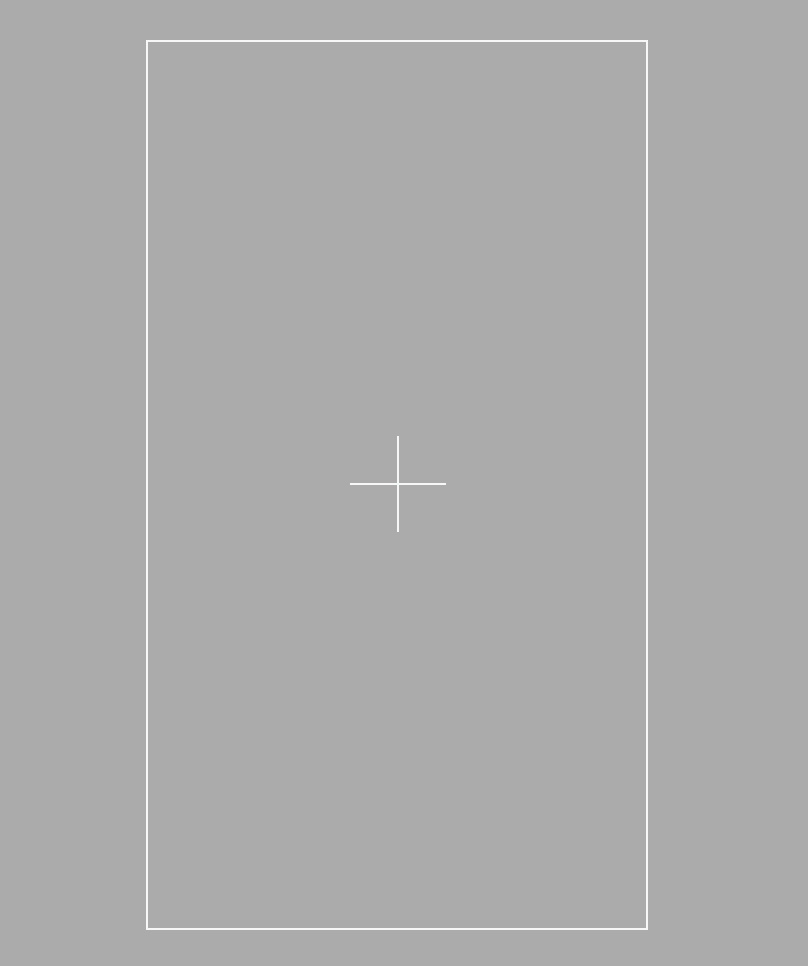
The starter project contains all the images and sounds needed for this tutorial. It also contains pre-built pages (or scenes) that you’ll load up after creating the title page scene. In the project settings, the app is set to run on an iPad in landscape. Build and run the app, and see a blank grey scene.
The following diagram shows the final structure of the app.

When the app starts, Main.storyboard loads up GameViewController. Open GameViewController.swift and find these lines in viewDidLoad():
if let scene = SKScene(fileNamed: "GameScene") {
   // ...
}
This code loads a file named GameScene.sks, which is the SpriteKit scene file that you can edit in the visual SpriteKit scene editor.
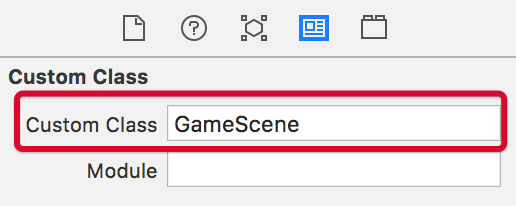
In this book, each page will be a scene. Therefore, you’ll use the scene editor to add the sprites, sounds and animations for each page. Open GameScene.sks. On the right hand pane, take a look at the Custom Class Inspector and see that the class associated with GameScene.sks is GameScene.
When GameScene.sks loads up, it creates an instance of GameScene. You’ll be able to add code to GameScene.swift to interact with elements created in the editor.
All the pages will be subclasses of GameScene. Any code that is specific to one page will go in the subclass, but any code that is the same for all pages will go in GameScene.
Now you’re ready to get started. Like any good book, it’s best to start at the beginning — the title scene.
Creating a Page
Create a new file for the title page. Click File/New/File… and choose the iOS/Resource/SpriteKit Scene template. Click Next and name the file TitlePage. Click Create to create and open the new scene in the scene editor.
With TitlePage.sks open, zoom out so that you can see the whole scene. You can use the + and – at the bottom right of the editor to zoom in and out.
The scene is currently in portrait, but your book is going to be in landscape. In the Attributes Inspector, change the following:
- Size: W: 1024, H: 768
This will resize the scene to the correct aspect for the iPad in landscape. The iPad Pro is a different size, but still the same aspect ratio, so pages will scale to fit correctly.
You’re going to add a background image to the scene. Below the Attributes Inspector, at the bottom right of the screen, locate the Media library. All the images that are in Assets.xcAssets are listed here.

Locate the image named background-titlepage. Drag the image onto the scene. The editor will automatically create a sprite node using this image.
![]()
With the background image selected, change the following in the Attributes Inspector:
- Name: background
- Position: X: 0, Y:0
This will center the image in the scene.
This diagram shows how to position your nodes in scenes:

The scene’s anchor point defaults to (0.5, 0.5) in the editor. This means that any node with a zero position and the same anchor point will have its center halfway across the scene and halfway down the scene. With a scene height of 768, a Y value of 384 is at the top of the scene, and a Y value of -384 is at the bottom of the scene.
Drag title_text from the Media library to the scene. In the Attributes Inspector, change the following:
- Name: titleText
- Position: X: -120, Y: 150
Now drag on button_read from the Media library and position it under the title. Set its Name and Position as follows:
- Name: readButton
- Position: X: -100, Y: 12
GameViewController should load your new scene. In GameViewController.swift change this line:
if let scene = SKScene(fileNamed: "GameScene") {
to
if let scene = SKScene(fileNamed: "TitlePage") {
This will ensure that your new scene loads when you run the app.
Build and run the app and see how easy it is to construct a page.

Just as in the above screenshot, you may find that either “Seasons” or “Read Story” is missing. Currently the sprites are all rendered in a random order. Run the app a few times, and your two smaller sprite nodes will appear and disappear randomly.