Indoor Maps on iOS: Advanced MapKit
In this MapKit tutorial, you’ll learn how to use Indoor Maps to map the inside of buildings, switch between different stories and find your location inside the building. By Alex Brown.
Modeling GeoJSON
Open IMDF/Models in the Project navigator. You’ll notice you already have a lot of the IMDF feature types you need to get started, but one is missing – the Venue type. You’ll add it now.
Create a new file in Models, name it Venue.swift and add the following:
class Venue: Feature<Venue.Properties> {
  struct Properties: Codable {
    let category: String
  }

  var levelsByOrdinal: [Int: [Level]] = [:]
}
This is all the code you need to define the Venue. It looks a little light, though, doesn’t it? Venue, along with most other model types in your project, inherits from Feature, a class that takes a generic type, Properties, type-constrained to Decodable.
Feature defines the id and geometry variables common across each IMDF feature. The Properties object inside the GeoJSON data can be any valid JSON object. Each feature defines its own Properties, as you can see in the Venue model.
Venue.Properties is passed in as the generic type-parameter. It conforms to Codable, so meets the requirement that Properties be Decodable.
Build and run. You won’t see any changes yet, but you’re one step closer to your indoor map. :]

Decoding GeoJSON With MKGeoJSONDecoder
It wouldn’t be very nice of Apple to create this new data format without providing a way of reading it. In this section, you’ll decode GeoJSON data using MKGeoJSONDecoder. MKGeoJSONDecoder provides a way of decoding GeoJSON into MapKit types using decode(_:).
Open IMDF/IMDFDecoder.swift. You already have code that decodes some types, but you need to add a decode(_:) method to tie it all together in a single Venue object.
At the top of IMDFDecoder.swift, add the following method:
func decode(_ imdfDirectory: URL) throws -> Venue {
  // 1
  let archive = Archive(directory: imdfDirectory)

  // 2
  let venues = try decodeFeatures(Venue.self, from: .venue, in: archive)
  let levels = try decodeFeatures(Level.self, from: .level, in: archive)
  let units = try decodeFeatures(Unit.self, from: .unit, in: archive)
  let openings = try decodeFeatures(Opening.self, from: .opening, in: archive)
  let amenities = try decodeFeatures(Amenity.self, from: .amenity, in: archive)

  // 3
  if venues.isEmpty {
    throw IMDFError.invalidData
  }
  let venue = venues[0]
  venue.levelsByOrdinal = Dictionary(grouping: levels) { level in
    level.properties.ordinal
  }

  // 4
  let unitsByLevel = Dictionary(grouping: units) { unit in
    unit.properties.levelId
  }

  let openingsByLevel = Dictionary(grouping: openings) { opening in
    opening.properties.levelId
  }

  // 5
  for level in levels {
    if let unitsInLevel = unitsByLevel[level.id] {
      level.units = unitsInLevel
    }
    if let openingsInLevel = openingsByLevel[level.id] {
      level.openings = openingsInLevel
    }
  }

  // 6
  let unitsById = units.reduce(into: [UUID: Unit]()) { result, unit in
    result[unit.id] = unit
  }

  // 7
  for amenity in amenities {
    guard let pointGeometry = amenity.geometry[0] as? MKPointAnnotation
      else { throw IMDFError.invalidData }

    if let name = amenity.properties.name?.bestLocalizedValue {
      amenity.title = name
      amenity.subtitle = amenity.properties.category.capitalized
    } else {
      amenity.title = amenity.properties.category.capitalized
    }

    for unitID in amenity.properties.unitIds {
      let unit = unitsById[unitID]
      unit?.amenities.append(amenity)
    }

    amenity.coordinate = pointGeometry.coordinate
  }

  // 8
  try decodeOccupants(units: units, in: archive)

  return venue
}
Quite a large beast, but as you’ll see it’s not too complicated. In short, you decode an IMDF file into a venue with information about the levels, units, openings and amenities inside of it.
Going over the code, here’s what’s happening:
-
archiveis a container used to access the complete IMDF archive. It requires the URL of the IMDF archive in the project, and can access each GeoJSON file individually. Here, you create an instance ofArchive. - Using
decodeFeatures(_:from:in:), you decode the feature types into models. - If
venuesis empty, throw an error. Otherwise, group the levels by theordinalproperty inLeveland assign the resultingDictionarytolevelsByOrdinalinVenue. - Create two new
Dictionaryobjects by groupingunitsandopeningsby theirlevelId. - For each level, add the units and openings using the two
Dictionaryobjects you created in step four. - Group units by ID.
- For each
Amenity, set thetitle,subtitleandcoordinate. For any associatedUnit, add theAmenityto theamenitiesarray. - Once you’ve decoded everything else, call
decodeOccupants(units:in:)to decode the occupants.
Decoding the Archive
Now that you have your decoding method up and running, you’ll need to call it from the main view controller.
Open MapViewController.swift. Under the declaration of var mapView, add the following code:
let decoder = IMDFDecoder()
var venue: Venue?
Here you prepare an IMDFDecoder as well as a property to store a decoded venue in.
Next, under setupMapView(), add the following new method:
func loadRazeHQIndoorMapData() {
  guard let resourceURL = Bundle.main.resourceURL else { return }

  let imdfDirectory = resourceURL.appendingPathComponent("Data")
  do {
    venue = try decoder.decode(imdfDirectory)
  } catch let error {
    print(error)
  }
}
This method loads the Data directory from the app’s resource bundle and decodes it into venue using decode(_:), which you created in the previous step.
Now, you need a way to highlight your venue on the map by zooming to its location. After loadRazeHQIndoorMapData(), add the following code to create a new method called showDefaultMapRect():
func showDefaultMapRect() {
  guard
    let venue = venue,
    let venueOverlay = venue.geometry[0] as? MKOverlay
    else { return }

  mapView.setVisibleMapRect(
    venueOverlay.boundingMapRect,
    edgePadding: UIEdgeInsets(top: 20, left: 20, bottom: 20, right: 20),
    animated: false
  )
}
This method calls setVisibleMapRect(_:edgePadding:animated:) on mapView using the boundingMapRect from the venue geometry.
boundingMapRect contains the smallest visible map rectangle of the geometry. The edgePadding parameter of setVisibleMapRect(_:edgePadding:animated:) is the additional space around the map rectangle in screen points.
Finally, you need to call these two new methods. At the bottom of viewDidLoad(), add.
loadRazeHQIndoorMapData()
showDefaultMapRect()
Build and run to see the result.
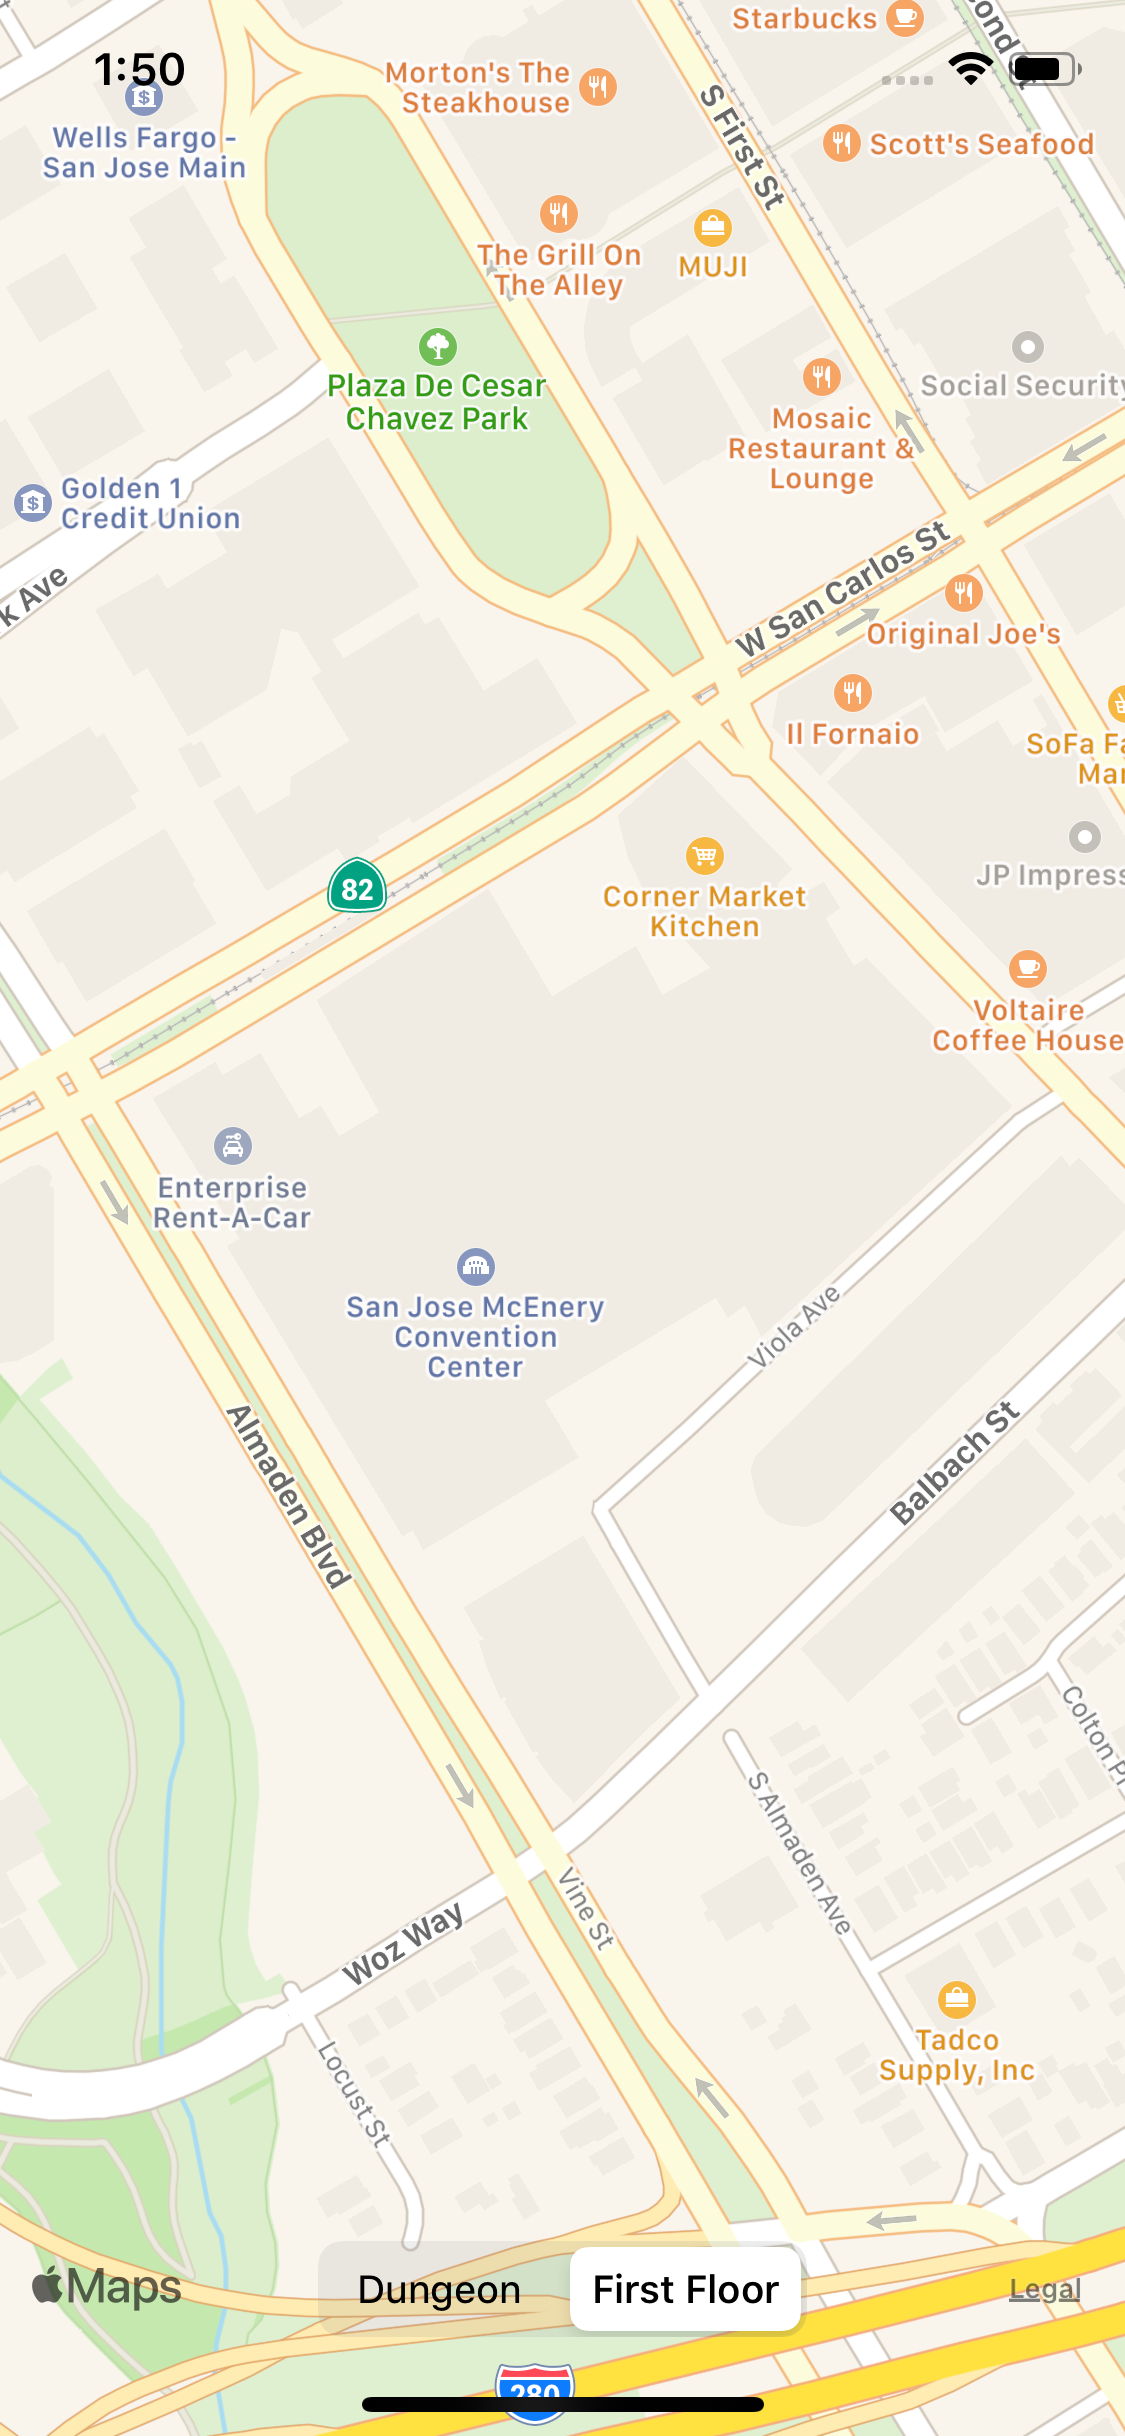
Welcome to RazeWare HQ! At least, its location. There’s still no visible structure, but as the map is zoomed in, you must have a valid Venue.
Rendering Geometry on a Map
Now that you have a native model type to work with, it’s time to do some cartography!
MapKit uses MKOverlay objects in conjunction with an MKOverlayRenderer to draw overlays on a map.
MKOverlay is a protocol that describes an overlay’s geometry. MapKit contains various concrete classes that adopt this protocol to define shapes such as rectangles, circles and polygons.
MKOverlayRenderer is an object that draws the visual representation of an MKOverlay.