Xcode Test Plans for iOS: Getting Started
In this tutorial, you’ll learn how to organize your unit and UI tests with Xcode test plans and how to test your iOS app with multiple languages/regions. By Irina Galata.
Today, writing automated tests is an integral part of the development process. It’s as important as programming itself and can be just as time-consuming. Proper tests enrich technical documentation and prevent future bugs as the app evolves. Fortunately, Xcode offers all the tools you need for full test coverage, and Xcode test plans make those tools easier to use.
Sometimes it’s tricky to test all your app’s functionality under multiple conditions. The more combinations you want to cover, the more test schemes or even separate test targets you need to create. This is where the new Xcode test plans come in handy.
In this tutorial, you’ll add test plans to a simple budget app. In the process, you’ll learn:
- How to create an Xcode test plan.
- Why you should create multiple test plans in an app.
- How to test in multiple localizations.
- How to use code diagnostics and memory management configurations in your test plans.
It’s time for some fun with Xcode test plans!
Getting Started
The project you’ll work on is a budget app written in SwiftUI.
Start by downloading the project materials using the Download Materials button at the top or bottom of this tutorial. Open the starter project and build and run.

As you can see, you can create multiple accounts by tapping the plus button in the top-right corner. You can manage balances by registering expenses and profits.
Testing the Tests
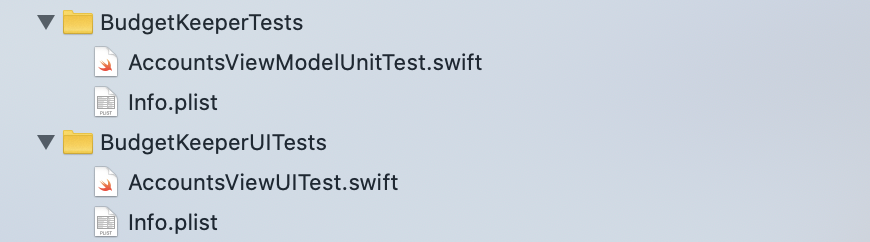
Now, go back to the project and take a look at the test classes, AccountsViewModelUnitTest and AccountsViewUITest:
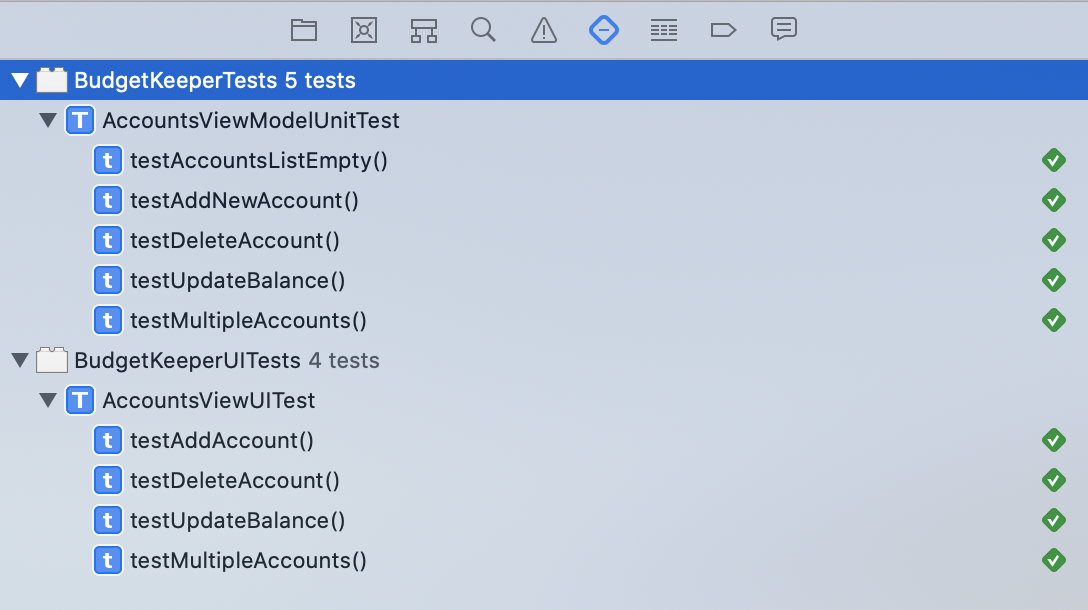
AccountsViewModelUnitTest verifies that AccountsViewModel can add and remove accounts and manage balances correctly. AccountsViewUITest validates a few simple scenarios from a user perspective.
Run the tests by pressing Command-U. Open Test navigator to see the test results:
To do this, choose the I/O menu option in the simulator app, then go to Keyboard and uncheck Connect hardware keyboard. UI tests seem to have trouble accessing text fields in the simulator when a hardware keyboard is connected.
All tests are green, and you’re good to proceed!
Unit Tests and UI Tests
Unit tests check whether each unit of code, such as a class or a function, produces the expected result. Unit tests run in isolation, without dependencies on other modules or components. Because of this, they consume little time or resources. You should never hesitate to write more unit tests! :]
End-to-end tests validate your app from launch to finish. One of the tools you can use for end-to-end testing is a UI test, which replicates interaction with the app exactly the way a user would interact with it. UI tests are much slower and more expensive to run than unit tests.
You should try to avoid writing a UI test when you can cover the scenario with a few unit tests. Extensive UI tests are mostly worth using to cover core functionality.
As you see from the test report above, every time you run your tests, you run both UI and unit tests. This is convenient early in your development process. As your app grows, however, you’ll want to run different types of tests more or less frequently at different points of time.
For example, you might consider executing unit tests on each push to your feature branch and running end-to-end tests before merging your feature branch to your develop branch.
This is where Xcode test plans come in!
Creating Your First Test Plans
A test plan allows you to control which tests run at a specific time. In this section, you’ll create two test plans: one for unit tests and another for both unit and UI tests.
Creating a Unit Test Plan
Your first test plan will run unit tests only. Follow these steps to create and configure your test plan:

- Click the current scheme name, BudgetKeeper, and select Edit scheme….
- In the Test section, click Convert to use Test Plans….
- In the pop-up that appears, choose Create empty test plan and click Convert….
- Name it UnitTests.xctestplan and click Save. Close the scheme editor by clicking Close in the scheme editor pop-up. See note below.
- You now have a UnitTests.xctestplan file in the root of your project. Select it and click Add Test Target, using the small + icon near the bottom.
- Choose BudgetKeeperTests and click Add.
Now, press Command-U to run the tests and look at the Test navigator:
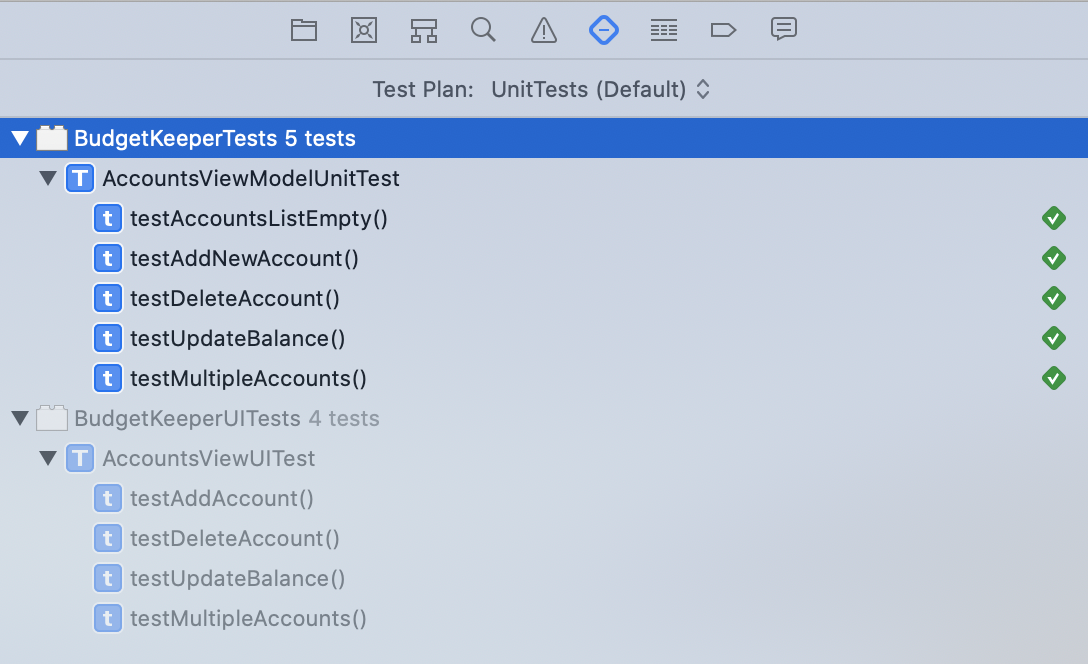
You’ll see that with your new test plan, only the unit tests are being executed. Great!
Now you need a plan to run all the tests.
Creating a Full Test Plan
Create another test plan by repeating the steps above. Name the plan FullTests.xctestplan. Select both BudgetKeeperTests and BudgetKeeperUITests as your test targets. If you do this correctly, you’ll see both plans in the current scheme:
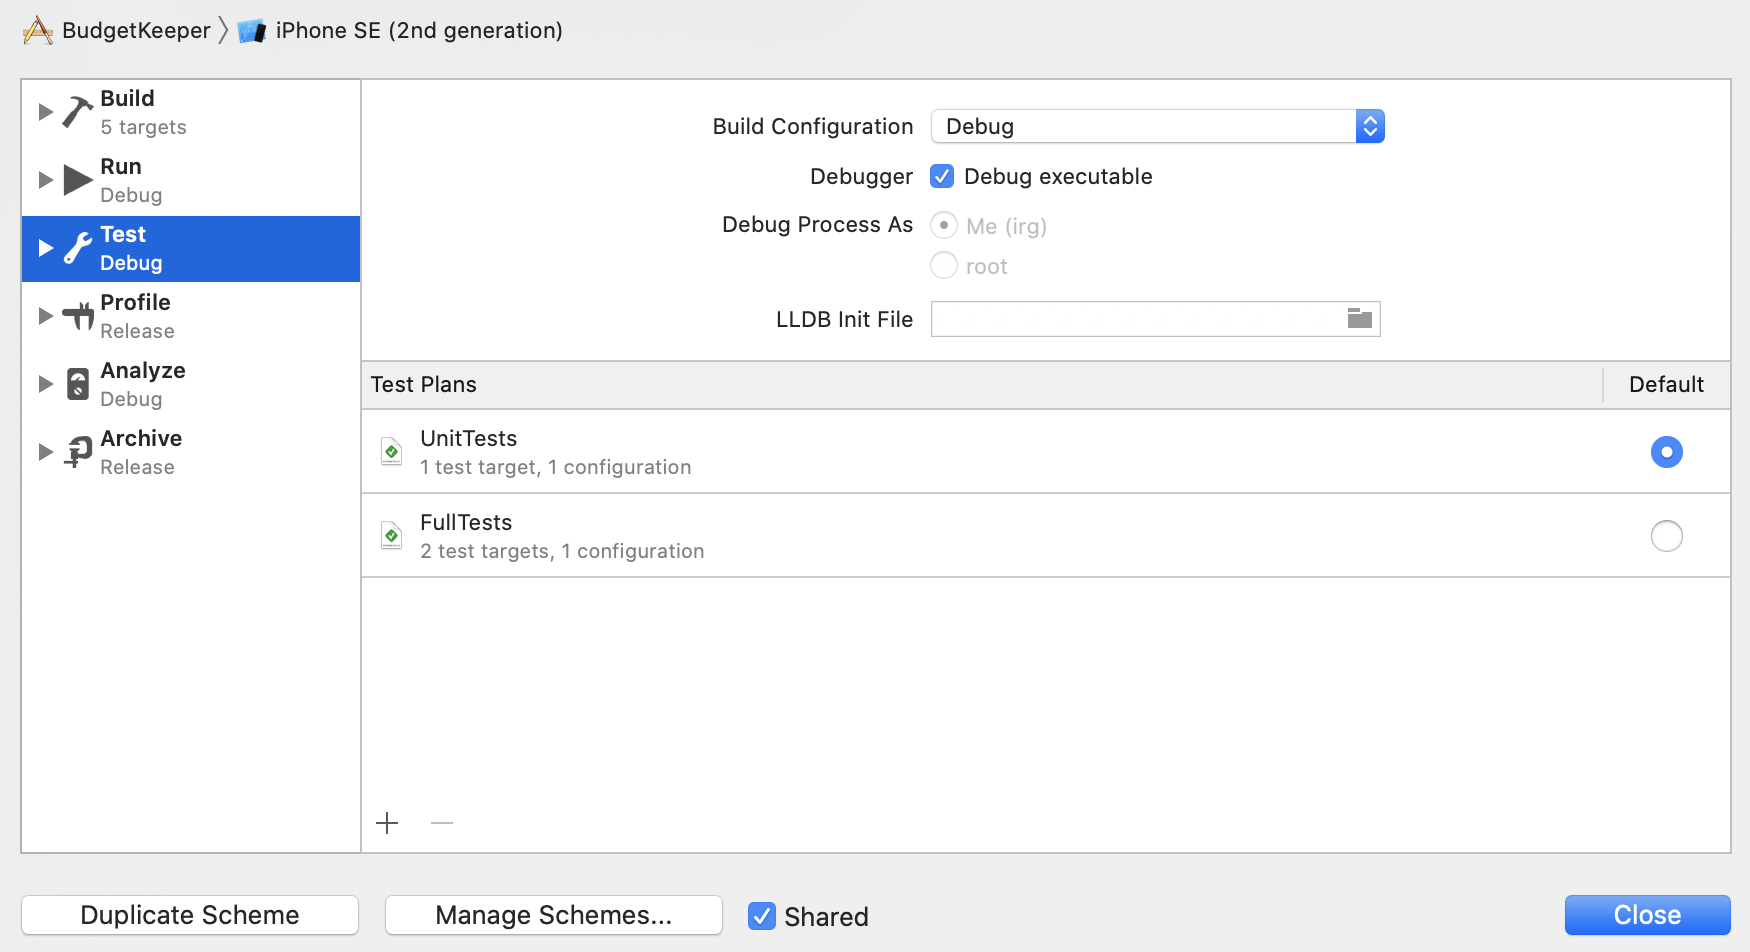
Set FullTests.xctestplan as your default plan for now, as you’re going to take a closer look at UI tests in the next section.
Testing Multiple Localizations
There are several localization files included in the project:

Turns out, your app already supports two languages — English and German. Großartig! :]
Setting up Configurations
If your app depends on the user’s region or language, it makes sense to run UI tests for a few languages and regions. Your budget app, with its use of currency symbols, is a good example of this.
Set up your FullTests plan to execute UI tests in both English and German by creating two separate configurations:
- Select FullTests.xctestplan. In the Configurations tab, rename Configuration 1 to German by pressing Enter and replacing the existing text.
- In the configuration settings, set the Application Language to German. Set the Application Region to Germany:

- Still in the Configurations tab, click + to add a new configuration.
- Select the newly-created configuration file and press Enter to rename it to English.
- In the English configuration, set the Application Language to English. Set the Application Region to United States.
