Core Graphics Tutorial: Getting Started
In this Core Graphics tutorial, you’ll learn about using Core Graphics to design pixel-perfect views and how to use Xcode’s interactive storyboards. By Andrew Kharchyshyn.
Peeking Behind the Core Graphics Curtain
Each UIView has a graphics context. All drawing for the view renders into this context before being transferred to the device’s hardware.
iOS updates the context by calling draw(_:) whenever the view needs to be updated. This happens when:
- The view is new to the screen.
- Other views on top of it move.
- The view’s
hiddenproperty changes. - You explicitly call
setNeedsDisplay()orsetNeedsDisplayInRect()on the view.
draw(_:) goes into the view’s graphics context. Be aware that if you draw outside of draw(_:), you’ll have to create your own graphics context.You haven’t used Core Graphics yet in this tutorial, because UIKit has wrappers around many of the Core Graphics functions. A UIBezierPath, for example, is a wrapper for a CGMutablePath, which is the lower-level Core Graphics API.
setNeedsDisplay() does not itself call draw(_:), but it flags the view as “dirty,” triggering a redraw using draw(_:) on the next screen update cycle. Even if you call setNeedsDisplay() five times in the same method, you’ll call draw(_:) only once.
draw(_:) directly. If your view is not being updated, then call setNeedsDisplay().
Introducing @IBDesignable
Creating code to draw a path and then running the app to see what it looks like is as exciting as an introductory course on 1920’s tax code. Thankfully, you’ve got options.
Live Rendering allows views to draw themselves more accurately in a storyboard by running draw(_:). What’s more, the storyboard will immediately update to changes in draw(_:). All you need is a single attribute!
Add the following just before the class declaration while in PushButton.swift:
@IBDesignable
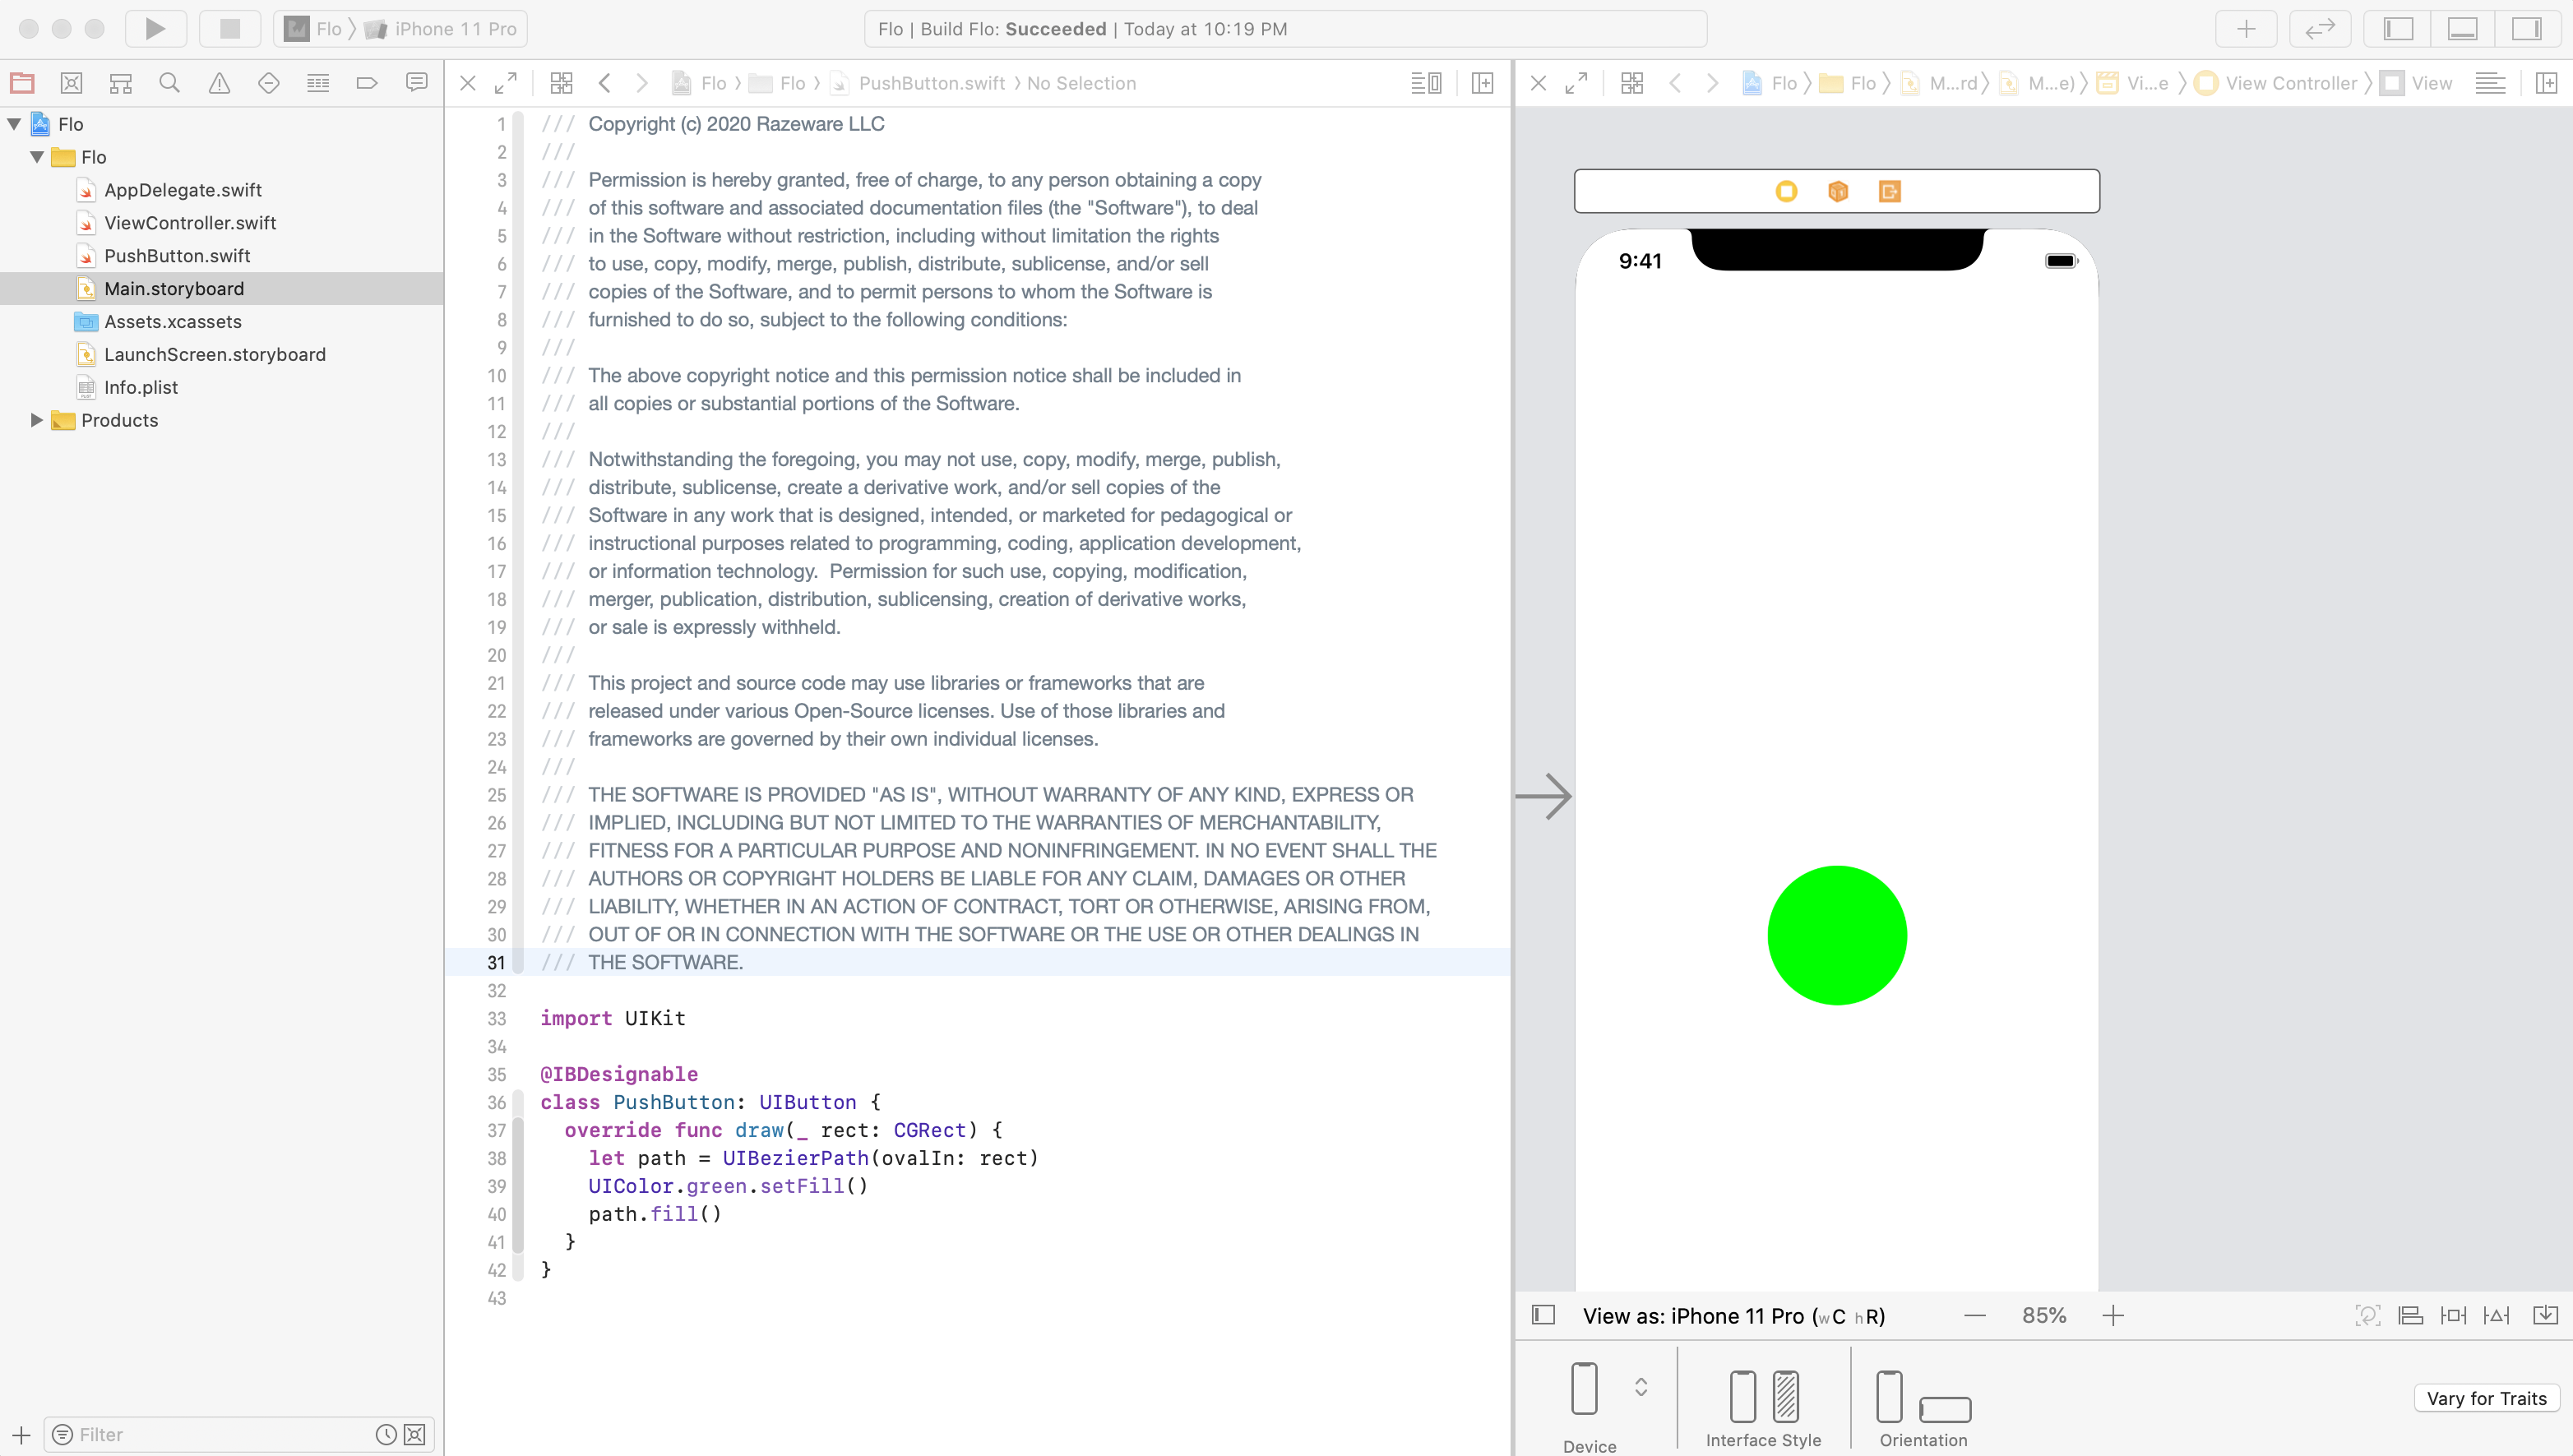
This enables Live Rendering. Return to Main.storyboard. You’ll see that your button is a green circle, just like when you build and run.
Next, you’ll set up your screen to have the storyboard and code side-by-side.
Do this by selecting PushButton.swift to show the code. Then, Option-click Main.storyboard in Project navigator. You will see the two files side-by-side:

Close the document outline at the left of the storyboard. Do this either by dragging the edge of the document outline pane or clicking the button at the bottom of the storyboard:

When you’re done, your screen will look like this:
In draw(_:), locate the following code:
UIColor.green.setFill()
Then change that code to:
UIColor.blue.setFill()
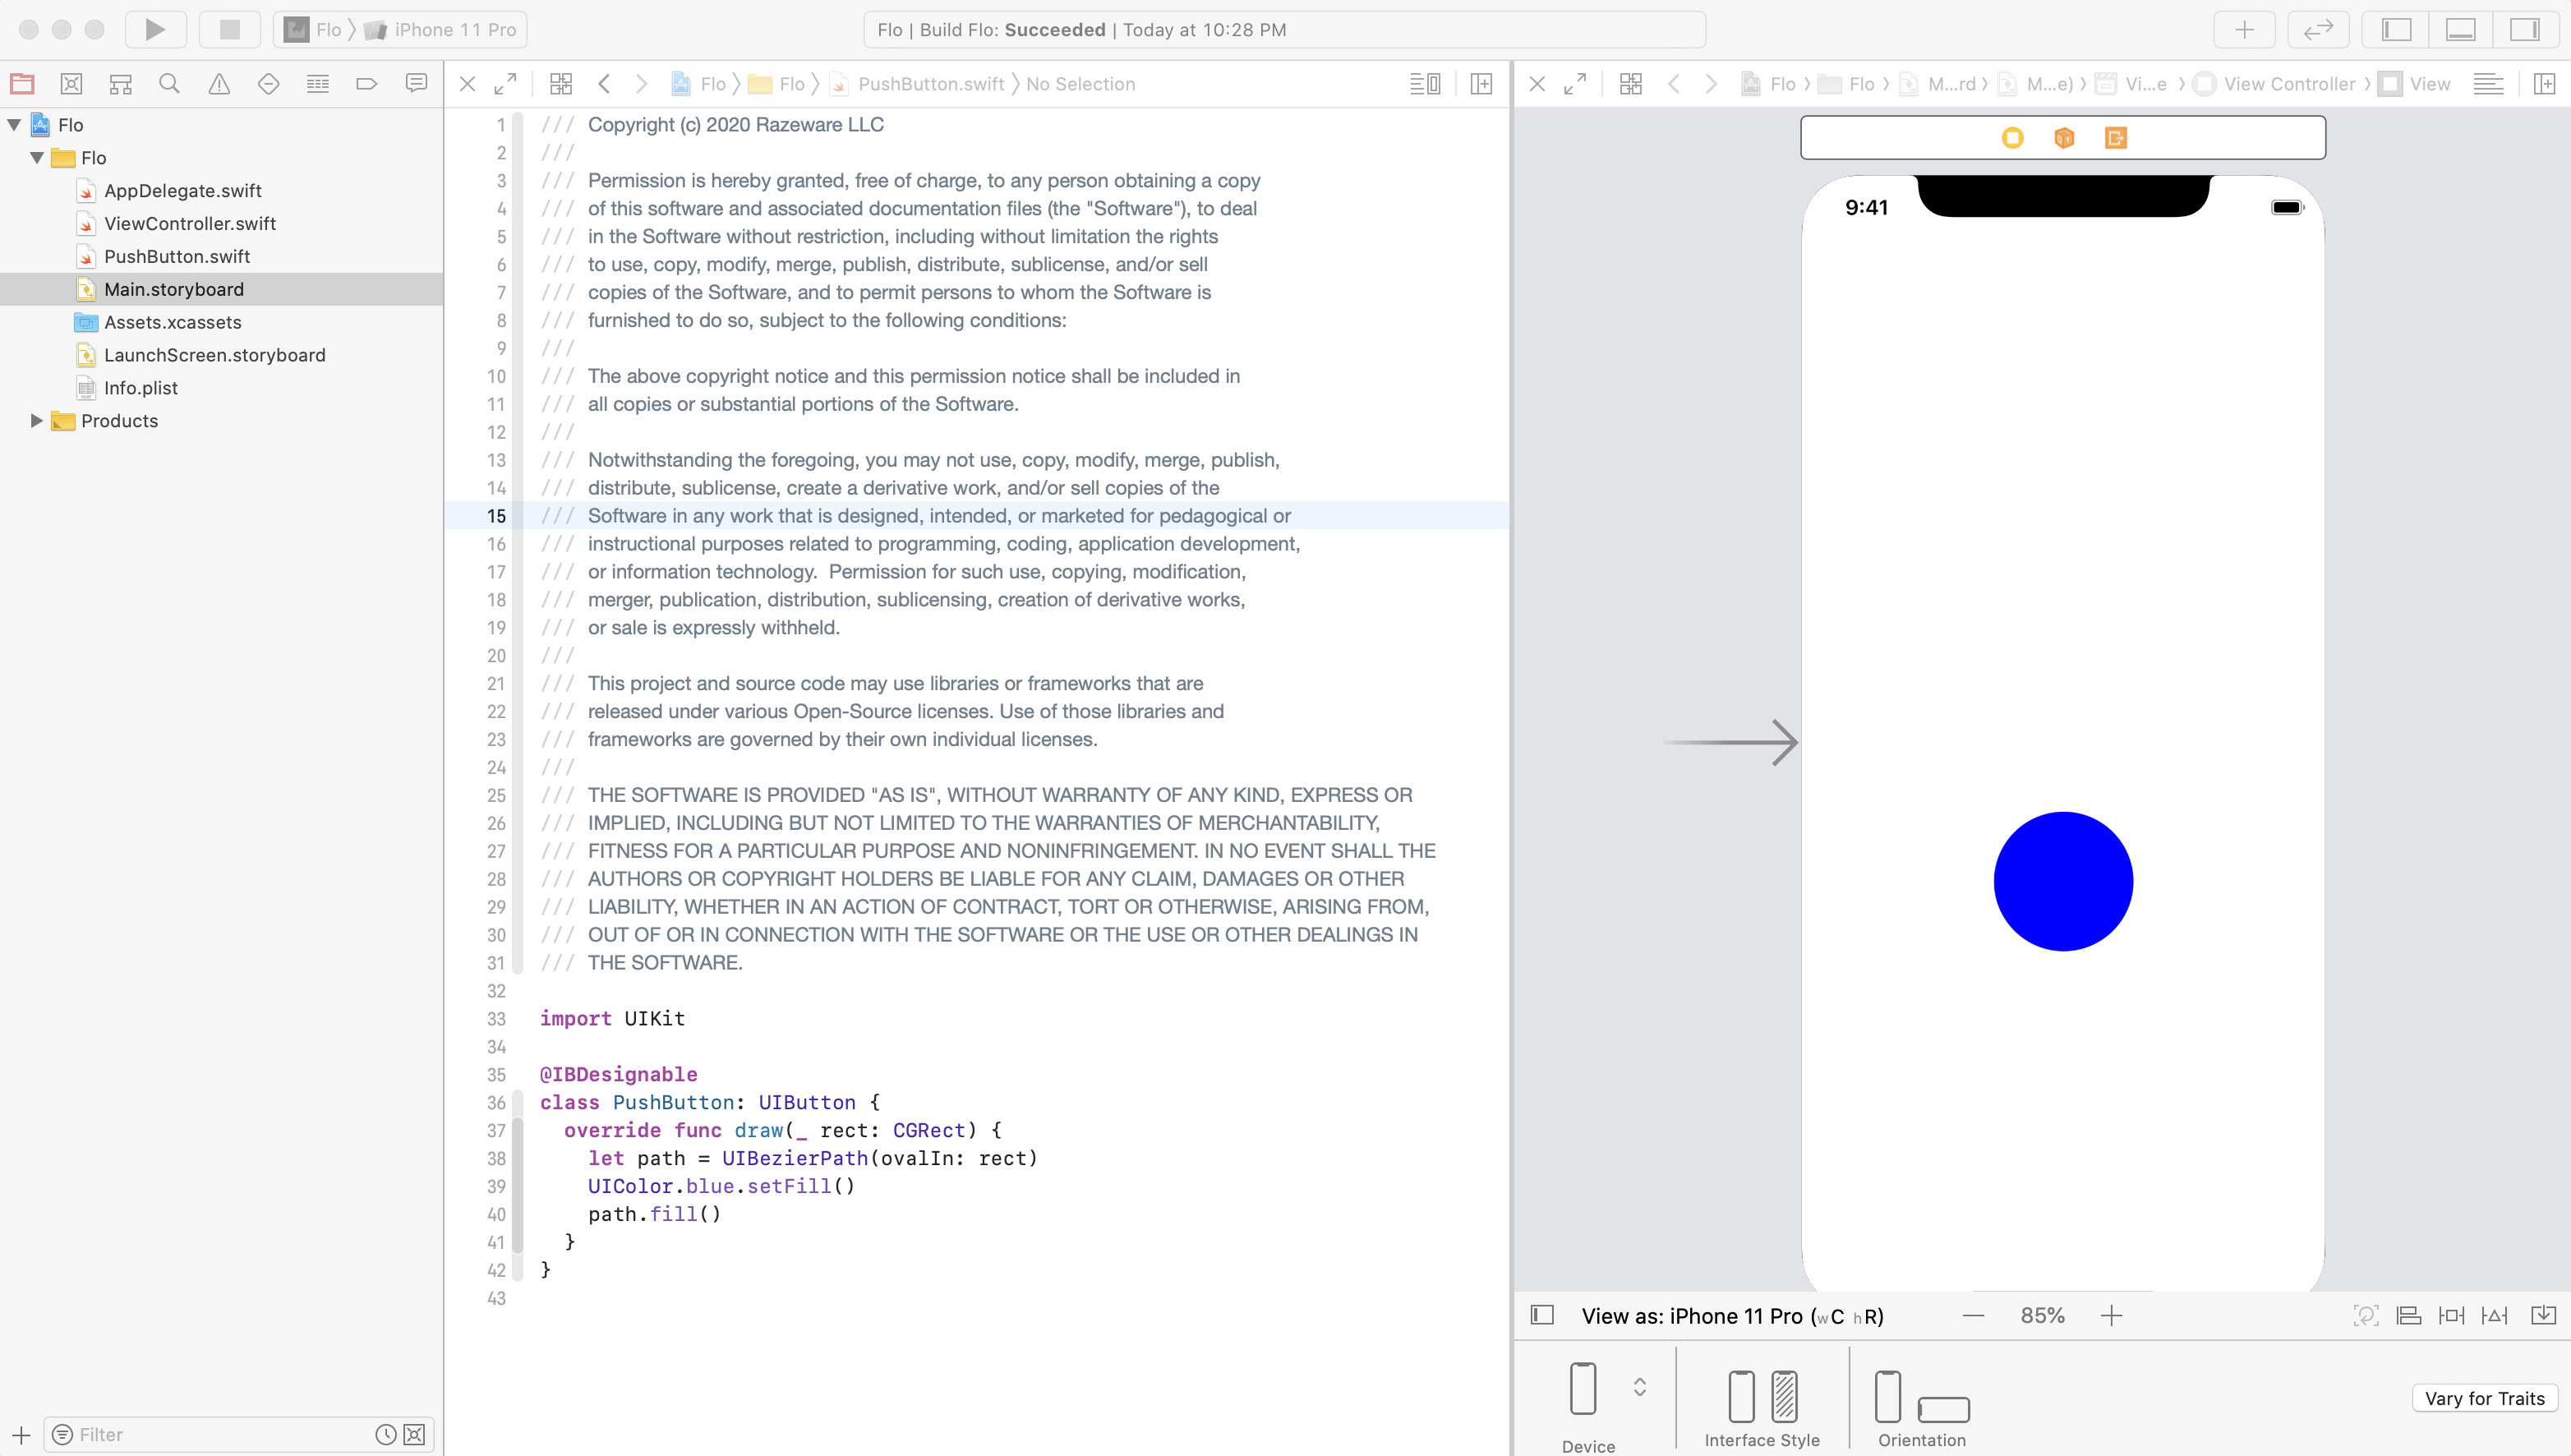
In the storyboard, you’ll see fill color change from green to blue. Pretty cool!
Time to create the lines for that plus sign.
Drawing Into the Context
Core Graphics uses what’s called a “painter’s model”. When you draw into a context, it’s almost like making a painting. You lay down a path and fill it, and then lay down another path on top and fill it. You can’t change the pixels that have been laid down, but you can paint over them.
This image from Apple’s documentation shows how this works. Just like painting on a canvas, the order in which you draw is critical.

Your plus sign will go on top of the blue circle, so you must code the blue circle first and then the plus sign. Sure, you could draw two rectangles for the plus sign, but it’s easier to draw a path and then stroke it with the desired thickness.
Add this struct and these constants inside of PushButton:
private struct Constants {
  static let plusLineWidth: CGFloat = 3.0
  static let plusButtonScale: CGFloat = 0.6
  static let halfPointShift: CGFloat = 0.5
}

private var halfWidth: CGFloat {
  return bounds.width / 2
}

private var halfHeight: CGFloat {
  return bounds.height / 2
}
Next, add this code at the end of draw(_:) to draw the horizontal dash of the plus sign:
//set up the width and height variables
//for the horizontal stroke
let plusWidth = min(bounds.width, bounds.height)
  * Constants.plusButtonScale
let halfPlusWidth = plusWidth / 2

//create the path
let plusPath = UIBezierPath()

//set the path's line width to the height of the stroke
plusPath.lineWidth = Constants.plusLineWidth

//move the initial point of the path
//to the start of the horizontal stroke
plusPath.move(to: CGPoint(
  x: halfWidth - halfPlusWidth,
  y: halfHeight))

//add a point to the path at the end of the stroke
plusPath.addLine(to: CGPoint(
  x: halfWidth + halfPlusWidth,
  y: halfHeight))

//set the stroke color
UIColor.white.setStroke()

//draw the stroke
plusPath.stroke()
In this block, you set up a UIBezierPath. You gave it a start position on the left side of the circle. You drew to the end position at the right side of the circle. Then you stroked the path outlined in white.
In your storyboard, you now have a blue circle sporting a dash in the middle:

That’s essentially what you did with the above code by using move(to:) and addLine(to:).
Run the application on either an iPad 2 or an iPhone 8 Plus simulator, and you’ll notice the dash is not as crisp as it should be. It has a pale blue line encircling it.
![]()
What’s up with that?
Analyzing Points and Pixels
Back in the days of the first iPhones, points and pixels occupied the same space and were the same size. This made them basically the same thing. When retina iPhones came around, they sported four times the pixels on screen for the same number of points.
Similarly, the iPhone 8 Plus has again increased the number of pixels for the same points.
Below is a grid of 12×12 pixels with points shown in gray and white. The iPad 2 is a direct mapping of points to pixels, so 1x. The iPhone 8 is a 2x retina screen with 4 pixels to a point. Finally, the iPhone 8 Plus is a 3x retina screen with 9 pixels to a point.
![]()
The line you just drew is 3 points high. Lines stroke from the center of the path, so 1.5 points will draw on either side of the centerline of the path.
This picture shows drawing a 3-point line on each of the devices. You can see that devices with 1x and 2x resolutions resulted in the line being drawn across half a pixel — which, of course, can’t be done. So, iOS anti-aliases the half-filled pixels with a color halfway between the two colors. The resulting line looks fuzzy.
![]()
In reality, retina devices with 3x resolution have so many pixels you probably won’t notice the fuzziness. But if you’re developing for non-retina screens like the iPad 2, you should do what you can to avoid anti-aliasing.
If you have oddly sized straight lines, you need to position them at plus or minus 0.5 points to prevent anti-aliasing. If you look at the diagrams above, you’ll see that a half-point on 1x screen will move the line up half a pixel. Half a point will manage a whole pixel on 2x and one-and-a-half pixels on 3x.
In draw(_:), replace move(to:) and addLine(to:) with:
//move the initial point of the path
//to the start of the horizontal stroke
plusPath.move(to: CGPoint(
  x: halfWidth - halfPlusWidth + Constants.halfPointShift,
  y: halfHeight + Constants.halfPointShift))

//add a point to the path at the end of the stroke
plusPath.addLine(to: CGPoint(
  x: halfWidth + halfPlusWidth + Constants.halfPointShift,
  y: halfHeight + Constants.halfPointShift))
Because you’re now shifting the path by half a point, iOS will now render the lines sharply on all three resolutions.
UIBezierPath(rect:) instead of a line. Then use the view’s contentScaleFactor to calculate the width and height of the rectangle. Unlike strokes that draw outwards from the center of the path, fills only draw inside the path.Add the vertical stroke of the plus after the previous two lines of code, but before setting the stroke color in draw(_:).
//Vertical Line

plusPath.move(to: CGPoint(
  x: halfWidth + Constants.halfPointShift,
  y: halfHeight - halfPlusWidth + Constants.halfPointShift))

plusPath.addLine(to: CGPoint(
  x: halfWidth + Constants.halfPointShift,
  y: halfHeight + halfPlusWidth + Constants.halfPointShift))
As you can see, it is almost the same code you used to draw the horizontal line on your button.
You should now see the live rendering of the plus button in your storyboard. This completes the drawing for the plus button.
