Core Graphics Tutorial: Curves and Layers
In this tutorial, you will learn the Core Graphics drawing model and how it dictates the order that you draw your shapes. By Sanket Firodiya.
Drawing the Grass
Adding grass uses a combination of all the things you’ve just learned.
Add the following method in SkyView.swift underneath drawMountains(in:in:with:):
private func drawGrass(in rect: CGRect, in context: CGContext,
                       with colorSpace: CGColorSpace?) {
  // 1
  context.saveGState()
  defer { context.restoreGState() }

  // 2
  let grassStart = CGPoint(x: rect.size.height / 2, y: 100)
  let grassEnd = CGPoint(x: rect.size.height / 2, y: rect.size.width)
  let rectWidth = rect.size.width

  let grass = CGMutablePath()
  grass.move(to: CGPoint(x: rectWidth, y: 230), transform: .identity)
  grass.addCurve(to: CGPoint(x: 0, y: 225), control1: CGPoint(x: 300, y: 260),
                 control2: CGPoint(x: 140, y: 215),
                 transform: .identity)
  grass.addLine(to: CGPoint(x: 0, y: rect.size.width),
                transform: .identity)
  grass.addLine(to: CGPoint(x: rectWidth, y: rect.size.width),
                transform: .identity)

  context.addPath(grass)
  context.clip()

  // 3
  let lightGreen = UIColor(red: 39.0 / 255.0, green: 171.0 / 255.0,
                           blue: 95.0 / 255.0, alpha: 1)

  let darkGreen = UIColor(red: 0.0 / 255.0, green: 134.0 / 255.0,
                          blue: 61.0 / 255.0, alpha: 1)

  let grassColors = [lightGreen.cgColor, darkGreen.cgColor]
  let grassLocations: [CGFloat] = [0.3, 0.4]
  if
    let grassGrad = CGGradient.init(colorsSpace: colorSpace,
    colors: grassColors as CFArray, locations: grassLocations) {
      context.drawLinearGradient(grassGrad, start: grassStart,
                                 end: grassEnd, options: [])
  }
}
Here’s what that code does:
- As usual, save the graphics state and make sure it’s restored at the end of the function.
- This sets up the path with which to clip the subsequent gradient. This is to keep the grass gradient limited to the bottom of the screen.
- This draws the gradient from lovely light green to dark green.
To see it in action, uncomment drawGrass(in:in:with:) in draw(_:).
Now build and run, and it should look like the following:

Affable Affine Transforms

The next step in the process is to add some flowers to the grass.
Take a close look at the source image. Instead of looking at the three flowers, just pick one and take a closer look at how it’s drawn. You’ll see that each flower is composed of various circles — one for the center and five for the petals. A small curve represents the stem.
Drawing circles is no problem. There’s a method called addEllipse(in:). All you need to do is define a CGRect and this method will draw an ellipse in the center of it.
Of course, there’s a catch. CGRects can only be vertical or horizontal. What if you wanted the ellipse to be drawn at a forty-degree angle?
Introducing affine transforms. Affine transforms modify a coordinate system while still maintaining points, lines, and shapes. These mathematical functions allow you to rotate, scale, move, and even combine your objects.
Since you want to rotate your object, you’ll want to use the CGAffineTransform(rotationAngle:). Here’s how you call it:
CGAffineTransform(rotationAngle: radians)
A radian is just a measure of angles. Since most people think in terms of degrees as opposed to radians, a simple helper method can make this function call easier to use.
Add the following just before draw(_:):
private func degreesToRadians(_ degrees: CGFloat) -> CGFloat {
  return CGFloat.pi * degrees/180.0
}
This method simply converts a value from degrees to radians.
Now, rotating a CGRect is just a matter of supplying an angle. For example, if you want to rotate something 45 degrees, you use the following transform:
let transform = CGAffineTransform(rotationAngle: degreesToRadians(45))
Pretty easy, eh? Unfortunately, there’s another catch. Rotating paths can be a little frustrating.
Typically, you’ll want to rotate a path around a particular point. Since a path is just a collection of points, there’s no center position — just the origin. Thus, when you rotate the ellipse, it appears in a different x and y position from where you started.
To make it work, you must reset the origin point, rotate the path, and then restore the previous point. Instead of doing all of this in one method, create a new method for drawing each petal. Just after drawGrass(in:in:with:), add this new method:
private func drawPetal(in rect: CGRect, inDegrees degrees: Int,
                       inContext context: CGContext) {
  // 1
  context.saveGState()
  defer { context.restoreGState() }

  // 2
  let midX = rect.midX
  let midY = rect.midY
  let transform = CGAffineTransform(translationX: -midX, y: -midY)
    .concatenating(CGAffineTransform(rotationAngle: degreesToRadians(CGFloat(degrees))))
    .concatenating(CGAffineTransform(translationX: midX, y: midY))

  // 3
  let flowerPetal = CGMutablePath()
  flowerPetal.addEllipse(in: rect, transform: transform)
  context.addPath(flowerPetal)
  context.setStrokeColor(UIColor.black.cgColor)
  context.strokePath()
  context.setFillColor(UIColor.white.cgColor)
  context.addPath(flowerPetal)
  context.fillPath()
}
Here’s what that code does:
- This is pretty standard by now. Save the graphics state, then restore it later.
- Create a transform that first offsets by half the width and half the height. Then rotate. Then offset back by the original amount. This equates to a rotation about the center.
- Draw the ellipse which fills the
CGRectand is transformed by the rotation created above.
Creating a flower should be rather easy. Add this method just after drawPetal(in:inDegrees:inContext:):
private func drawFlowers(in rect: CGRect, in context: CGContext,
                         with colorSpace: CGColorSpace?) {
  // 1
  context.saveGState()
  defer { context.restoreGState() }

  // 2
  drawPetal(in: CGRect(x: 125, y: 230, width: 9, height: 14),
            inDegrees: 0, inContext: context)
  drawPetal(in: CGRect(x: 115, y: 236, width: 10, height: 12),
            inDegrees: 300, inContext: context)
  drawPetal(in: CGRect(x: 120, y: 246, width: 9, height: 14),
            inDegrees: 5, inContext: context)
  drawPetal(in: CGRect(x: 128, y: 246, width: 9, height: 14),
            inDegrees: 350, inContext: context)
  drawPetal(in: CGRect(x: 133, y: 236, width: 11, height: 14),
            inDegrees: 80, inContext: context)

  // 3
  let center = CGMutablePath()
  let ellipse = CGRect(x: 126, y: 242, width: 6, height: 6)
  center.addEllipse(in: ellipse, transform: .identity)

  let orangeColor = UIColor(red: 255 / 255.0, green: 174 / 255.0,
                            blue: 49.0 / 255.0, alpha: 1.0)

  context.addPath(center)
  context.setStrokeColor(UIColor.black.cgColor)
  context.strokePath()
  context.setFillColor(orangeColor.cgColor)
  context.addPath(center)
  context.fillPath()

  // 4
  context.move(to: CGPoint(x: 135, y: 249))
  context.setStrokeColor(UIColor.black.cgColor)
  context.addQuadCurve(to: CGPoint(x: 133, y: 270), control: CGPoint(x: 145, y: 250))
  context.strokePath()
}
This code does the following:
- Save the graphics state.
- Draw 5 petals using the method you just created.
- Draw an orange circle for the middle of the flower.
- Draw the stem using a single quadratic curve.
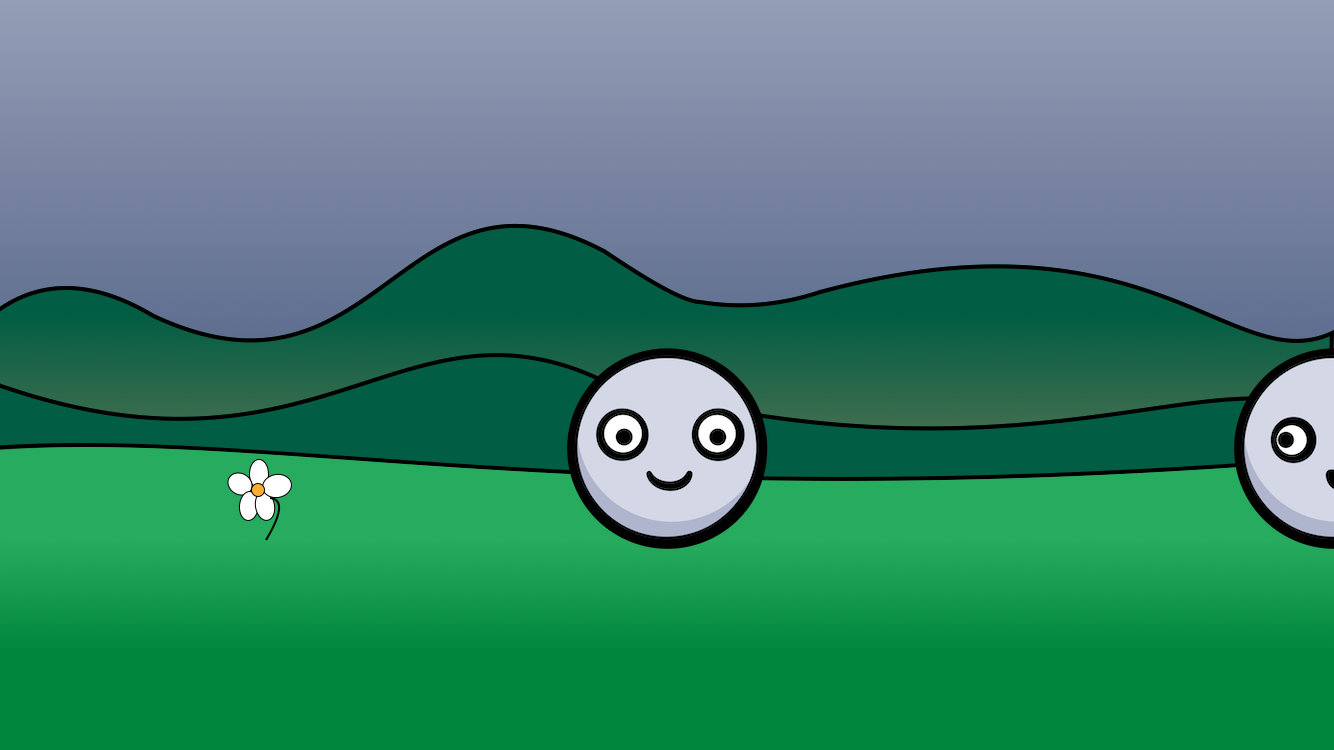
Now, uncomment drawFlowers(in:in:with:) in draw(_:).
Build and run. You should now see a nice flower just underneath the mountains.
Attack of the Clones
Drawing the next two flowers should be a relatively easy affair, but Core Graphics provides a way to make it even easier. Instead of figuring out the measurements for two new flowers, you can simply clone the existing one and make a field of them.
Core Graphics allows you to make copies of your drawings through CGLayer objects. Instead of drawing to the main graphics context, you draw to the layer context. Once you finish drawing to a CGLayer, it acts as a factory, pumping out copies of each drawing. The drawings are cached, making it faster than using regular drawing calls.
A great example of using a CGLayer is the United States flag. The flag contains fifty stars against a blue background. While you could loop through the drawing instructions for one star at a time, the faster method is to draw the star to a CGLayer and then make copies of that star.
Replace drawFlowers(in:in:with:) with the following:
private func drawFlowers(in rect: CGRect, in context: CGContext,
                         with colorSpace: CGColorSpace?) {
  context.saveGState()
  defer { context.restoreGState() }

  // 1
  let flowerSize = CGSize(width: 300, height: 300)

  // 2
  guard let flowerLayer = CGLayer(context, size: flowerSize,
                                  auxiliaryInfo: nil) else {
    return
  }

  // 3
  guard let flowerContext = flowerLayer.context else {
    return
  }

  // Draw petals of the flower
  drawPetal(in: CGRect(x: 125, y: 230, width: 9, height: 14), inDegrees: 0,
            inContext: flowerContext)
  drawPetal(in: CGRect(x: 115, y: 236, width: 10, height: 12), inDegrees: 300,
            inContext: flowerContext)
  drawPetal(in: CGRect(x: 120, y: 246, width: 9, height: 14), inDegrees: 5,
            inContext: flowerContext)
  drawPetal(in: CGRect(x: 128, y: 246, width: 9, height: 14), inDegrees: 350,
            inContext: flowerContext)
  drawPetal(in: CGRect(x: 133, y: 236, width: 11, height: 14), inDegrees: 80,
            inContext: flowerContext)

  let center = CGMutablePath()
  let ellipse = CGRect(x: 126, y: 242, width: 6, height: 6)
  center.addEllipse(in: ellipse, transform: .identity)

  let orangeColor = UIColor(red: 255 / 255.0, green: 174 / 255.0,
                            blue: 49.0 / 255.0, alpha: 1.0)

  flowerContext.addPath(center)
  flowerContext.setStrokeColor(UIColor.black.cgColor)
  flowerContext.strokePath()
  flowerContext.setFillColor(orangeColor.cgColor)
  flowerContext.addPath(center)
  flowerContext.fillPath()

  flowerContext.move(to: CGPoint(x: 135, y: 249))
  context.setStrokeColor(UIColor.black.cgColor)
  flowerContext.addQuadCurve(to: CGPoint(x: 133, y: 270),
                             control: CGPoint(x: 145, y: 250))
  flowerContext.strokePath()
}
How this works:
- Set the size of the object that you’re drawing.
- Create a new layer by passing the current graphics context.
- Extract the layer’s graphic context. From this point onward, you draw to the layer’s context instead of the main graphics context.
Once the flower is complete, the only remaining thing to do is print copies.
Now add the following at the end of the function:
// Draw clones
context.draw(flowerLayer, at: CGPoint(x: 0, y: 0))
context.translateBy(x: 20, y: 10)
context.draw(flowerLayer, at: CGPoint(x: 0, y: 0))
context.translateBy(x: -30, y: 5)
context.draw(flowerLayer, at: CGPoint(x: 0, y: 0))
context.translateBy(x: -20, y: -10)
context.draw(flowerLayer, at: CGPoint(x: 0, y: 0))
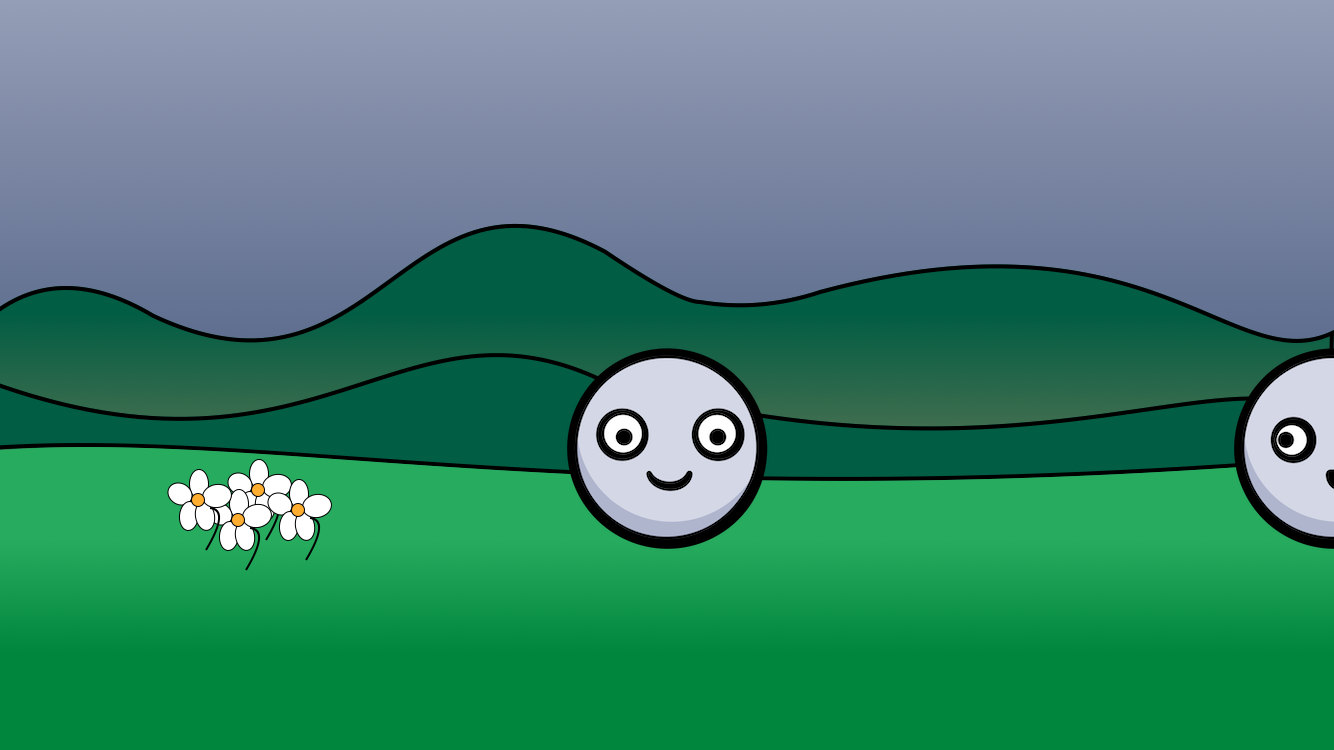
This draws 4 clones of the flower at various points.
Build and run, and you should see the following: