Show me or I don’t believe it!
Yes, you’ve finally reached the point where you possess a complete and valid pass that you can see on your iOS 6-powered device.
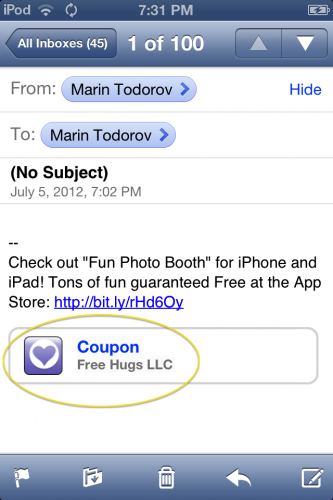
Create an email message to yourself (or to the email account you have set up on your iOS 6 device) and attach the .pkpass file you just created. Send it over, open the mail in Mail.app and voila! You should see the attachment turn into a pass, like so:

If you see the pass show up – congratulations! You’ve made it!
If not, don’t be disappointed – it’s a long and error-prone process, so you’ll have to go back to the very beginning and check that you performed all the necessary steps. Make sure your JSON files are valid and that you’ve exported your certificate and key correctly.
Tip: If you want to check the validity of your JSON files, use an online tool like http://jsonlint.com/ to quickly proof your code.
Time to see the pass! Tap on it inside the email message and Passbook should pop up showing you some greatness!

This is pretty awesome! Tap the Add button at the top-right corner and you’ll see a neat animation of the pass sliding down (into the deck of passes, but yours is probably empty at this point) and then you will return to Mail.
Note: If you want a few additional passes in your Passbook to see how it looks when it’s less empty, try visiting http://passk.it/samples using your mobile browser. The site has samples for a bunch of passes that should prove to be interesting. ☺
Now exit Mail and find and launch the Passbook app. Aha! It’s your first very own pass. Congratulations!
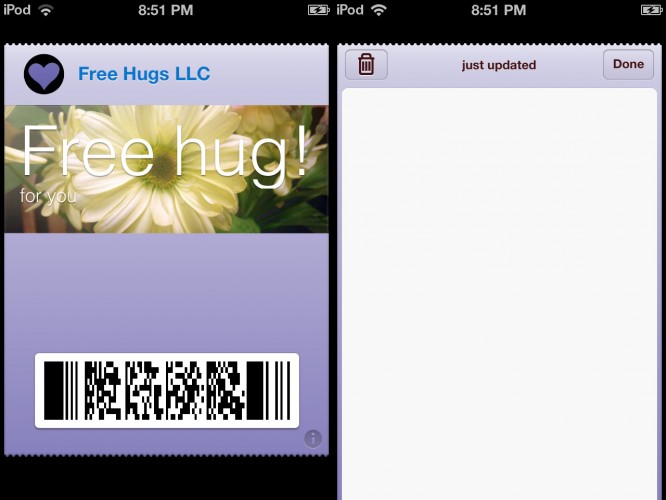
Preview the pass in Passbook, front and back (in case you’re wondering, you can access the back of the pass by tapping the small italic “i” on the bottom right-hand corner of the pass):

You must admit, the pass does look beautiful, but it’s not very informative. Yes – you’re going to add more fields to it in a moment.
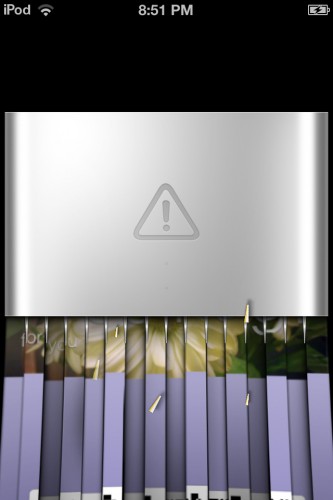
I bet you are itching right now to try shredding the pass – go ahead! After all, you can now create as many as you want, so – shred some. ☺ Tap the trash bin button and…

Where to go from here?
Now you know the basics of creating a pass and distributing it over email. However there’s more to passes!
In part two of this tutorial you will learn:
- how to add information to the pass
- how to create different styles of passes
- how to use all the features the pass file format offers
- how to format numbers, dates, add links to maps, and much more!
And if you want to learn even more, check out iOS 6 by Tutorials, which contains a part three to this very tutorial, that leads you through the process of automating creation of passes and distributing them from your web server.
In addition, iOS 6 by Tutorials contains another entire chapter called “Intermediate Passbook” that shows you how to build an amazing web server based store credit card system that can update passes on the fly with push notifications – cool stuff!
In the meantime, if you have any questions or comments on what you’ve learned so far, please join the forum discussion below!
 This is a blog post by iOS Tutorial Team member Marin Todorov, a software developer with 12+ years of experience, an independant iOS developer and the creator of Touch Code Magazine. You can also find me on Google+


 This is a blog post by iOS Tutorial Team member