Sprite Kit Tutorial: Space Shooter
A Sprite Kit tutorial that teaches you how to make a space shooter game. In the process, you’ll learn about accelerometers, textures, and scrolling too! By Tony Dahbura.
Adding Parallax Scrolling
You have a space ship on the screen, but it looks like it’s just sitting there all by itself! Let’s fix this by adding some cool parallax scrolling to the scene.
But wait a minute – what in the galaxy is parallax scrolling?
Parallax scrolling is just a fancy way of saying “move some parts of the background more slowly than the other parts.” If you’ve ever played SNES games like Act Raiser, you’ll often see this in the background of the action levels.
Sprite Kit does not have built in parallax scrolling, but this is easily handled by a simple class that will scroll the background you specify at a certain speed. This class is included in the resources you downloaded (under Resources\Classes). To use it, just create an instance and specify the speed you want the backgrounds to roll by. The class also supports random placement of specified elements (like the planets).
Select MyScene.m and add an underneath your #import "MyScene.h" add:
#import "FMMParallaxNode.h"
In the @implementation block underneath the SKSpriteNode *_ship; declaration add:
FMMParallaxNode *_parallaxNodeBackgrounds;
FMMParallaxNode *_parallaxSpaceDust;
In the -(id)initWithSize:(CGSize)size method below the #pragma mark – TBD Game Backgrounds add the parallax code:
#pragma mark - Game Backgrounds
        //1
        NSArray *parallaxBackgroundNames = @[@"bg_galaxy.png", @"bg_planetsunrise.png",
                                             @"bg_spacialanomaly.png", @"bg_spacialanomaly2.png"];
        CGSize planetSizes = CGSizeMake(200.0, 200.0);
        //2
        _parallaxNodeBackgrounds = [[FMMParallaxNode alloc] initWithBackgrounds:parallaxBackgroundNames
                                                                              size:planetSizes
                                                              pointsPerSecondSpeed:10.0];
        //3
        _parallaxNodeBackgrounds.position = CGPointMake(size.width/2.0, size.height/2.0);
        //4
        [_parallaxNodeBackgrounds randomizeNodesPositions];

        //5
        [self addChild:_parallaxNodeBackgrounds];

        //6
        NSArray *parallaxBackground2Names = @[@"bg_front_spacedust.png",@"bg_front_spacedust.png"];
        _parallaxSpaceDust = [[FMMParallaxNode alloc] initWithBackgrounds:parallaxBackground2Names
                                                                    size:size
                                                    pointsPerSecondSpeed:25.0];
        _parallaxSpaceDust.position = CGPointMake(0, 0);
        [self addChild:_parallaxSpaceDust];

#pragma mark - Setup Sprite for the ship
Let’s review these lines step-by-step:
- Create an array of the planets you want to scroll.
- Call the initializer passing the names of the files to use, the size to make it and the speed.
- Position it in the center of the screen.
- Call the method to randomly place the planets as offsets from the center.
- Add it to the layer.
- Create your space dust in a similar way.
Build and run your project, and some planets and dust will appear.
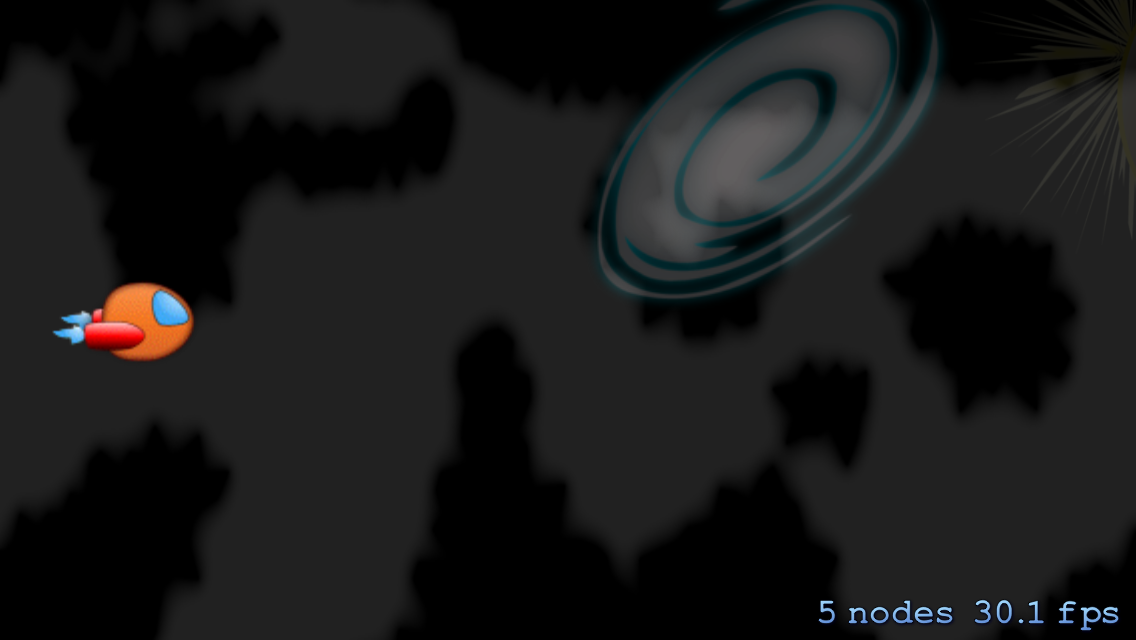
However this isn’t very interesting yet, since nothing is moving!
To move the space dust and planets, all you need to do is to call the update method in the parallax class. You call this with the currentTime and the class will move your background at the speed you want.
Modify the Sprite Kit update method:
-(void)update:(NSTimeInterval)currentTime {
    /* Called before each frame is rendered */

    //Update background (parallax) position
    [_parallaxSpaceDust update:currentTime];
    [_parallaxNodeBackgrounds update:currentTime];
}
Sprite Kit calls the update method before each frame is rendered and is where you put actions you want done as your game runs.
Build and run your project, and now the background should scroll continuously through a cool space scene with some planets!

Adding Stars
No space game would be complete without some flying stars!
You could create more sprites with stars and add that to the parallax node, like you have with the other decorations, but stars are a perfect example of when you’d want to use a particle system.
Particle systems allow you to efficiently create a large number of small objects using the same sprite. Sprite Kit gives you a lot of control over configuring particle systems, and you can even design them visually within Xcode 5.
But for this tutorial, I’ve already set up some particle effects of stars racing from right to left across the screen you can use. Simply add the following code underneath the pragma mark - Setup the stars to appear as particles line:
[self addChild:[self loadEmitterNode:@"stars1"]];
[self addChild:[self loadEmitterNode:@"stars2"]];
[self addChild:[self loadEmitterNode:@"stars3"]];
Under the initWithSize method add:
- (SKEmitterNode *)loadEmitterNode:(NSString *)emitterFileName
{
    NSString *emitterPath = [[NSBundle mainBundle] pathForResource:emitterFileName ofType:@"sks"];
    SKEmitterNode *emitterNode = [NSKeyedUnarchiver unarchiveObjectWithFile:emitterPath];

    //do some view specific tweaks
    emitterNode.particlePosition = CGPointMake(self.size.width/2.0, self.size.height/2.0);
    emitterNode.particlePositionRange = CGVectorMake(self.size.width+100, self.size.height);

    return emitterNode;
}
This utility method loads the specified particle emitter from the Resources folder and prepares it for use by Sprite Kit. Finally, you adjust a couple of settings for last minute screen specific values and return the SKEmitterNode. The node is added to the layer and the stars start running.
Note: If you click the stars1.sks file in the Resources\Particles folder Xcode will show it running in a window and the inspector will show settings that can be tweaked.
Build and run to see for yourself, and now you should see some stars randomly flying across the scene!
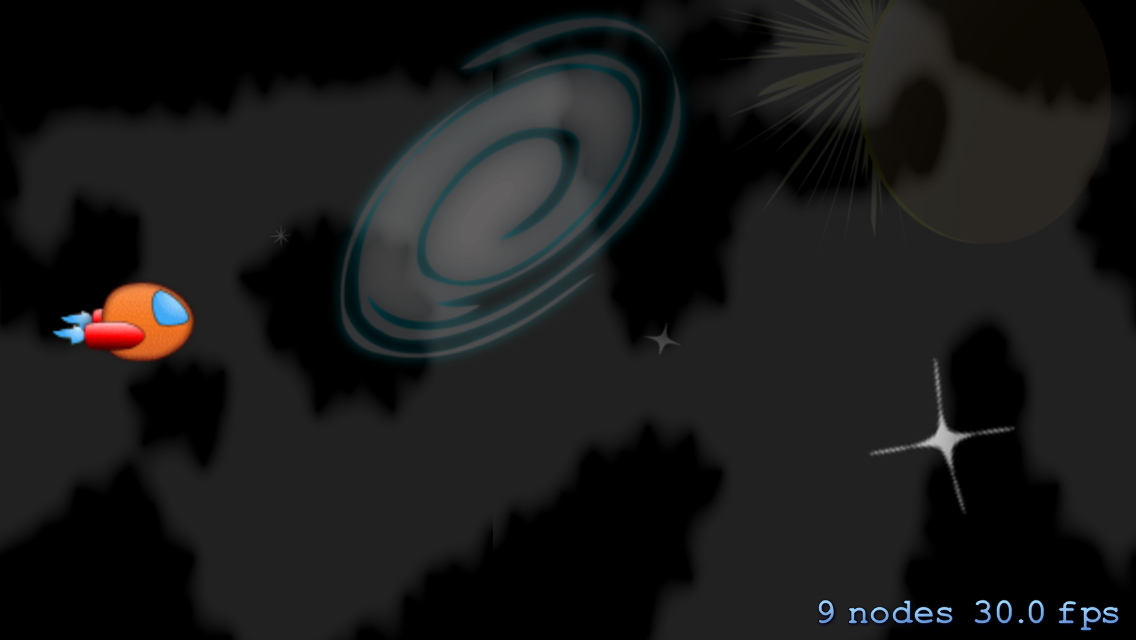
You have a ship, stars flying around, planets moving and even have some space dust to look at, but your ship looks a little lonely without movement.
Moving the Ship with the Accelerometer
You’re going to take the approach of moving the space ship via the accelerometer. As you tilt the device along the X-axis, the ship will move up and down.
This is actually pretty easy to implement, so let’s jump right into it.
Note: You will only be able to move your ship by loading the app on a device, since you cannot tilt your computer monitor with the simulator! If you’ve been testing your code on the simulator up till now, this would be the time to switch to your device. You won’t be able to test the tilt code unless you are running the game on an actual device.
Pulling accelerometer data from your code
In this scenario, you’ll call CMMotionManager and ask it for data when you need it. Placing these calls inside your update: method aligns nicely with the ticks of your system. You’ll be sampling accelerometer data 60 times per second, so there’s no need to worry about lag.
You are going to take advantage of a Xcode 5 feature called modules. In the old days you added a library and did an #import in your code. This can now be done in one line using the @import command which automatically includes the framework for you.
In the MyScene.m file, above your #import "MyScene.h" line add:
@import CoreMotion;
Your app should only use a single instance of CMMotionManager to ensure you get the most reliable data. In the @implementation block underneath the FMMParallaxNode *_parallaxSpaceDust; declaration, add:
CMMotionManager *_motionManager;
Below the #pragma mark - Setup the Accelerometer to move the ship line, add:
_motionManager = [[CMMotionManager alloc] init];
Below the #pragma mark - Start the actual game line, add:
[self startTheGame];
This initializes the Core Motion Manager for you at startup and places a call to a new method to start up your game. Finally, below the loadEmitterNode method, add:
- (void)startTheGame
{
    _ship.hidden = NO;
    //reset ship position for new game
    _ship.position = CGPointMake(self.frame.size.width * 0.1, CGRectGetMidY(self.frame));

    //setup to handle accelerometer readings using CoreMotion Framework
    [self startMonitoringAcceleration];

}

- (void)startMonitoringAcceleration
{
    if (_motionManager.accelerometerAvailable) {
        [_motionManager startAccelerometerUpdates];
        NSLog(@"accelerometer updates on...");
    }
}

- (void)stopMonitoringAcceleration
{
    if (_motionManager.accelerometerAvailable && _motionManager.accelerometerActive) {
        [_motionManager stopAccelerometerUpdates];
        NSLog(@"accelerometer updates off...");
    }
}

- (void)updateShipPositionFromMotionManager
{
    CMAccelerometerData* data = _motionManager.accelerometerData;
    if (fabs(data.acceleration.x) > 0.2) {
        NSLog(@"acceleration value = %f",data.acceleration.x);
    }
}
These methods will be used to start and stop motion monitoring and make sure the device has the capability for this feature. The last thing to add is a call to the updateShipPositionFromMotionManager method in your update method. Below the [_parallaxNodeBackgrounds update:currentTime]; line, add:
[self updateShipPositionFromMotionManager];
Build and run on your device. By tilting the device, you should see output on the console.