Image Processing in iOS Part 1: Raw Bitmap Modification
Learn the basics of image processing on iOS via raw bitmap modification, Core Graphics, Core Image, and GPUImage in this 2-part tutorial series. By Jack Wu.
SpookCam - Raw Bitmap Modification
Of the four methods explored in this series, you'll spend the most time on this one because it covers the "first principles" of image processing. Mastering this method will allow you to understand what all the other libraries do.
In this method, you'll loop through each pixel, as the starter kit already does, but this time assign new values to each pixel.
This advantage of this method is that it's easy to implement and understand; the disadvantage is that scaling to larger images and effects that are more complicated is less than elegant.
As you see in the starter app, the ImageProcessor class already exists. Hook it up to the main ViewController by replacing -setupWithImage: with the following code in ViewController.m:
- (void)setupWithImage:(UIImage*)image {
  UIImage * fixedImage = [image imageWithFixedOrientation];
  self.workingImage = fixedImage;

  // Commence with processing!
  [ImageProcessor sharedProcessor].delegate = self;
  [[ImageProcessor sharedProcessor] processImage:fixedImage];
}
Also comment out the following line of code in -viewDidLoad:
// [self setupWithImage:[UIImage imageNamed:@"ghost_tiny.png"]];
Now take a look at ImageProcessor.m. As you can see, ImageProcessor is a singleton object that calls -processUsingPixels: on an input image, then returns the output through the ImageProcessorDelegate.
-processUsingPixels: is currently a copy of the code you looked at previously that gives you access to the pixels of inputImage. Notice the two extra macros A(x) and RGBAMake(r,g,b,a) that are defined to provide convenience.
Now build and run. Choose an image from your album (or take a photo) and you should see it appear in your view like this:
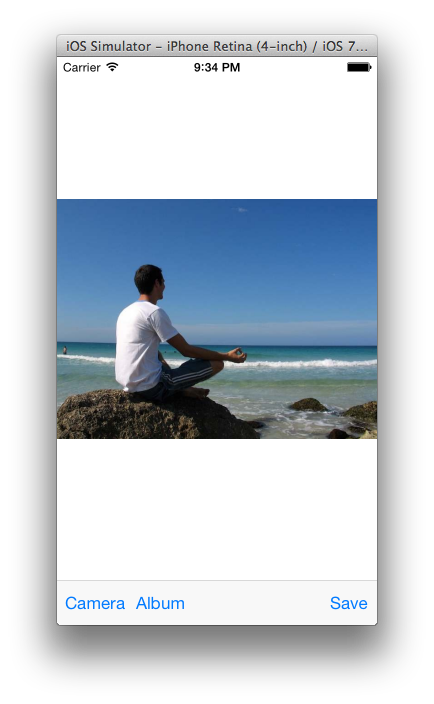
That looks way too relaxing, time to bring in Ghosty!
Before the return statement in processUsingPixels:, add the following code to get an CGImageRef of Ghosty:
UIImage * ghostImage = [UIImage imageNamed:@"ghost"];
CGImageRef ghostCGImage = [ghostImage CGImage];
Now, do some math to figure out the rect where you want to put Ghosty inside the input image.
CGFloat ghostImageAspectRatio = ghostImage.size.width / ghostImage.size.height;
NSInteger targetGhostWidth = inputWidth * 0.25;
CGSize ghostSize = CGSizeMake(targetGhostWidth, targetGhostWidth / ghostImageAspectRatio);
CGPoint ghostOrigin = CGPointMake(inputWidth * 0.5, inputHeight * 0.2);
This code resizes Ghosty to take up 25% of the input's width, and places his origin (top-left corner) at ghostOrigin.
The next step is to get the pixel buffer of Ghosty, this time with scaling:
NSUInteger ghostBytesPerRow = bytesPerPixel * ghostSize.width;
UInt32 * ghostPixels = (UInt32 *)calloc(ghostSize.width * ghostSize.height, sizeof(UInt32));

CGContextRef ghostContext = CGBitmapContextCreate(ghostPixels, ghostSize.width, ghostSize.height,
                                       bitsPerComponent, ghostBytesPerRow, colorSpace,
                                       kCGImageAlphaPremultipliedLast | kCGBitmapByteOrder32Big);
CGContextDrawImage(ghostContext, CGRectMake(0, 0, ghostSize.width, ghostSize.height),ghostCGImage);
This is similar to how you got pixels from inputImage. However, by drawing Ghosty into a smaller size and width, he becomes a little smaller.
Now you're ready to blend Ghosty into your image, which makes this the perfect time to go over blending.
Blending: As mentioned before, each color has an alpha value that indicates transparency. However, when you're creating an image, each pixel has exactly one color.
So how do you assign a pixel if it has a background color and a "semi-transparent" color on top of it?
The answer is alpha blending. The color on top uses a formula and its alpha value to blend with the color behind it. Here you treat alpha as a float between 0 and 1:
NewColor = TopColor * TopColor.Alpha + BottomColor * (1 - TopColor.Alpha)
This is the standard linear interpolation equation.
A popular optimization is to use premultiplied alpha. The idea is to premultiply TopColor by TopColor.alpha, thereby saving that multiplication in the formula above.
As trivial as that sounds, it offers a noticeable performance boost when iterating through millions of pixels to perform blending.
- When the
TopColor.Alphais1,NewColoris equal toTopColor. - When
TopColor.Alphais0,NewColoris equal toBottomColor. - Finally, when
TopColor.Alphais between0and1,NewColoris a blend ofTopColorandBottomColor.
Okay, back to Ghosty.
As with most bitmap image processing algorithms, you need some for loops to go through all the pixels. However, you only need to loop through the pixels you need to change.
Add this code to the bottom of processUsingPixels:, again right before the return statement:
NSUInteger offsetPixelCountForInput = ghostOrigin.y * inputWidth + ghostOrigin.x;
for (NSUInteger j = 0; j < ghostSize.height; j++) {
  for (NSUInteger i = 0; i < ghostSize.width; i++) {
    UInt32 * inputPixel = inputPixels + j * inputWidth + i + offsetPixelCountForInput;
    UInt32 inputColor = *inputPixel;

    UInt32 * ghostPixel = ghostPixels + j * (int)ghostSize.width + i;
    UInt32 ghostColor = *ghostPixel;

    // Do some processing here
  }
}
Notice how you only loop through the number of pixels in Ghosty's image, and offset the input image by offsetPixelCountForInput. Remember that although you're reasoning about images as 2-D arrays, in memory they are actually 1-D arrays.
Next, fill in this code after the comment Do some processing here to do the actual blending:
// Blend the ghost with 50% alpha
CGFloat ghostAlpha = 0.5f * (A(ghostColor) / 255.0);
UInt32 newR = R(inputColor) * (1 - ghostAlpha) + R(ghostColor) * ghostAlpha;
UInt32 newG = G(inputColor) * (1 - ghostAlpha) + G(ghostColor) * ghostAlpha;
UInt32 newB = B(inputColor) * (1 - ghostAlpha) + B(ghostColor) * ghostAlpha;

// Clamp, not really useful here :p
newR = MAX(0,MIN(255, newR));
newG = MAX(0,MIN(255, newG));
newB = MAX(0,MIN(255, newB));

*inputPixel = RGBAMake(newR, newG, newB, A(inputColor));
There are two points to note in this part.
- You apply 50% alpha to Ghosty by multiplying the alpha of each pixel by
0.5. You then blend with the alpha blend formula previously discussed. - The clamping of each color to [0,255] is not required here, since the value will never go out of bounds. However, most algorithms require this clamping to prevent colors from overflowing and giving unexpected outputs.
To test this code, add this code to the bottom of processUsingPixels:, replacing the current return statement:
// Create a new UIImage
CGImageRef newCGImage = CGBitmapContextCreateImage(context);
UIImage * processedImage = [UIImage imageWithCGImage:newCGImage];

return processedImage;
This creates a new UIImage from the context and returns it. You're going to ignore the potential memory leak here for now.
Build and run. You should see Ghosty floating in your image like, well, a ghost:

Good work so far, this app is going viral for sure!